Homemade Hawaiian Rolls (from scratch!)
This post may contain affiliate links which won’t change your price but will share some commission. Full Disclosure Policy.


There is nothing like warm, fluffy Hawaiian rolls fresh from the oven! Sweet, buttery, and better than store-bought. Baking from scratch has never been so delicious!
Simple to make, and even easier to double and triple, you’ll love these! If you’re in bread making mode, you should also try my Homemade Hamburger Buns, or my 30 Minute Dinner Rolls, too!
Hawaiian Rolls are sweet, fluffy rolls that are known for their slightly sweet taste, buttery smell and soft, cloud-like texture. And when they’re fresh out of your oven? Absolute magic. Trust me, these rolls will steal the show, whether it’s a big holiday dinner or a lazy Sunday brunch.
If you’ve only ever had the store-bought ones, buckle up because making them from scratch is a game-changer!
The best part? You don’t need to be a professional baker to pull these off. They are surprisingly easy to make. If you can mix, knead, and have a little patience for the rise time, you’ve got this!
Step-by-step photos and instructions are below. Jump to the recipe card if you wish!

Why you’ll love this
Soft and sweet. These rolls are perfectly soft with a hint of sweetness from the pineapple juice.
Easy homemade option. Skip store-bought rolls and impress everyone with homemade Hawaiian rolls.
Perfect for any meal. Serve them with dinner, as sliders, or even for breakfast with a bit of butter.
We serve this Hawaiian Sweet Rolls pretty much any time of year, and any day of the week! They’re soft, fluffy and sweet and perfect for use as dinner rolls or making ham and cheese sliders with leftover ham. Try my friend Heather’s Big Mac Sliders, too!
You can make a gorgeous bread pudding, or use them for some epic French Toast, too!
Homemade bread
There’s something super satisfying about seeing a baking dish full of rolls you made yourself, all golden and perfectly puffed up. It’s the kind of kitchen win that makes you want to high-five yourself. Or me. (Feel free to email me to tell me how much you love these)!
Common Mistakes to Avoid when making Hawaiian Rolls
Dense rolls are often the result of over-flouring. Add just enough flour for a soft dough.
Dry rolls can happen if you overbake them. Pull them out when they’re just golden
Flat rolls may indicate the yeast wasn’t activated properly. Make sure your pineapple juice is warm, not hot, when mixing.
FAQs
If you do not have bread flour you can make it by using 4 cups of all-purpose flour. Remove 1 tbsp plus 1 teaspoon of the all-purpose flour and add in 1 tablespoon + 1 teaspoon vital wheat gluten (or 4 tsp total).
You can do anything you want! Mix and knead the dough by hand if you don’t have a stand mixer. Just knead it thoroughly for about 8-10 minutes to develop the gluten.
Yes, you can make the dough a day ahead. After the first rise, cover and refrigerate the dough. The next day, let it sit at room temperature for 30 minutes before shaping and baking.
Step-by-step photos and tips and tricks are below. Jump to the full recipe card instead

Key Recipe Ingredients
Note: This highlights some ingredients. Full list is in the recipe card.
- Pineapple juice. Adds sweetness and a hint of flavor. I keep mine at room temp or slightly warmed. You don’t need to get fancy with fresh pineapple juice, just grab a canned pineapple juice from the store.
- Milk. I used 2% milk, but whole milk works fine. Warm the milk to lukewarm, but not hot. Hot liquid will kill the yeast. We’re looking for warm.
- Butter. You can substitute the salted butter for unsalted butter or margarine. If you do, add salt to 1 tsp total.
- Granulated sugar & brown sugar. Both add sweetness; light or dark brown sugar can be used.
- Active dry yeast. This is instant yeast, or bread machine yeast and is essential for the dough to rise properly.
- Bread flour & all-purpose flour. Bread flour helps with structure; all-purpose flour keeps the rolls soft and fluffy.

How to make Homemade Hawaiian Sweet Rolls
This is a step-by-step photo guide. Full ingredients and instructions are in the printable recipe card below.
JumpWould you like to save this recipe?
Get prepped. Preheat your oven to 375°F (190°C) about 10 minutes before baking. Grease a 9×13 pan and set aside.
Make the dough. In the bowl of a stand mixer fitted with the paddle attachment, combine pineapple juice, warmed milk, and softened butter. Stir to blend.
Add white sugar, brown sugar, yeast, and salt to the bowl and stir. (Warm milk and melted butter help dissolve the sugars more easily.)


Add 2 cups of bread flour and stir to combine. Switch to the dough hook and gradually add the remaining 2 cups of bread flour, mixing ½ cup at a time until combined.
Add eggs and mix until fully incorporated.


Incorporate all purpose flour. Slowly add the all purpose flour, ¼ cup at a time, until the dough is slightly sticky but holds its shape. Avoid over-flouring to keep rolls light and airy.


Knead the dough. Set the stand mixer to medium speed and knead for 3-5 minutes. Turn the dough onto a lightly floured surface.
First rise. Lightly grease a large mixing bowl with cooking spray or oil. Place the dough in the bowl, cover with plastic wrap or a tea towel, and rise in a warm spot for 1 hour and 30 minutes or until doubled in size.


Shape the rolls. Turn the dough out onto a lightly floured surface and divide into 12 equal pieces. Roll each piece into a ball, and place the rolls in the prepared 9×13 pan. Cover and allow the rolls to rise for another 30 minutes.


Bake the rolls. In a small bowl, whisk together egg and water for the egg wash. Brush the tops of the rolls with the mixture. Bake for 25 minutes, or until golden brown.


Serve. Allow rolls to cool in the pan for at least 20 minutes before serving.
Kylee’s Notes
I make this recipe in a stand mixer because I find it’s easier to control the flour. It is important not to add too much flour to the dough as it will come out dense. Add flour gradually, as too much can make the rolls dense and prevent rising.
Using a combination of bread flour and all-purpose flour will help create a soft and fluffy roll.
Make sure that your milk is not too hot. If it is, you will burn your yeast and the dough won’t rise.
Don’t skip the kneading step, this will help develop the gluten creating a soft roll.
The egg wash creates a shiny, golden-brown crust that makes these rolls even more appetizing!
Storing Hawaiian Rolls
If you’re lucky enough to have leftover rolls you can store them at room temperature or in the refrigerator. At room temperature, make sure to store your rolls in an airtight container in a cool dry place for 2-3 days.
You can also place your rolls into an airtight container or resealable plastic bag in the refrigerator for up to a week.
Freezing instructions
Freeze the fully baked rolls for up to 2 months to keep them fresh. Defrost them in the refrigerator or on the counter before using them.

More recipes to love
- Homemade Garlic Breadsticks. The ultimate side for Italian recipes! Fluffy, buttery, so easy to make!
- Homemade Bagels (just 4 ingredients) – Fresh, warm and chewy, topped with whatever you fancy – these homemade bagels are easy to make and absolutely delicious!
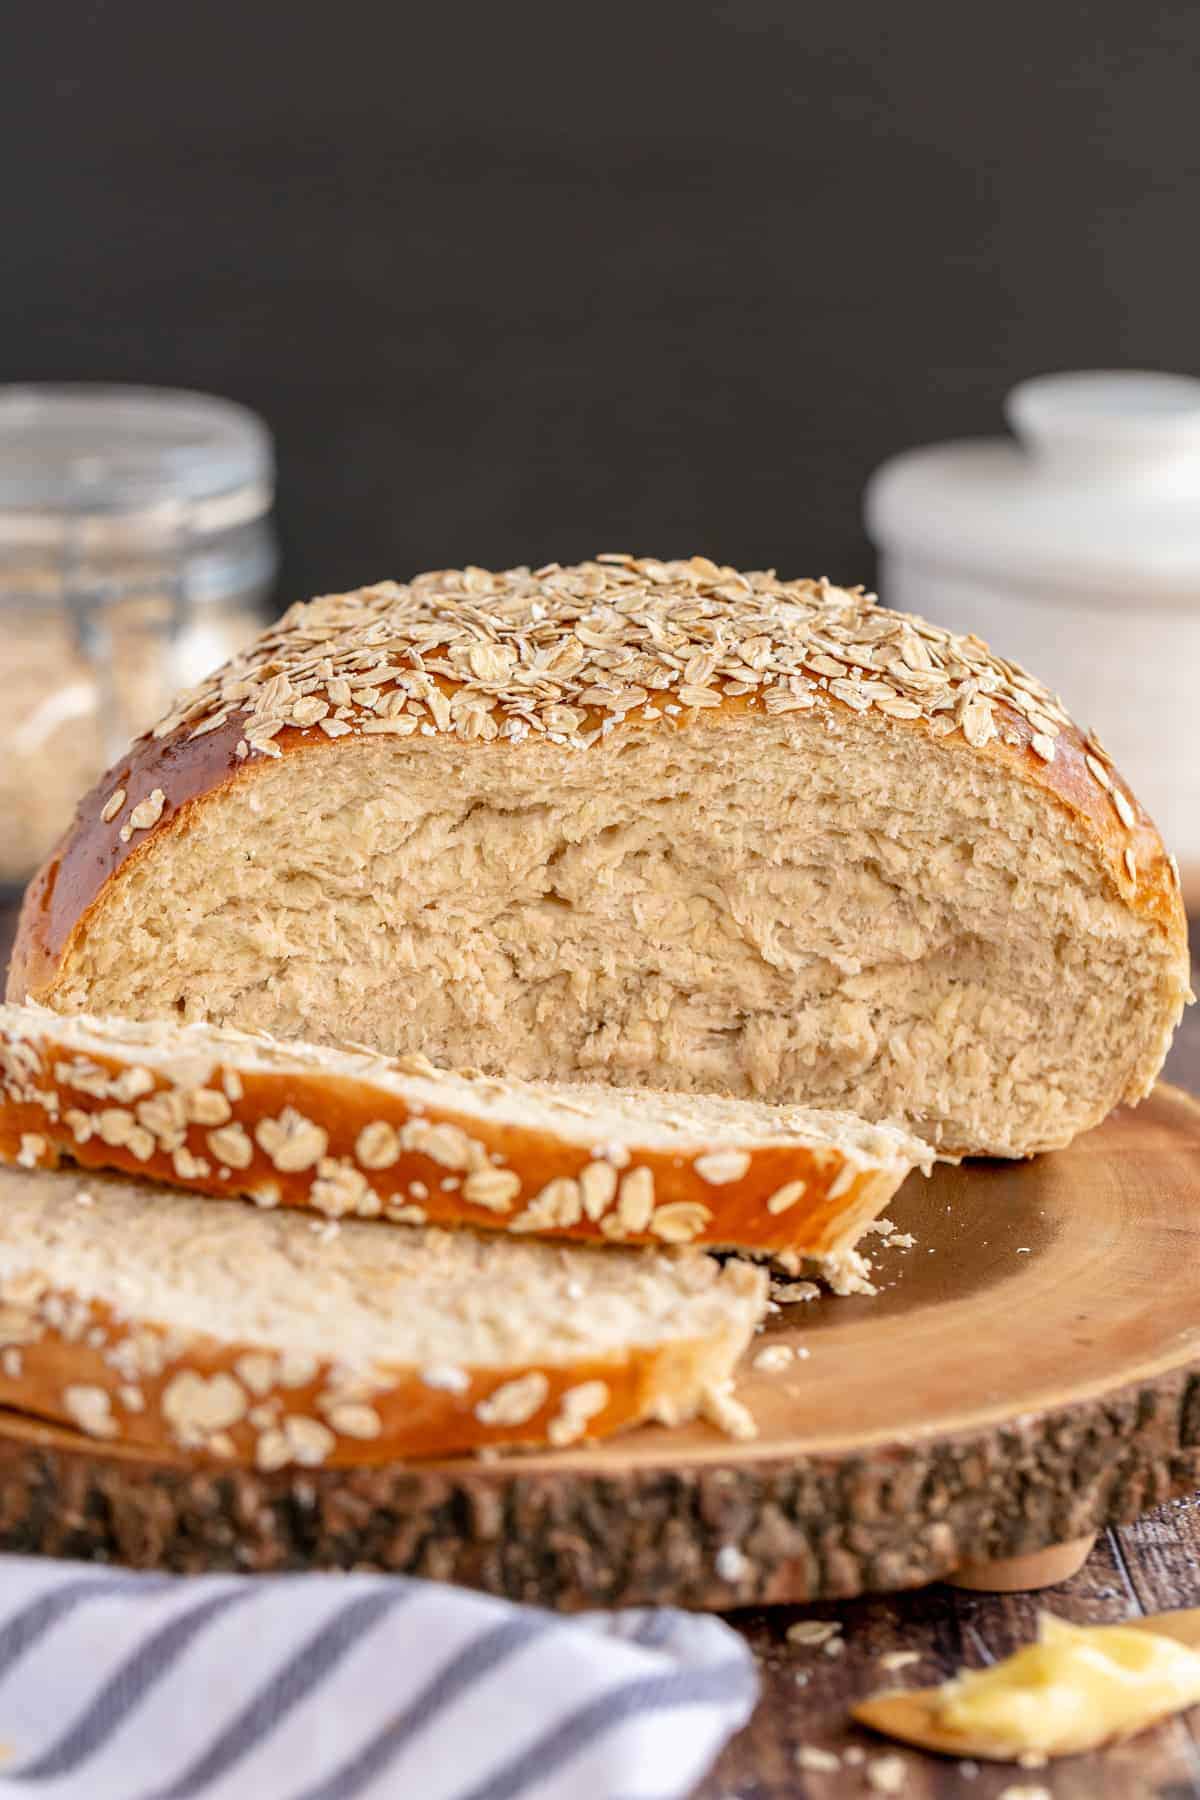
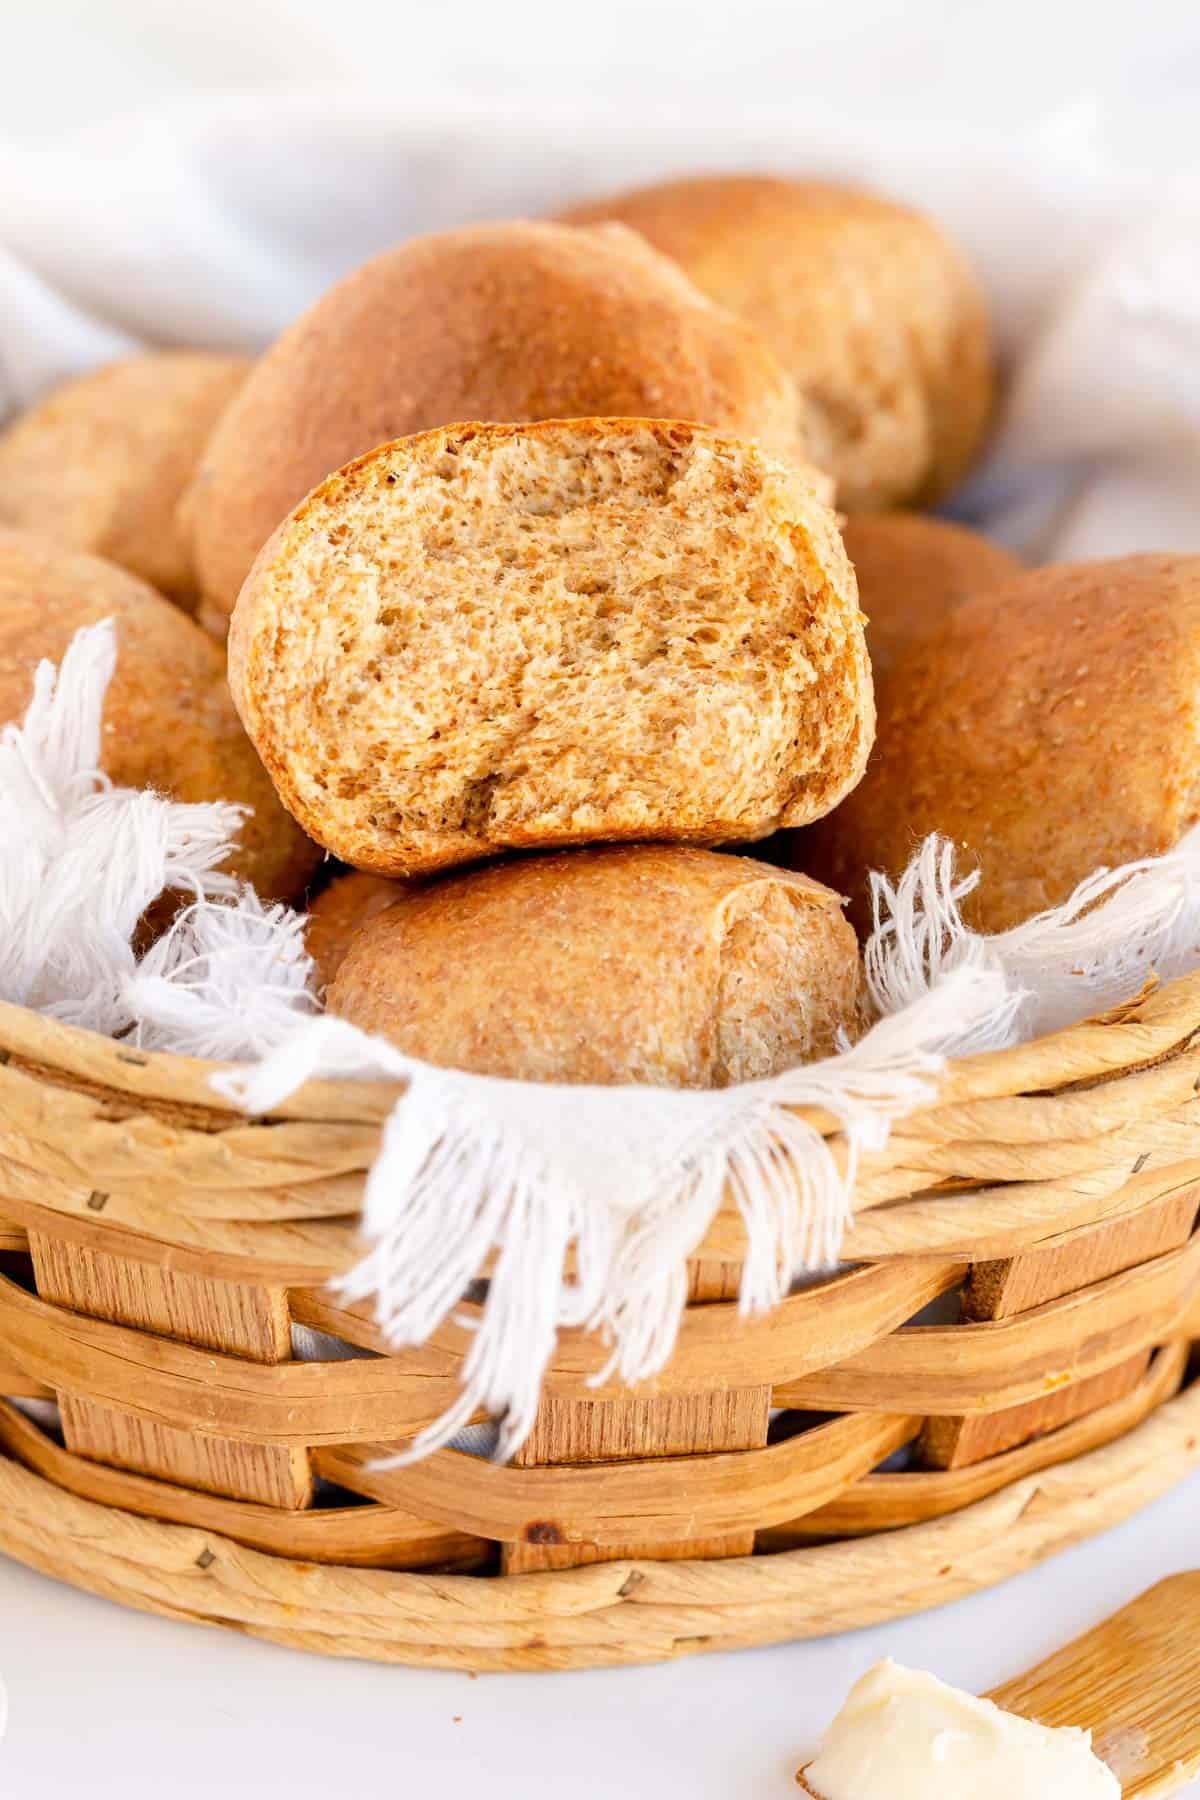
- Whole Wheat Dinner Rolls. Quick and easy to make, these deliciously soft Whole Wheat Dinner Rolls make the perfect amount for your family! They make a hearty side to any dinner. Yum!
Get free recipes in your inbox!
Find me on Pinterest, Facebook & Instagram.
If you make this recipe, please comment and let me know how it turned out and leave a star rating! ⭐⭐⭐⭐⭐

Homemade Hawaiian Rolls
Equipment
- Stand Mixer you'll need both paddle and dough hook attachments
Ingredients
For the rolls
- ¾ cup pineapple juice room temperature
- ½ cup 2% milk warmed to 85-95°F
- ⅓ cup butter melted and cooled to 85°F
- ⅓ cup white sugar
- 2 tablespoons brown sugar
- 2 large eggs room temperature
- 2 ¼ teaspoons active dry yeast 1 packet
- 4 cups bread flour
- 2-3 cups all-purpose flour
- 1 ½ tsp salt
For the egg wash
- 1 egg
- 2 tablespoons water
Instructions
Get prepped
- Preheat your oven to 375°F (190°C) about 10 minutes before baking. Grease a 9×13 pan and set aside.
Make the dough
- In the bowl of a stand mixer fitted with the paddle attachment, combine ¾ cup pineapple juice, ½ cup 2% milk (warmed), and ⅓ cup butter (softened). Stir to blend.
- Add ⅓ cup white sugar, 2 tablespoons brown sugar, 2 ¼ teaspoons active dry yeast, and 1 ½ tsp salt to the bowl and stir. (Warm milk and butter help dissolve the sugars more easily.)
- Add half of the 4 cups bread flour and stir to combine.
- Switch to the dough hook and gradually add the remaining bread flour, mixing ½ cup at a time until combined.
- Add 2 large eggs and mix until fully incorporated.
Incorporate all purpose flour
- Slowly add 2-3 cups all-purpose flour, ¼ cup at a time, until the dough is slightly sticky but holds its shape. Avoid over-flouring to keep rolls light and airy.
Knead the dough
- Set the stand mixer to medium speed and knead for 3-5 minutes. Turn the dough onto a lightly floured surface.
First rise
- Lightly grease a large mixing bowl with cooking spray or oil. Place the dough in the bowl, cover with plastic wrap or a tea towel, and let rise in a warm spot for 1 hour and 30 minutes or until doubled in size.
Shape the rolls
- Turn the dough out onto a lightly floured surface and divide into 12 equal pieces. Roll each piece into a ball and arrange them in the prepared 9×13 pan. Cover and let rise for 30 minutes.
Bake the rolls
- In a small bowl, whisk together 1 egg and 2 tablespoons water for the egg wash. Brush the tops of the rolls with the mixture. Bake for 25 minutes, or until golden brown.
Serve
- Allow rolls to cool in the pan for at least 20 minutes before serving.
Would you like to save this recipe?
Nutrition
Nutritional information is an estimate and provided to you as a courtesy. You should calculate the nutritional information with the actual ingredients used in your recipe using your preferred nutrition calculator.
Did you make this recipe?
Make sure to follow @kyleecooks on Instagram for more and tag me #kyleecooks so I can see!
About Kylee Ayotte
I am a born and raised New Zealander (a Kiwi), now living in Phoenix, Arizona. I’m happily married to the love of my life – a hot American boy I met while traveling the world. I’m a mama to 2 awesome little boys and love red things, rugby, cheesecake, and bacon. Mmmmm. Bacon. Meet Kylee


In the UK we don’t have cans of pineapple juice. We have cans of pineapple that are in their juice. Could I use that or will cartons of pineapple juice be fine?
Hi Louise – you could use either! Avoid pineapple that is in syrup (if that exists for you!)
Wonderful, they were so soft and pillowy. I ended up using about 1 cup of less bread flour than called for as my dough was very stiff. Other than my kitchen being ridiculously cold, the recipe was very easy to follow. I will absolutely make again.