
If you’ve ever searched how to cook chick peas and ended up defaulting to canned again, I get it. That was me for years. Chick peas – also called garbanzo beans, same bean, different name – were something I always bought already cooked because dried felt like one more thing to think about. Then I finally tried making instant pot garbanzo beans, and it completely changed how I use them at home.
This is now how I keep them on hand. I cook a batch, freeze portions, and use them all week in salads, soups, and hummus without thinking twice. Once you learn how to cook chick peas in a pressure cooker with this hands-off method, canned chickpeas stop being the default and start being the backup. And honestly, that’s the kind of quiet kitchen win I love.
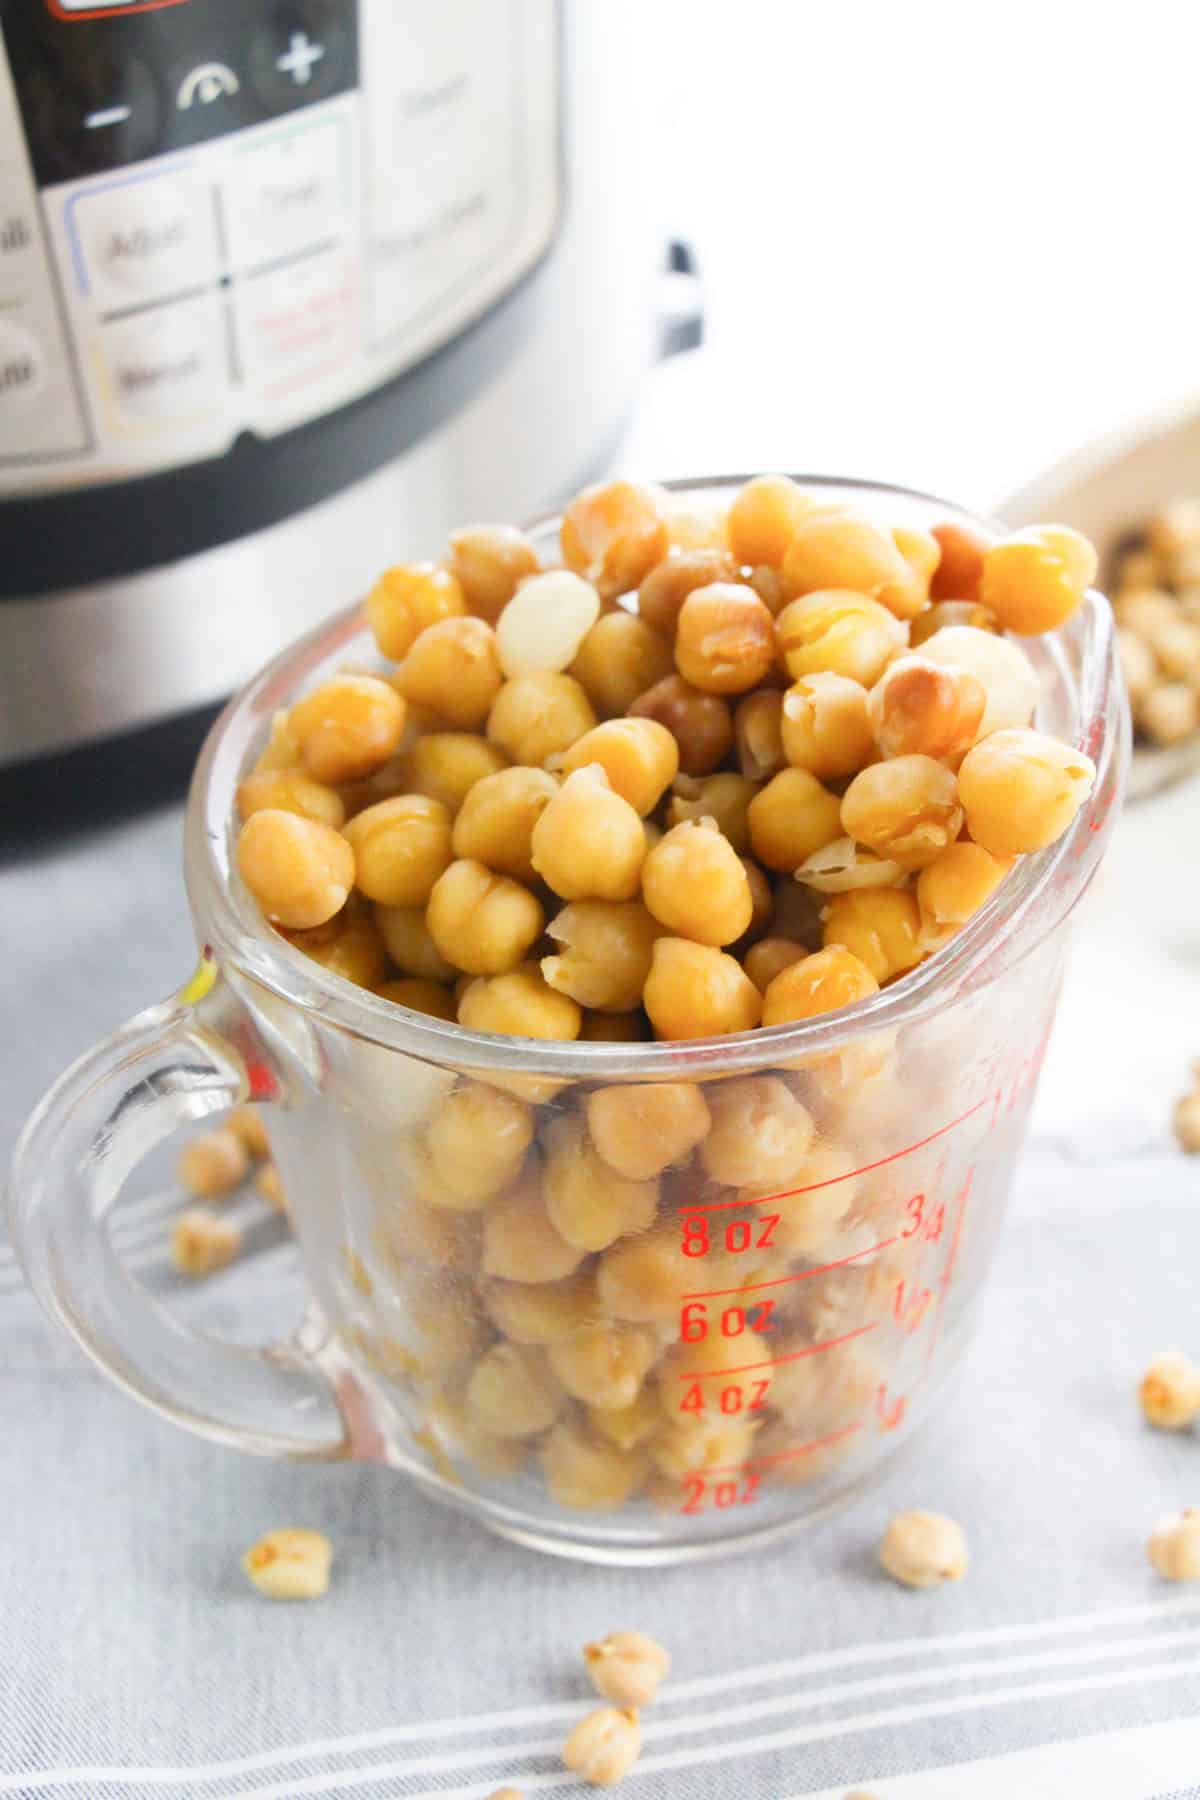
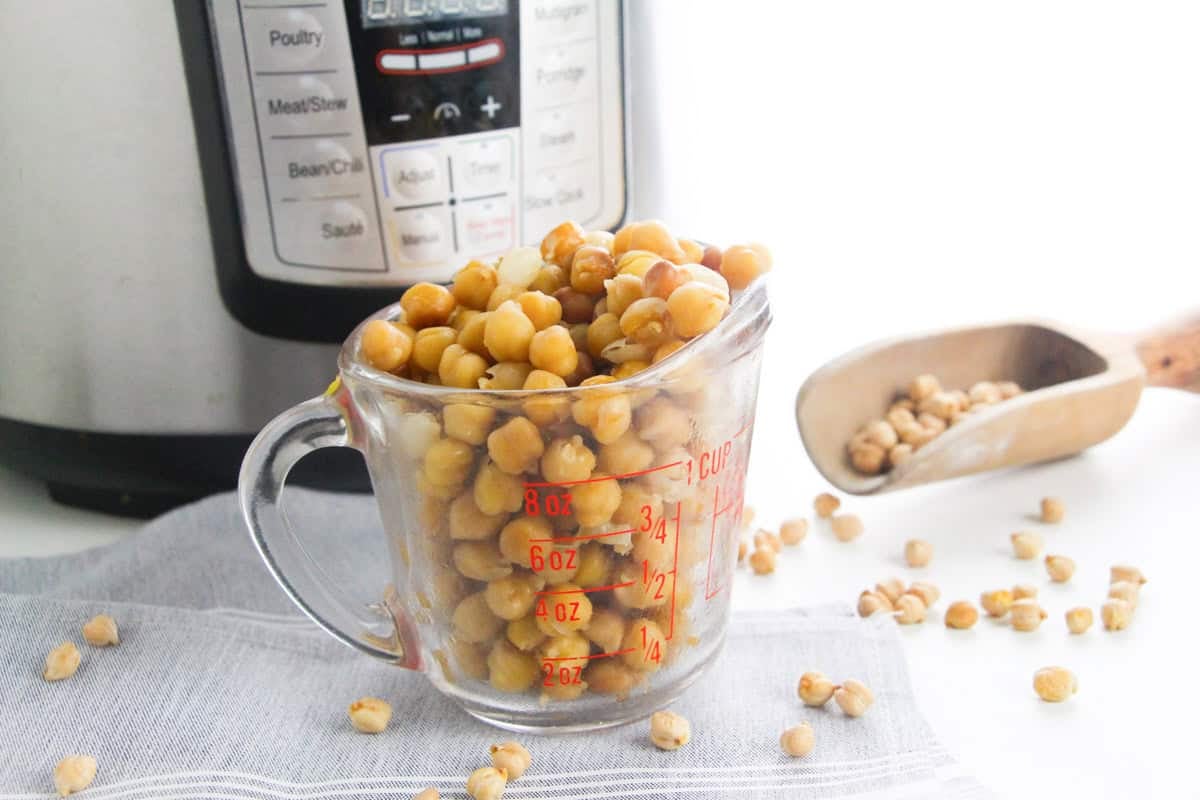
How much does this make?
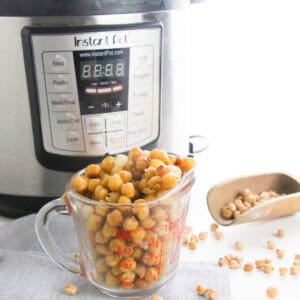
Roughly 3 to 3½ cups of cooked chickpeas, which is about the same as two standard 15 oz cans.
Want to skin them easily? I wrote a post on my top way to How to Remove the Shells from Chickpeas (aka Garbanzo Beans)
Step-by-step photos and instructions are below, but you can jump right to the recipe card if you wish!
Would you like to save this recipe?

Why Cook Chickpeas in the Instant Pot?
Let’s be real – dried chickpeas feel intimidating until you do this once. Then you wonder why you ever bought canned.
- No soaking required
- Better texture than canned
- Budget-friendly for meal prep
- Easy to customize for firm or extra-soft chickpeas
- Freezer-friendly
If you use chickpeas even semi-regularly, this is worth learning.
Chickpea Texture Options (This Matters)
Not all chickpeas want to live the same life.
- Extra soft (perfect for hummus): 50 minutes with full natural release
- Firmer (great for salads or grain bowls): 35 – 40 minutes with full natural release
Same ingredients, same process – just tweak the cook time for different levels of tenderness.
Is it a Chick Pea or a Garbanzo Bean?
Chickpeas and garbanzo beans are exactly the same bean. “Chickpea” comes from English, “garbanzo” comes from Spanish, and your grocery store uses both just to keep things interesting. No matter what you call them, the Instant Pot turns dried chickpeas into soft, creamy, ready-for-anything beans without soaking, without babysitting, and without planning ahead.
Flavor Add-Ins (Optional but Very Worth It)
You can keep it plain, or you can give your chickpeas a little personality. Try adding one or two of these to the pot before cooking. If you’re planning to use them in a specific recipe, this is an easy way to build flavor early.
- Garlic cloves
- Bay leaves
- Onion chunks
- A pinch of cumin
I have included step-by-step photos and instructions, as well as tips and tricks in the post. If you’d rather skip all that, scoot right on down to the full recipe card located at the bottom of the post.

How to cook Garbanzo Beans
Scroll for Recipe
This next part is only a photo tutorial of the recipe steps. The full list of ingredients, quantities and instructions can be found in the printable recipe card below.
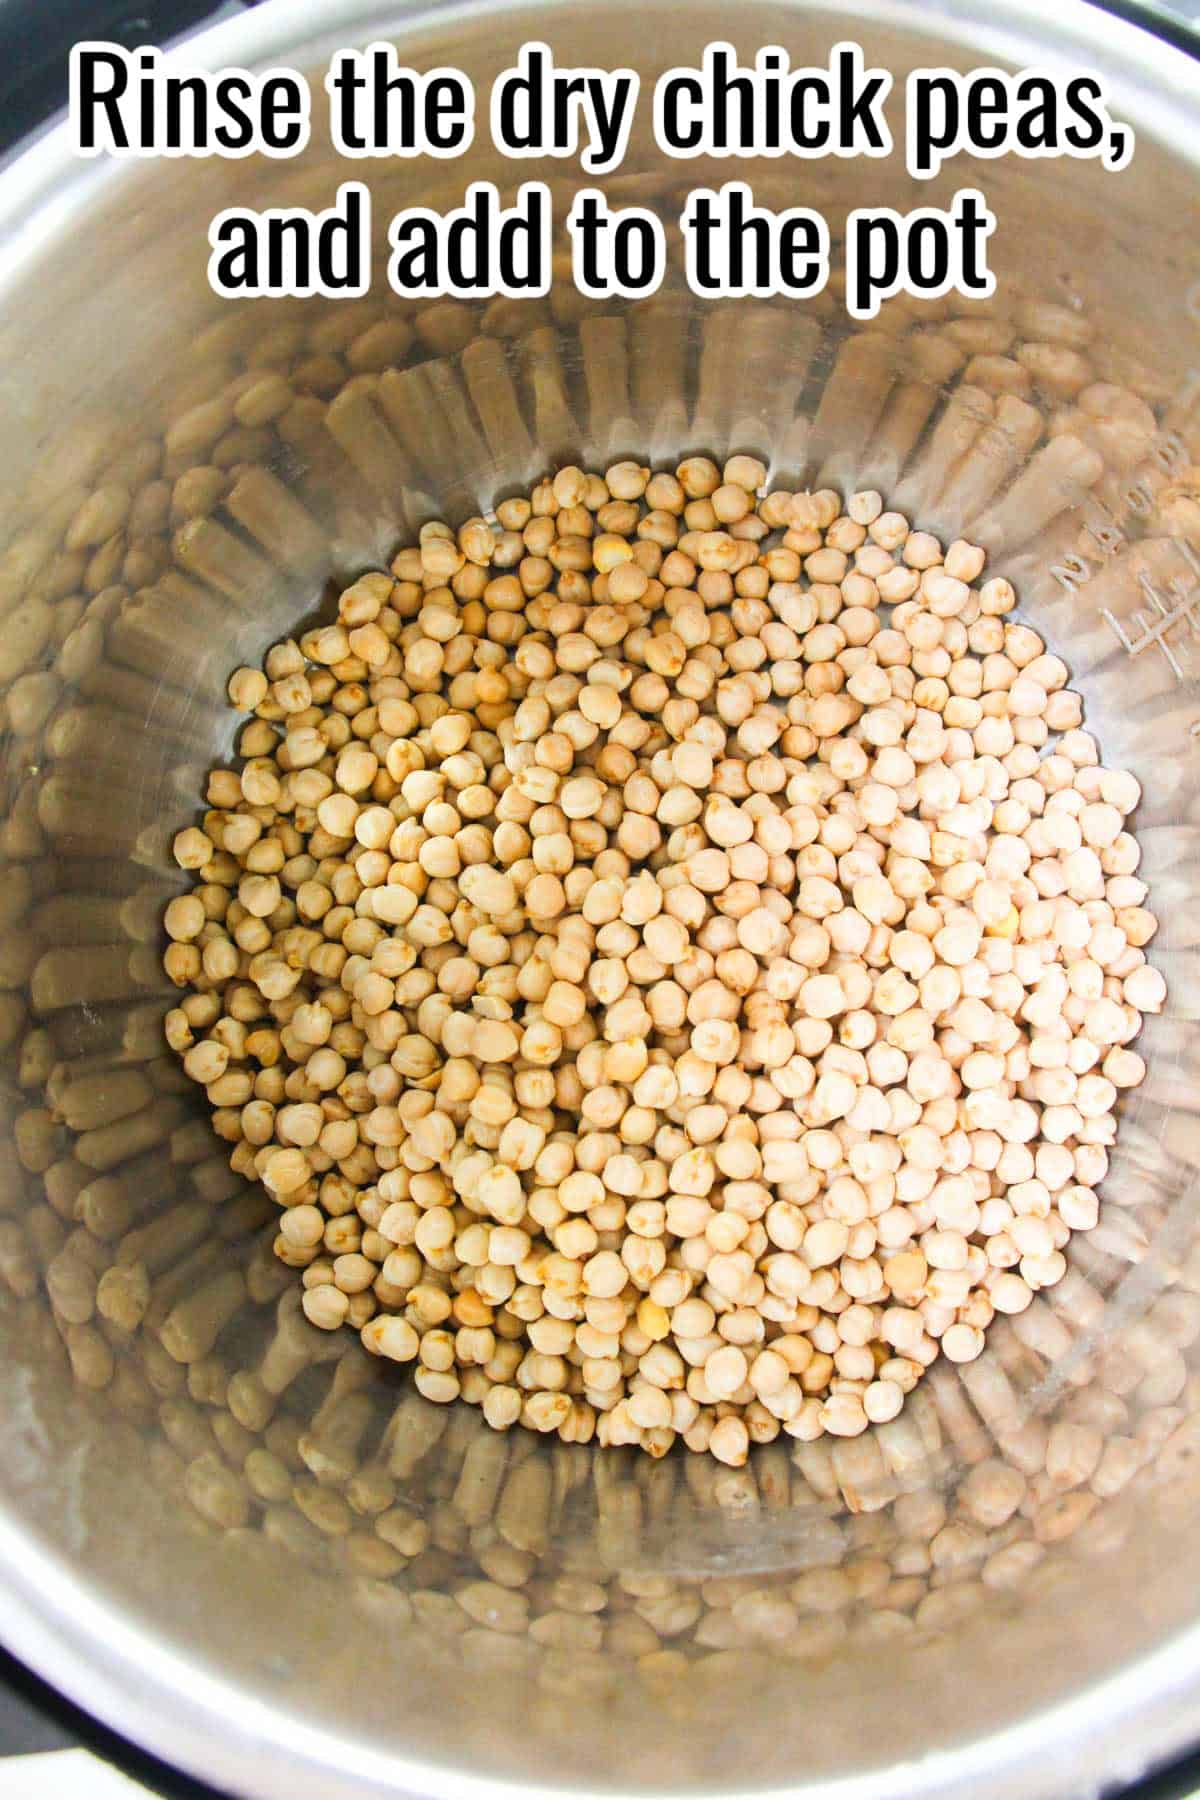
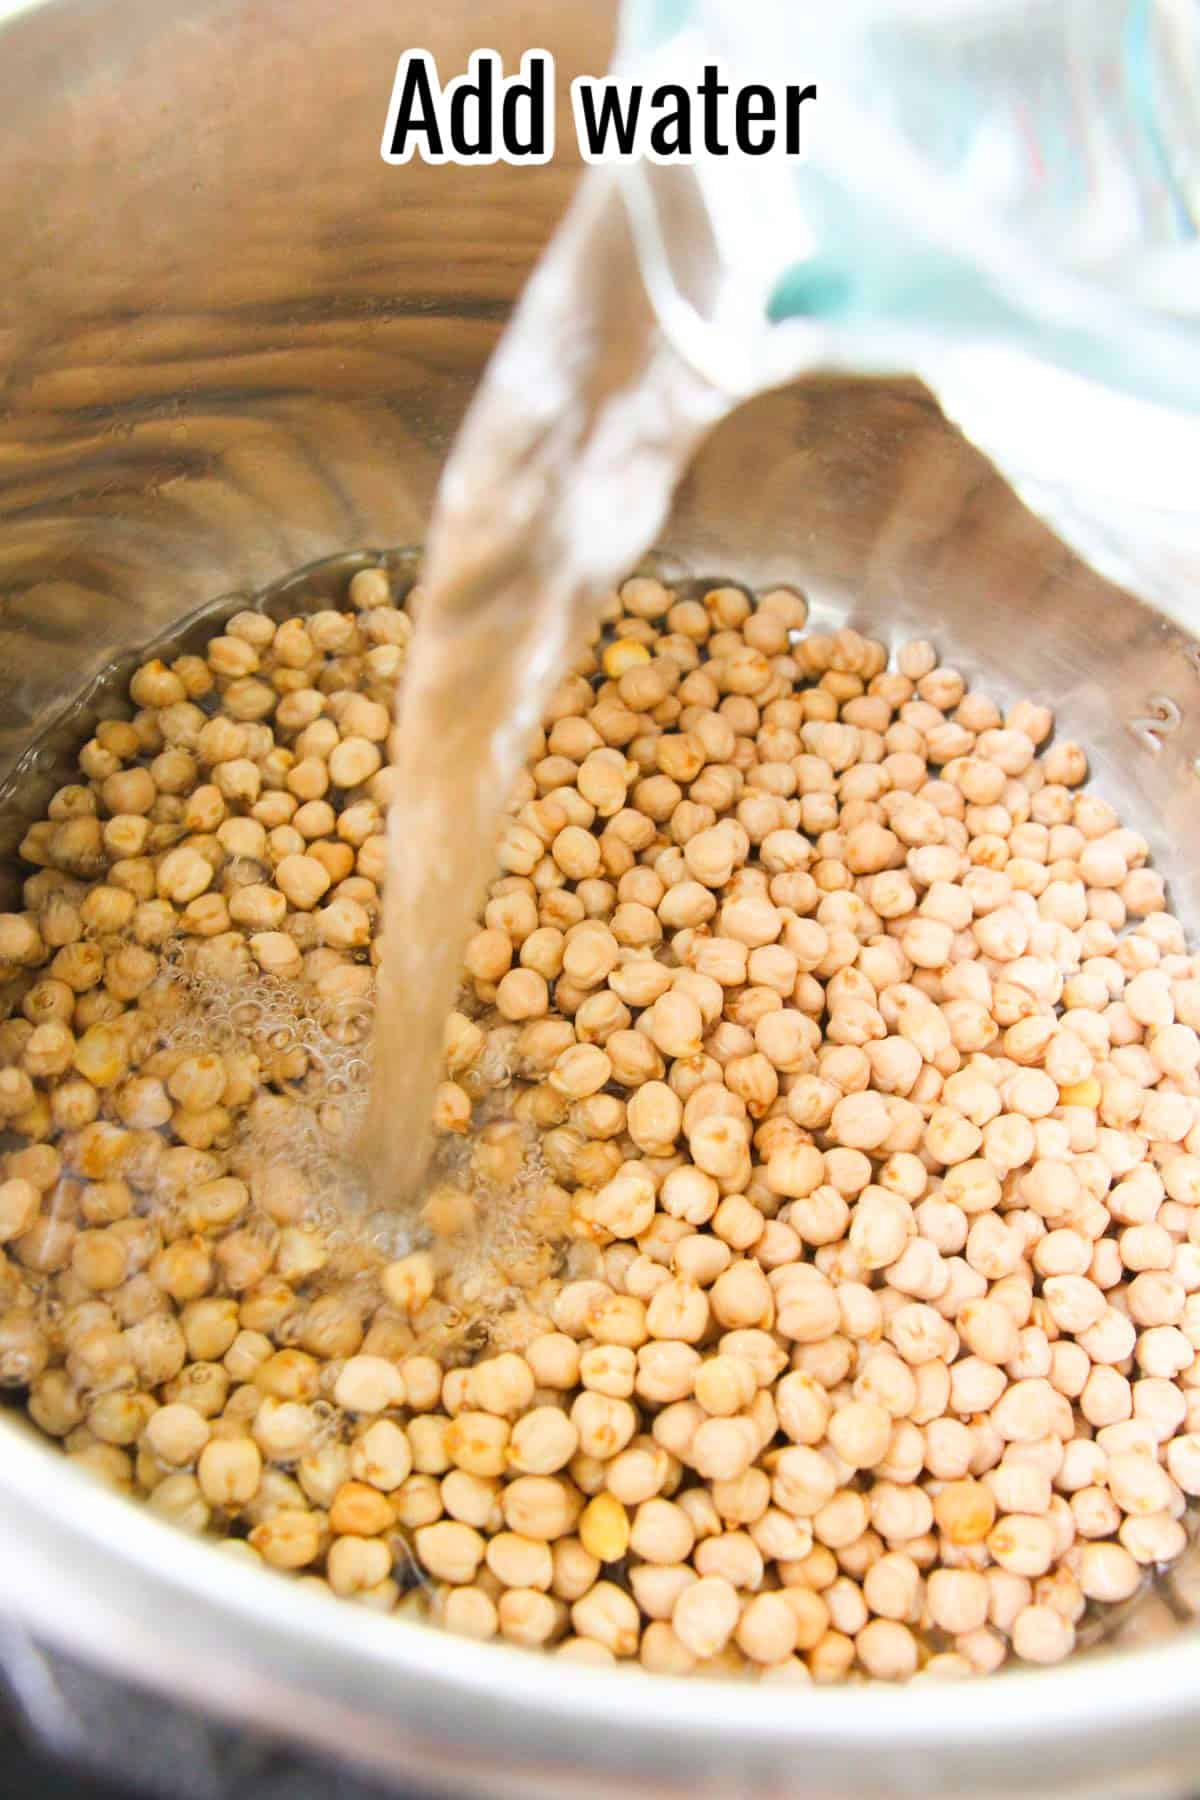
Rinse 2 cups dried unsoaked chickpeas and add them to the Instant Pot with 4 cups of water.
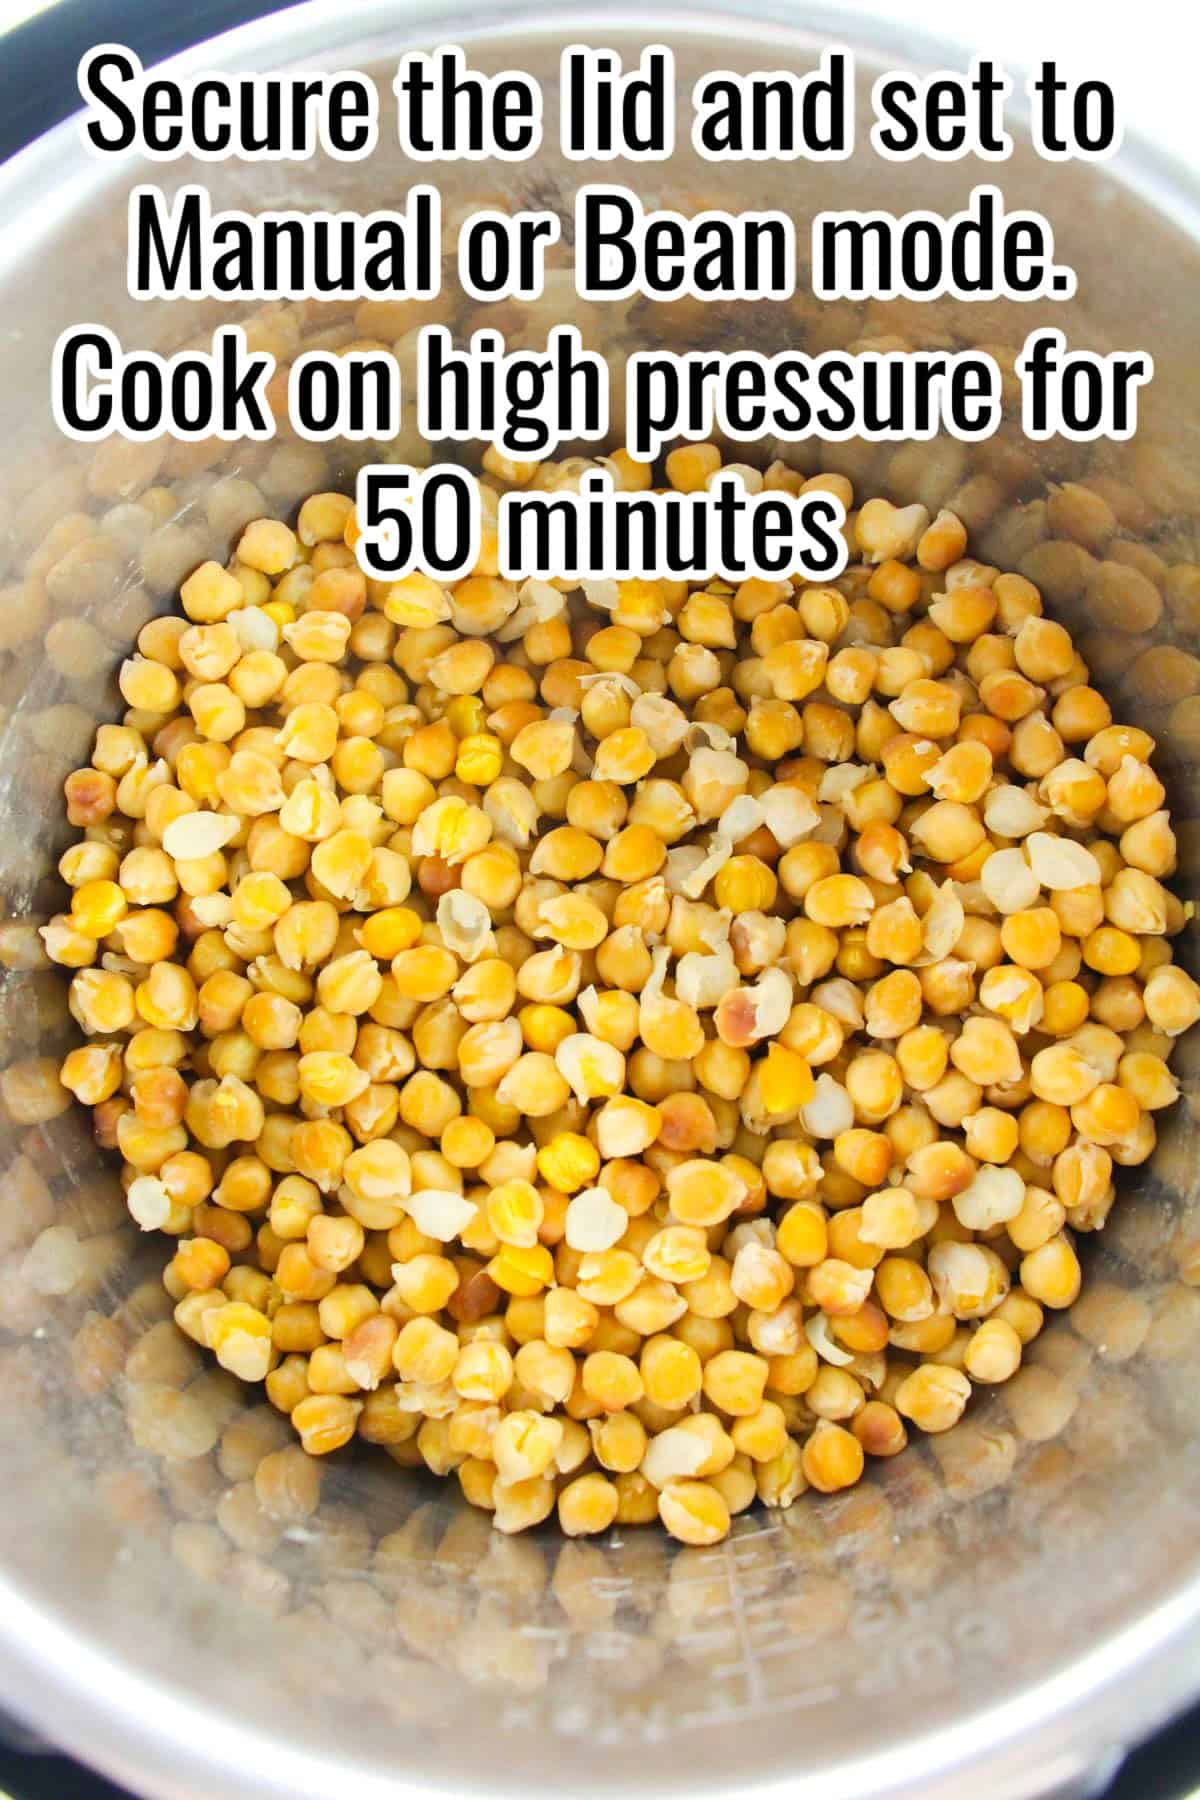
Close the pressure release valve to sealing, secure the lid, and cook on high pressure for 50 minutes until tender. Let the pressure release naturally, then drain and rinse. The chickpeas are ready to use or store.
Ways to Use Cooked Chickpeas
Once they’re cooked, these go everywhere:
- Homemade hummus. Try my Roasted Garlic Hummus, for a base recipe.
- Soups and stews. Add them to Moroccan Chicken Stew or African Peanut Soup.
- Salads or grain bowls. Try Greek Chickpea Salad.
- Veggie burgers or fritters
- Roasted chickpeas for snacking

Troubleshooting Guide – Common Problems and Solutions
- Chickpeas are still hard after cooking. This usually means the beans are old. Dried chickpeas that have been sitting in the pantry for years can be stubborn. Add 10–15 more minutes of pressure cook time and let the pressure release naturally again.
- Chickpeas are mushy. They cooked a little too long for what you wanted. This happens most often when aiming for salad-style chickpeas. Next time, reduce the cook time to 35 – 40 minutes and keep the full natural pressure release.
- Skins are falling off everywhere. Totally normal. Chickpea skins loosen as they cook, especially when they’re very soft. You can skim them off with a spoon if you want extra-smooth hummus, or ignore them completely – they’re harmless.
- Chickpeas taste bland. That’s expected if you cooked them in plain water. Season after cooking, or add aromatics like garlic, bay leaves, or onion to the pot next time for more flavor.
- Chickpeas cooked unevenly. This usually happens when they weren’t rinsed well or when the pot was overcrowded. Stick to the ratios in the recipe and rinse thoroughly before cooking.
- Liquid looks cloudy or thick. Normal. That’s starch released from the chickpeas. Just drain and rinse after cooking unless you want to save the liquid for soups or stews.
Instant Pot Cooking Terms
What is Natural Pressure Release – aka NPR?
A natural pressure release happens when the cooking time is over and the valve is left closed. The pressure decreases without doing anything. Your Instant Pot will automatically switch to the “Keep Warm” setting.
As soon as it switches to “Keep Warm” the pressure will begin to drop and will release the pressure by itself. You’ll know it’s done when the pin drops!
What is Quick Release?
Quick Release: this means to let the Instant Pot release pressure naturally for a few minutes. After the time has elapsed, switch the valve to “venting” to quickly release any remaining pressure. The pressure will release to a point where the pin drops, and you can open the lid.

Kylee’s Notes
- No soak needed. Ever. That’s the magic here.
- Salt after cooking. Adding salt before pressure cooking can toughen the skins.
- Old chickpeas take longer. If yours have been sitting in the pantry for years, expect a slightly longer cook time.
- Batch it. Freeze extras in 1½-cup portions, which is roughly one can’s worth.
- Texture is adjustable. Cook time controls everything.
How to store cooked chickpeas
Store cooked chickpeas in an airtight container in the refrigerator for up to 5 days.
To freeze, portion into 1½-cup servings and freeze for up to 3 months. Thaw overnight in the fridge or rinse under warm water to loosen them up.
More recipes to love:
- Instant Pot Boiled Eggs. This method for Instant Pot Boiled Eggs makes peeling eggs a breeze. You’ll get perfectly cooked yolks, and no gray rings!
- How to cook Quinoa (and what to do with it). Grab my step by step guide to cooking quinoa at home, and some great ideas for how to use it.
- How to make Almond Butter at home. Skip the store-bought, get out your food processor, and watch the magic! Just 1 ingredient!
Get free recipes in your inbox!
Find me on Pinterest, Facebook & Instagram.
If you make this recipe, please comment and let me know how it turned out and leave a star rating!
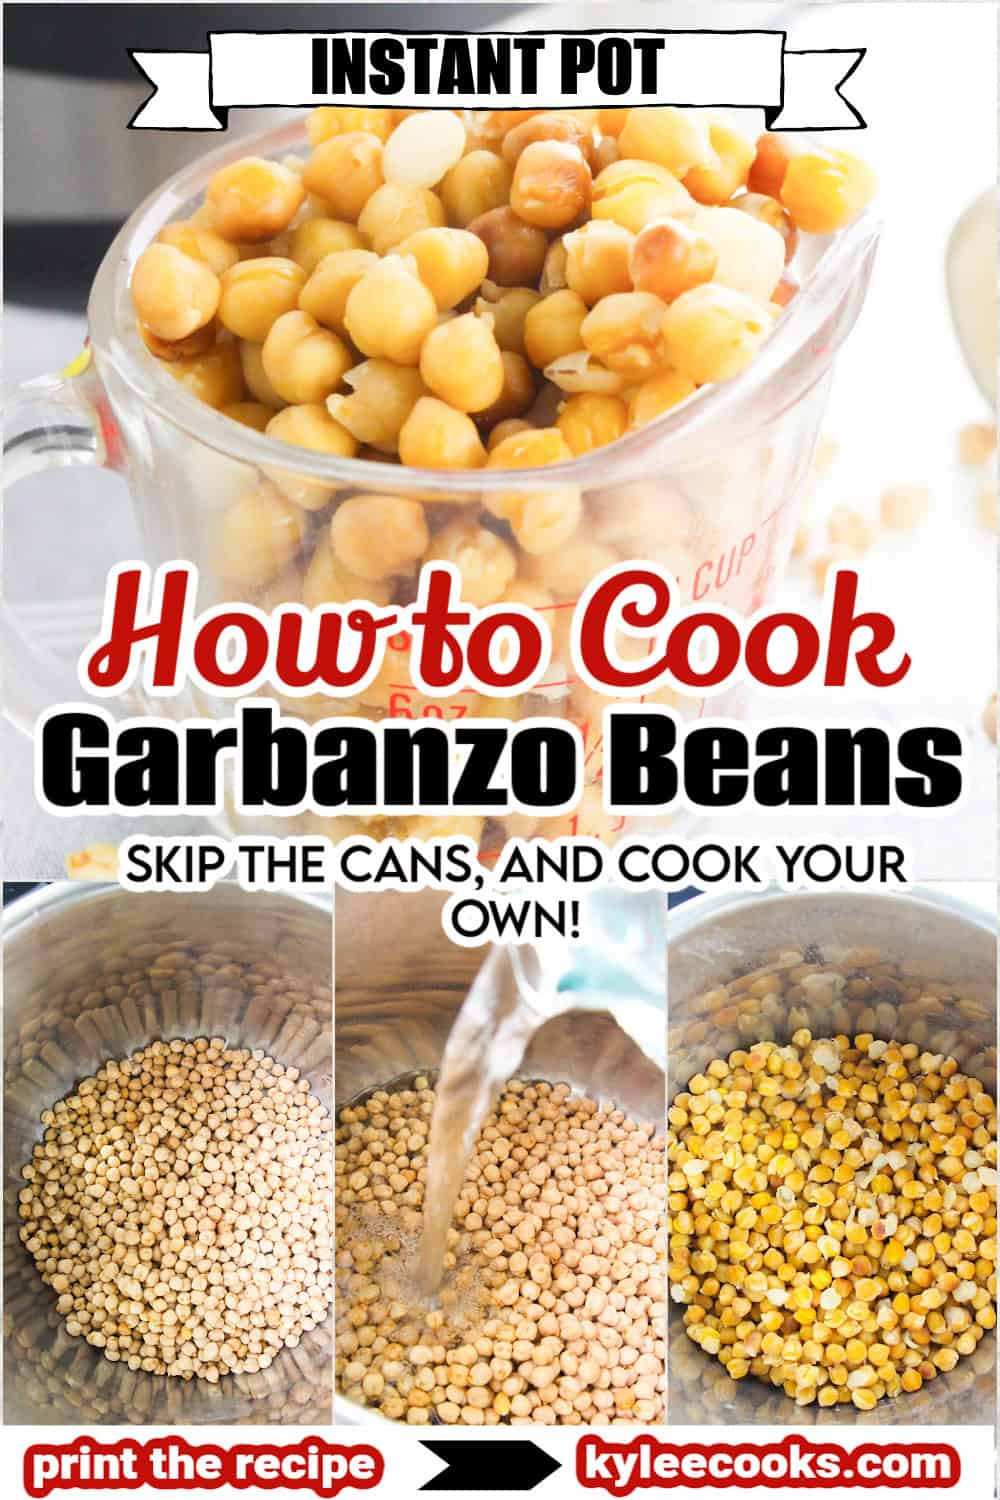
Instant Pot Garbanzo Beans (aka Chick Peas)
Ingredients
- 2 cups dried chickpeas (approximately 1lb)
- 4 cups water
Directions
- Get prepped: Rinse 2 cups dried chickpeas in a fine mesh strainer to remove any dust or debris.
- Load the Instant Pot: Add the rinsed chickpeas to the pot, then pour in 4 cups water.
- Cook: Secure the lid and set the Instant Pot to Manual or Bean setting. Cook on high pressure for 50 minutes.
- Natural pressure release: Let the pressure release naturally. This takes about 15 minutes. Carefully remove the lid once the pin drops.
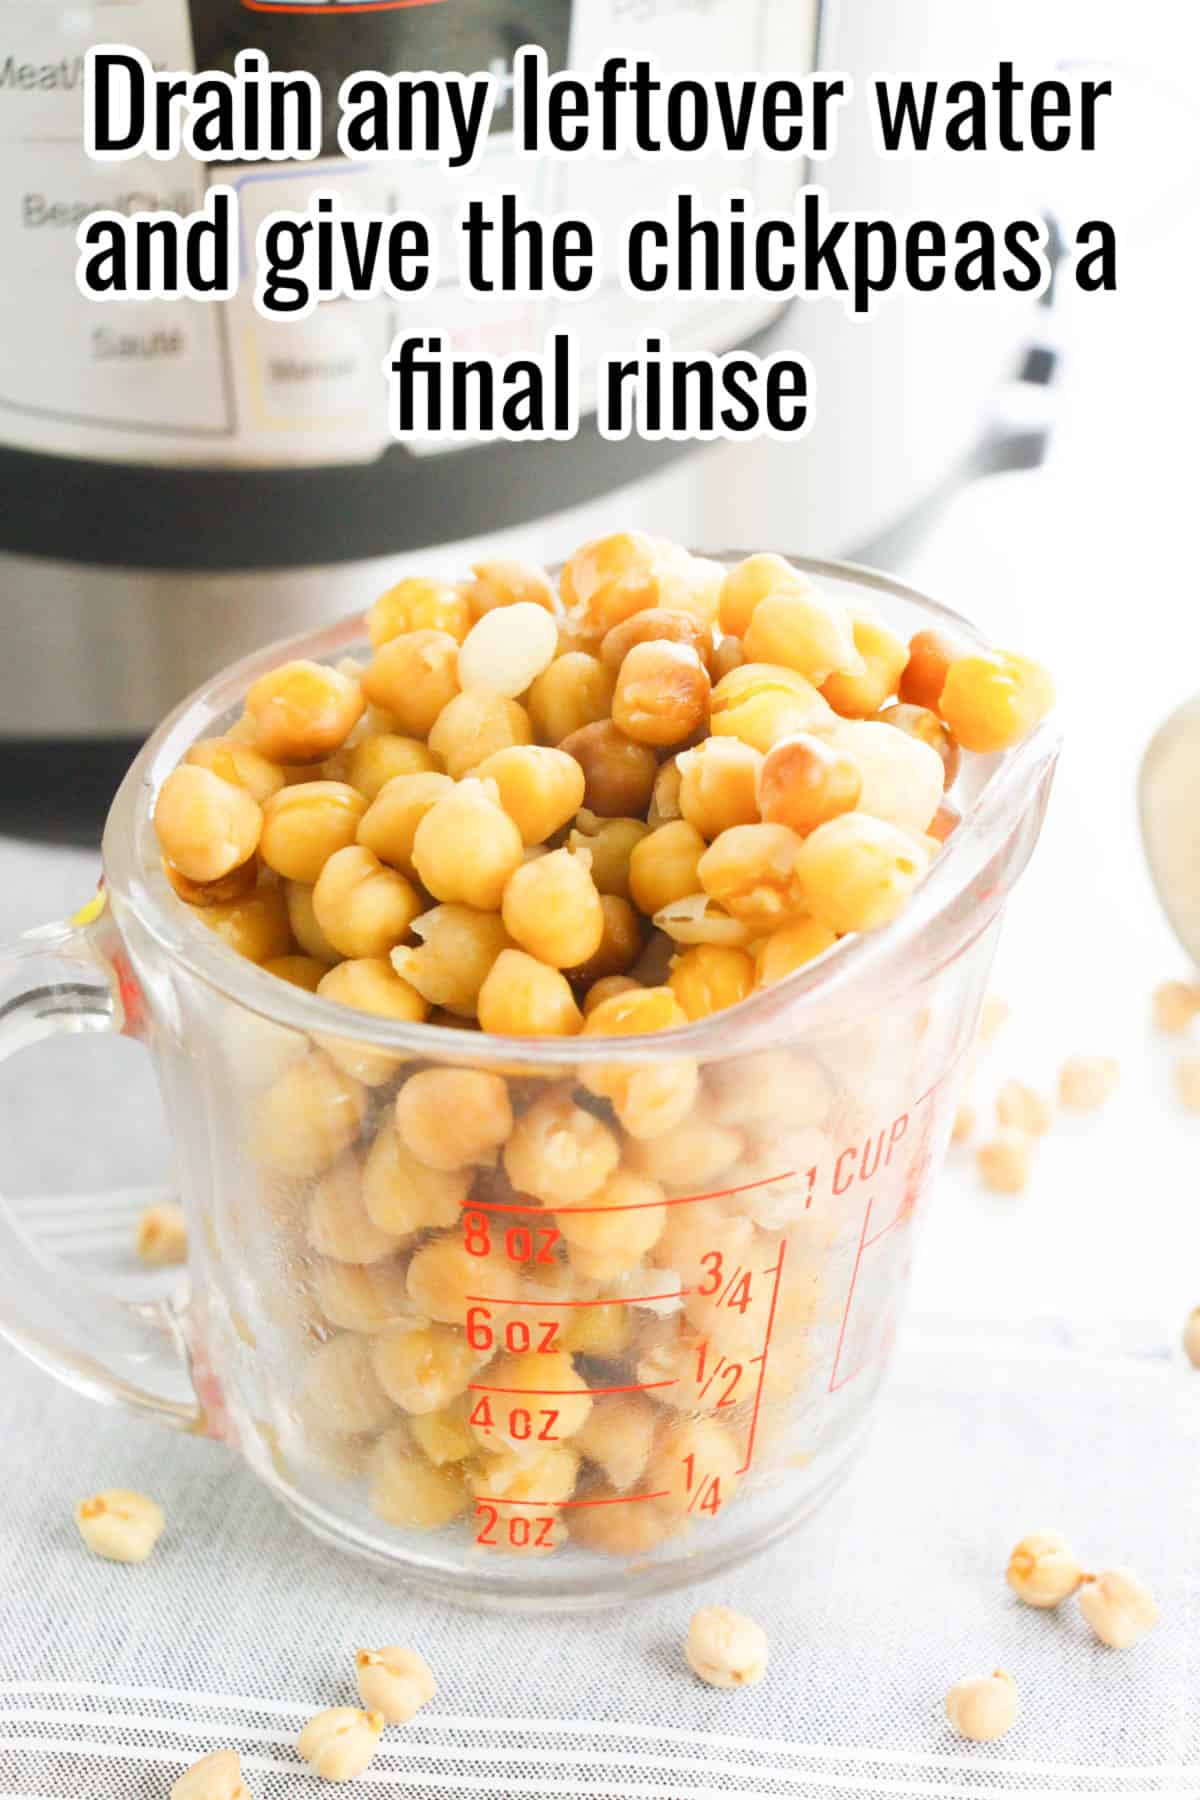
- Drain and rinse: Drain any remaining liquid and give the chickpeas a quick rinse. They’re ready to use or store!
Would you like to save this recipe?
Notes
- No soak needed! Seriously – just rinse and cook. No overnight prep required.
- Salt after cooking if you’re using the chickpeas in recipes like hummus or salads. Adding salt before pressure cooking can toughen the skins.
- Customize the flavor. Add bay leaves, garlic cloves, or a chunk of onion to the pot before cooking for extra depth.
- Batch it. Freeze extras in 1½-cup portions (the equivalent of one can).
- Cook time affects texture. For firmer chickpeas (great in salads), cook 35–40 minutes with full natural release. For creamy hummus? Stick to 50 minutes.
Nutrition Facts
Disclaimer
Nutritional information is an estimate and provided to you as a courtesy. You should calculate the nutritional information with the actual ingredients used in your recipe using your preferred nutrition calculator.


Leave a Reply