
Raspberry Jam Recipe
This post may contain affiliate links. See our affiliate policy here.
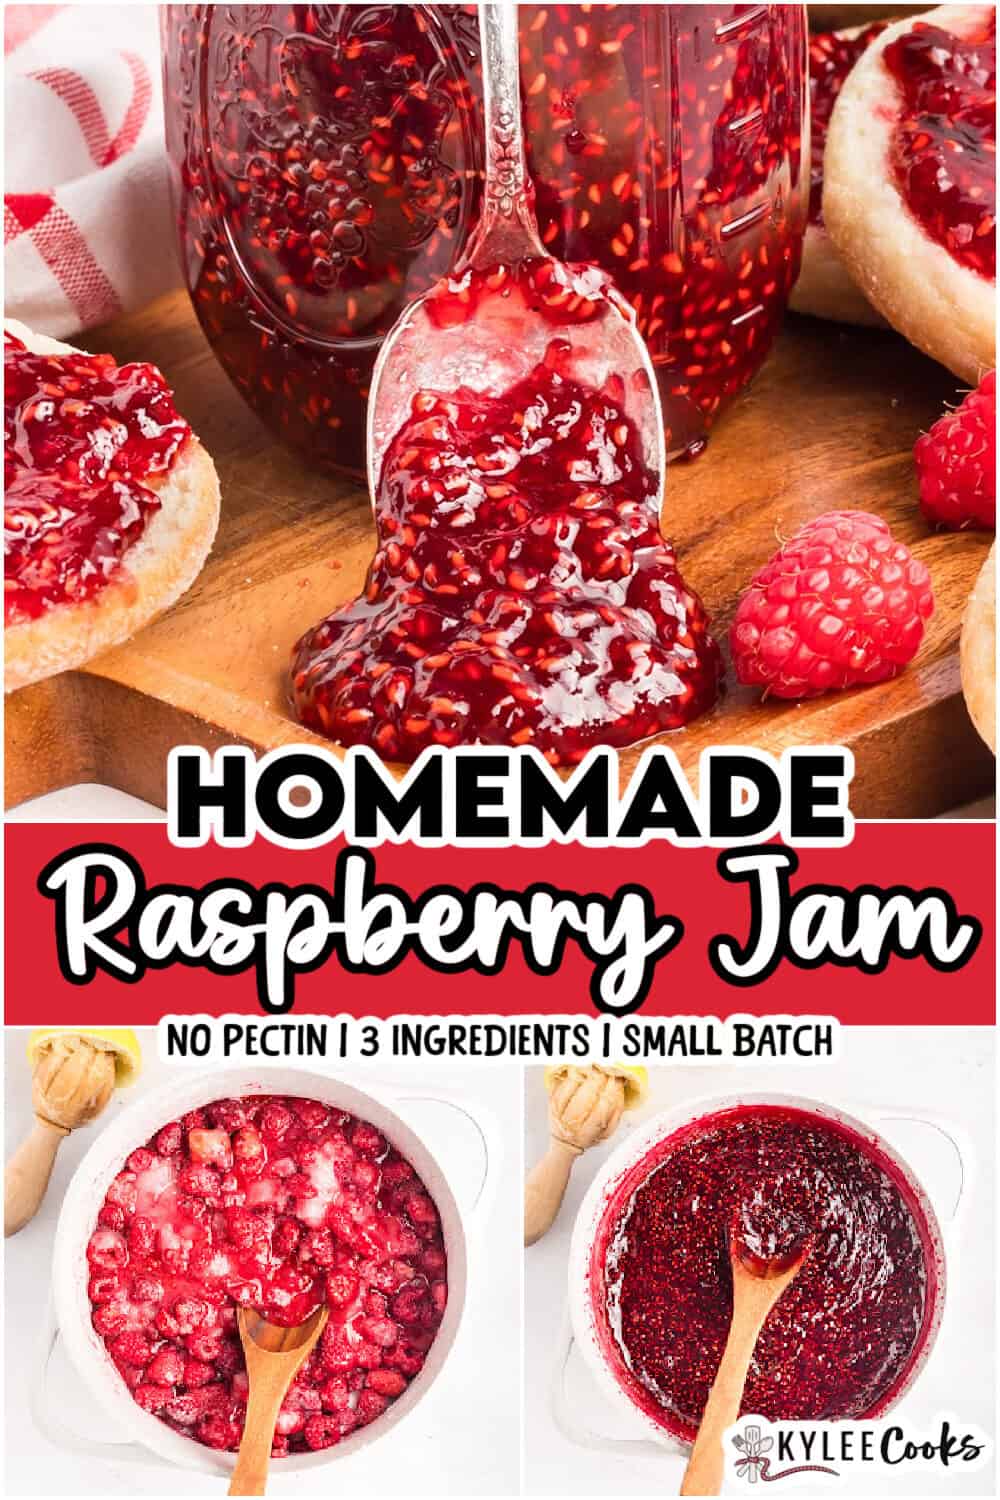
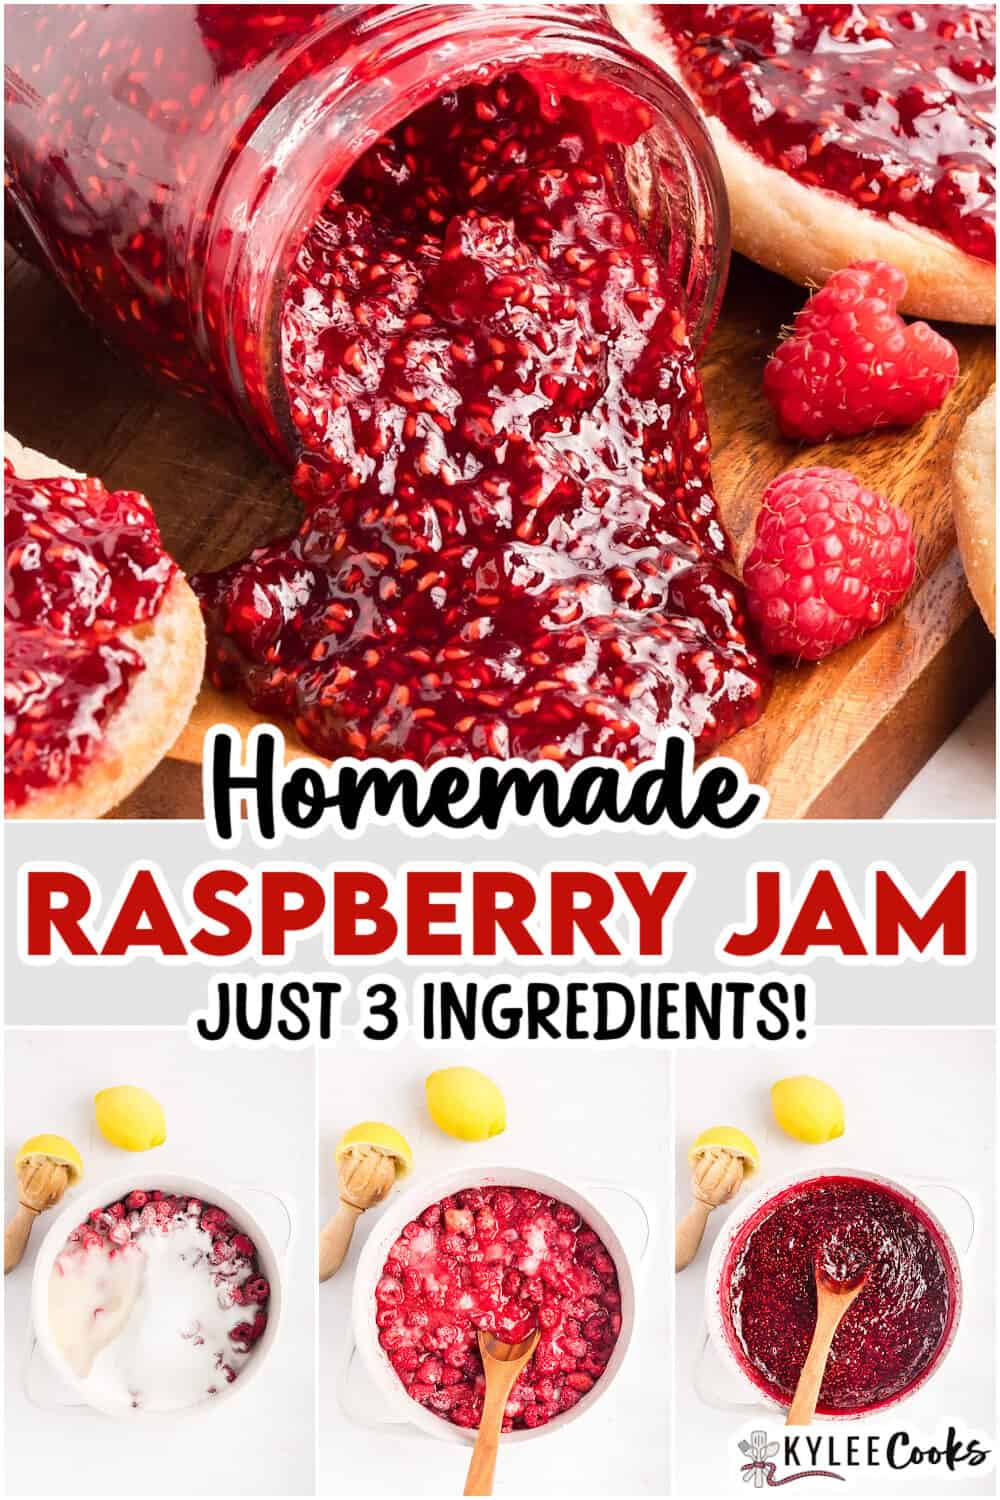
Homemade raspberry jam sounds fussy. It is not. 15 minutes of actual work, no pectin, no canning equipment – just raspberries, sugar, and lemon juice in a pot.
I’ve made this one enough times to stop measuring the raspberries by weight and just eyeball the bag. It’s bright, soft-set, and spreadable – the lemon juice keeps it from tasting flat-sweet the way some jams do.
Fresh or frozen both work, so no waiting around for peak berry season, no panic-buying pints when raspberries finally show up, and no tiny fruit flies staging a kitchen takeover if you’d rather keep a bag on hand for whenever the jam mood strikes. Makes 2 jars – one for the fridge, one to give away.
Step-by-step photos and instructions are below. Jump to the recipe card if you wish!
Why you’ll love this
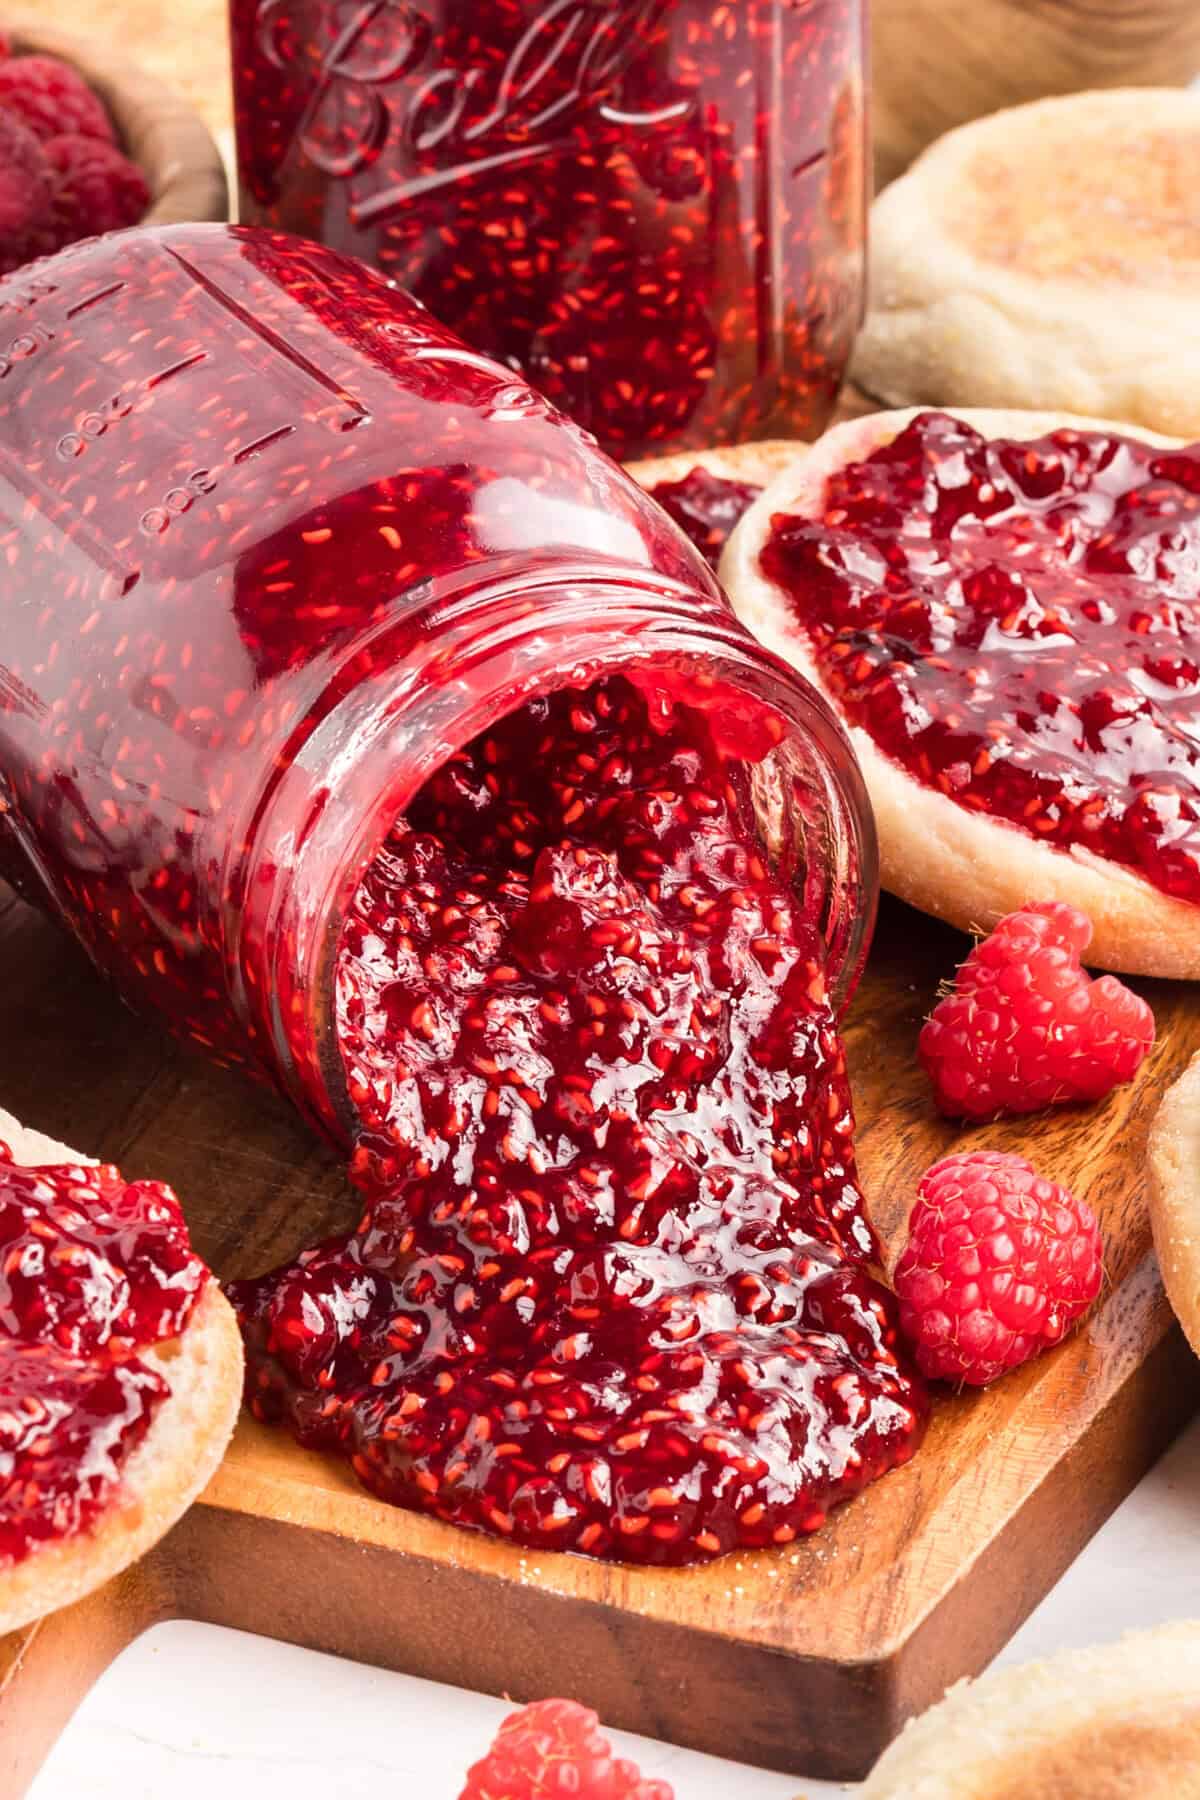
No pectin means no extra box to buy, but it also means the set comes entirely from sugar, heat, and time on the stove. Cook it to 220°F (104°C) and it’ll hold – pull it early and you’ll know by how loose it looks on a cold spoon.
- Simple. Just raspberries, sugar, and lemon juice.
- No pectin. Great when you want jam without extra ingredients.
- Fresh or frozen berries. Make it any time of year.
- Great for gifting. Cute jars, pretty color, done.
- Small batch. Makes 2 jars, so you are not committing your entire afternoon to a jam factory situation.
Love small batch jam? There’s a strawberry version, and Blueberry Chia version too!
Can you can this to make it shelf stable?
Not as written. This version is a refrigerator and freezer jam, and it is not processed for pantry storage. If you want a shelf-stable jar, follow a tested water bath canning or atmospheric steam canning process. USDA and Penn State Extension both have guidance for cooked jams and fruit spreads, and processing times can change depending on your altitude. Simply spooning hot jam into jars and setting them on the counter is not the same as canning. If shelf stability matters to you, follow an actual tested recipe for that part, not this one
Step-by-step photos and tips and tricks are below. Jump to the full recipe card instead
Key Recipe Ingredients
Note: This highlights some ingredients. Full list is in the recipe card.
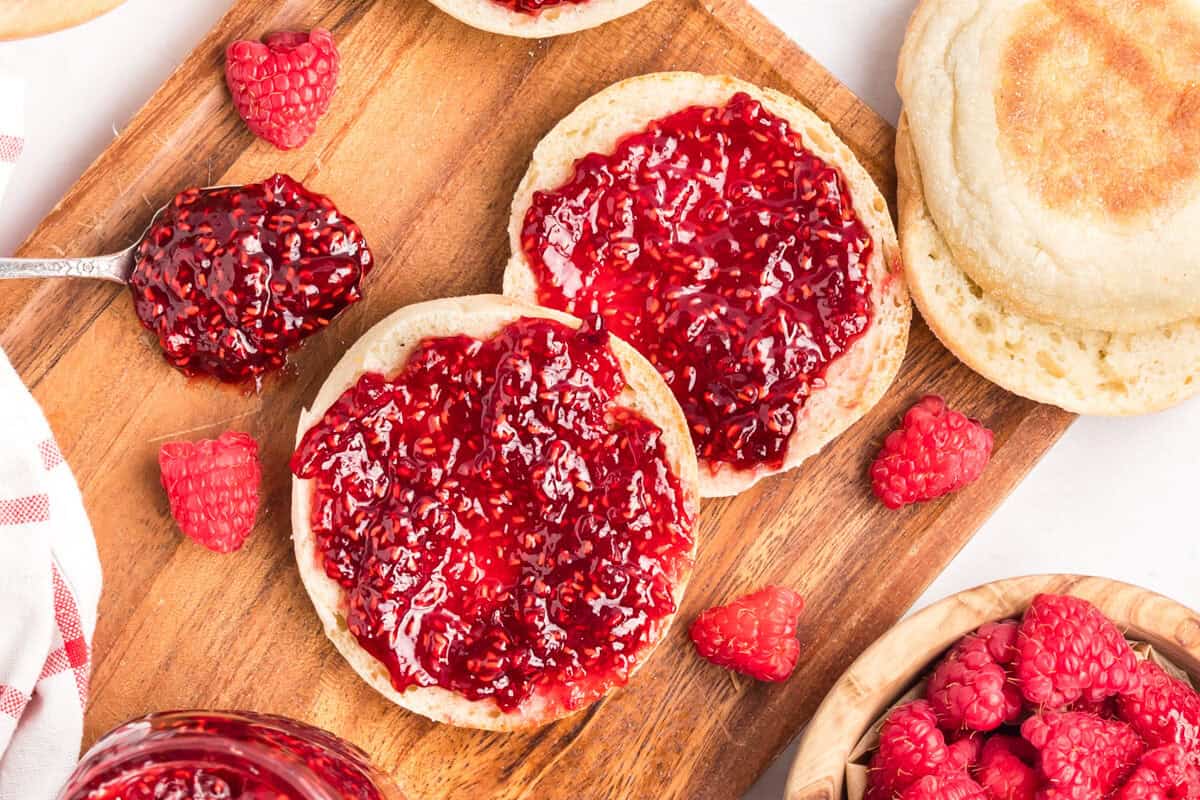
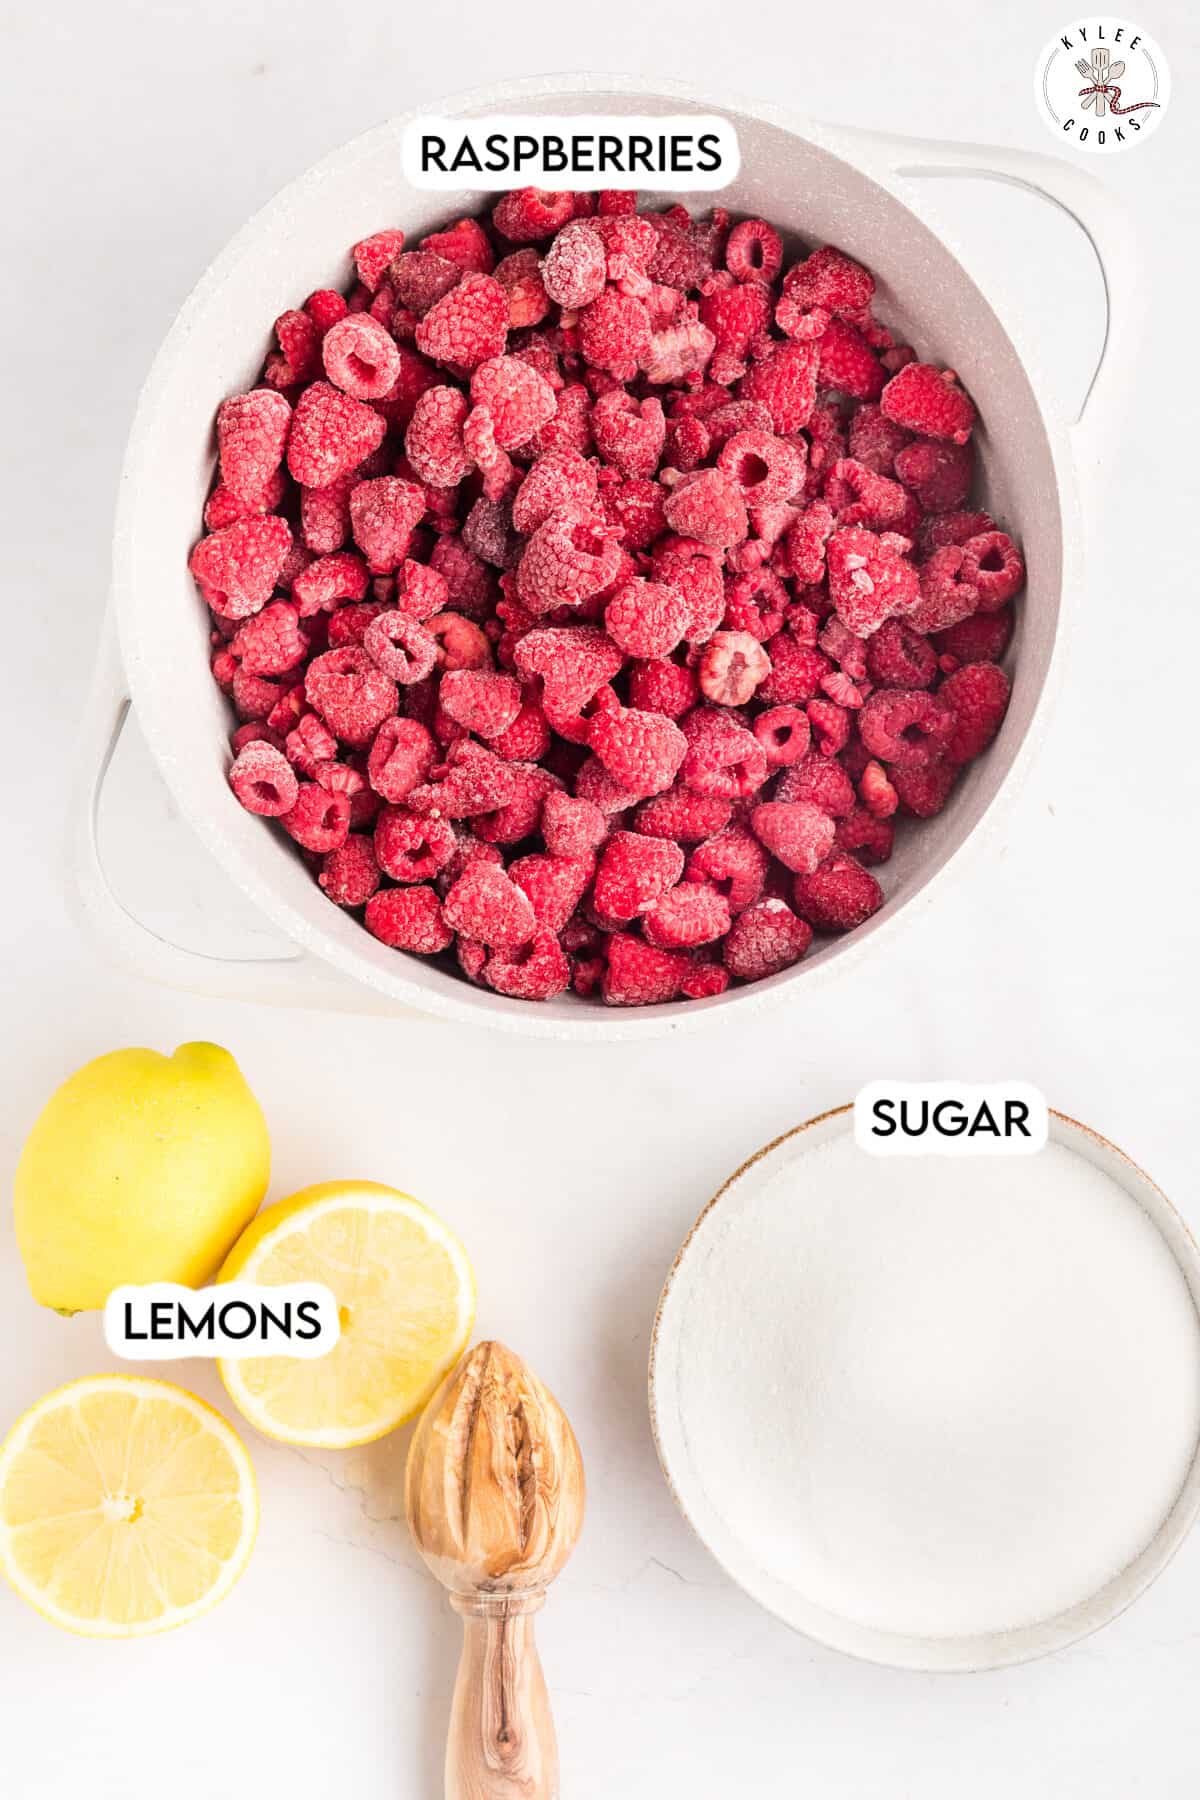
- Raspberries. Fresh or frozen both work, and frozen doesn’t need to thaw first – straight from the bag to the pot.
- Sugar. This isn’t just for sweetness. It’s doing the actual thickening work here since there’s no pectin, so don’t get cute and cut it back or your jam won’t set.
- Lemon juice. The acid that keeps this from tasting like straight sugar syrup. Skip it and the jam goes flat and one-note fast. Fresh tastes best here – if you’re canning, use the type of lemon juice your specific tested canning recipe calls for.
Would you like to save this recipe?
How to make this recipe
This is a step-by-step photo guide. Full ingredients and instructions are in the printable recipe card below.
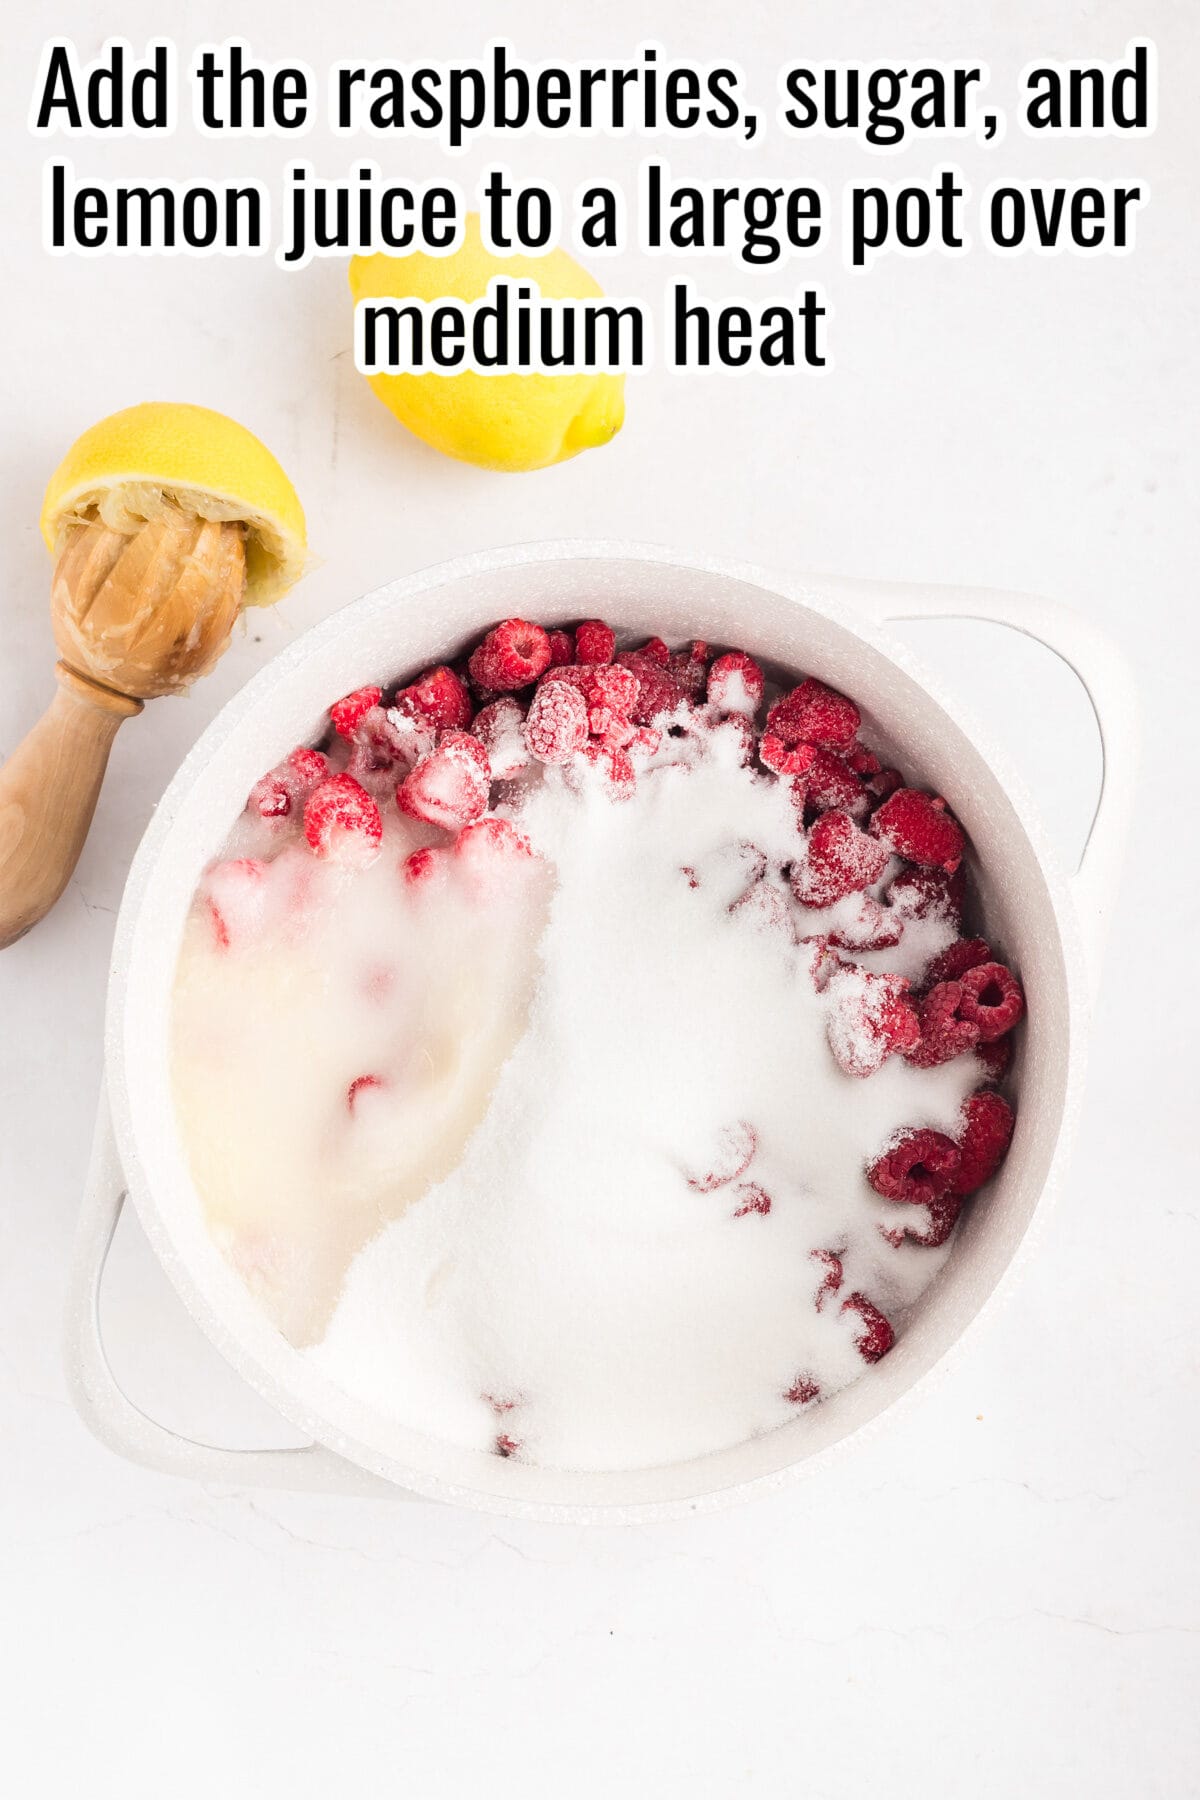
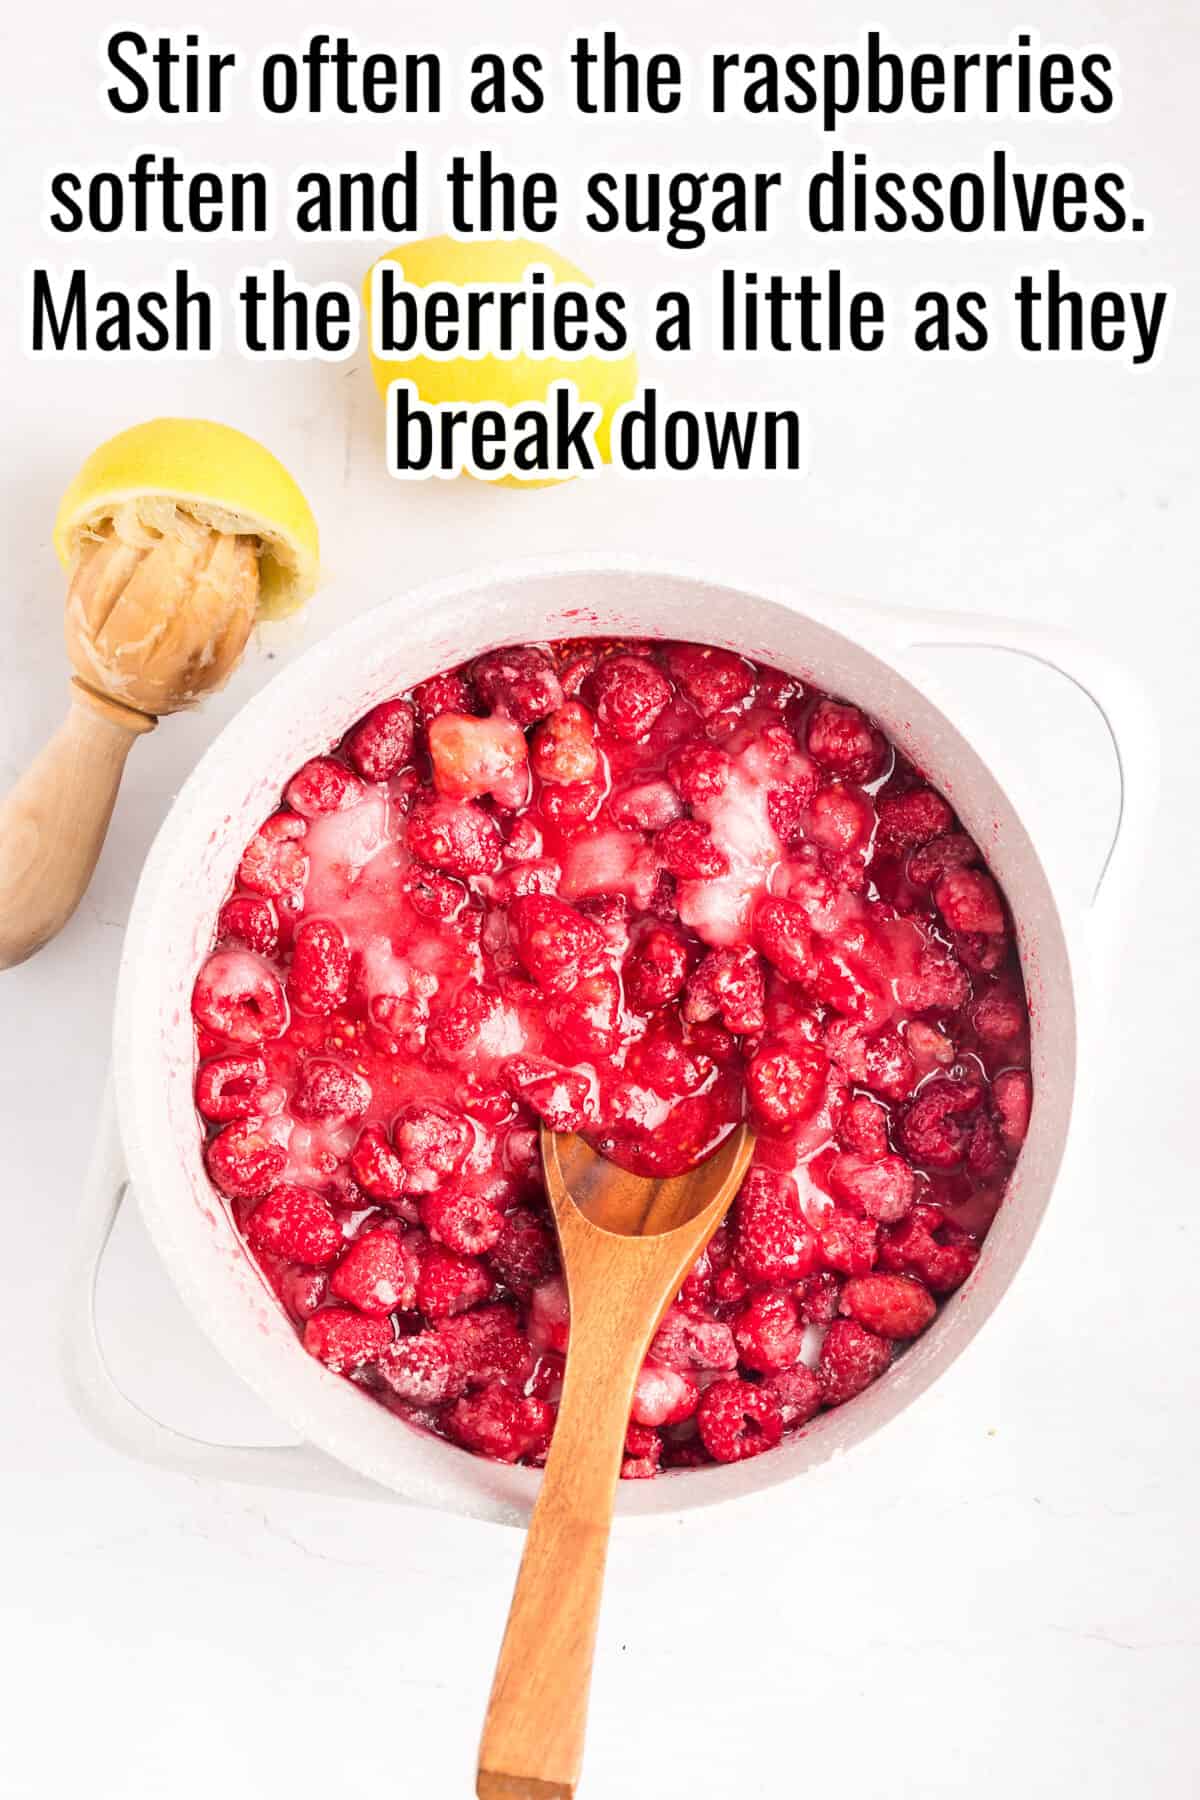
Get it going. Toss the raspberries, sugar, and lemon juice into a large pot over medium heat. Frozen berries don’t need to thaw first – they’ll soften right along with everything else. Stir often as the sugar dissolves and the raspberries start to break down, mashing them a little with your spoon as they go. You’ll end up with a chunky, glossy mixture that already smells like jam.
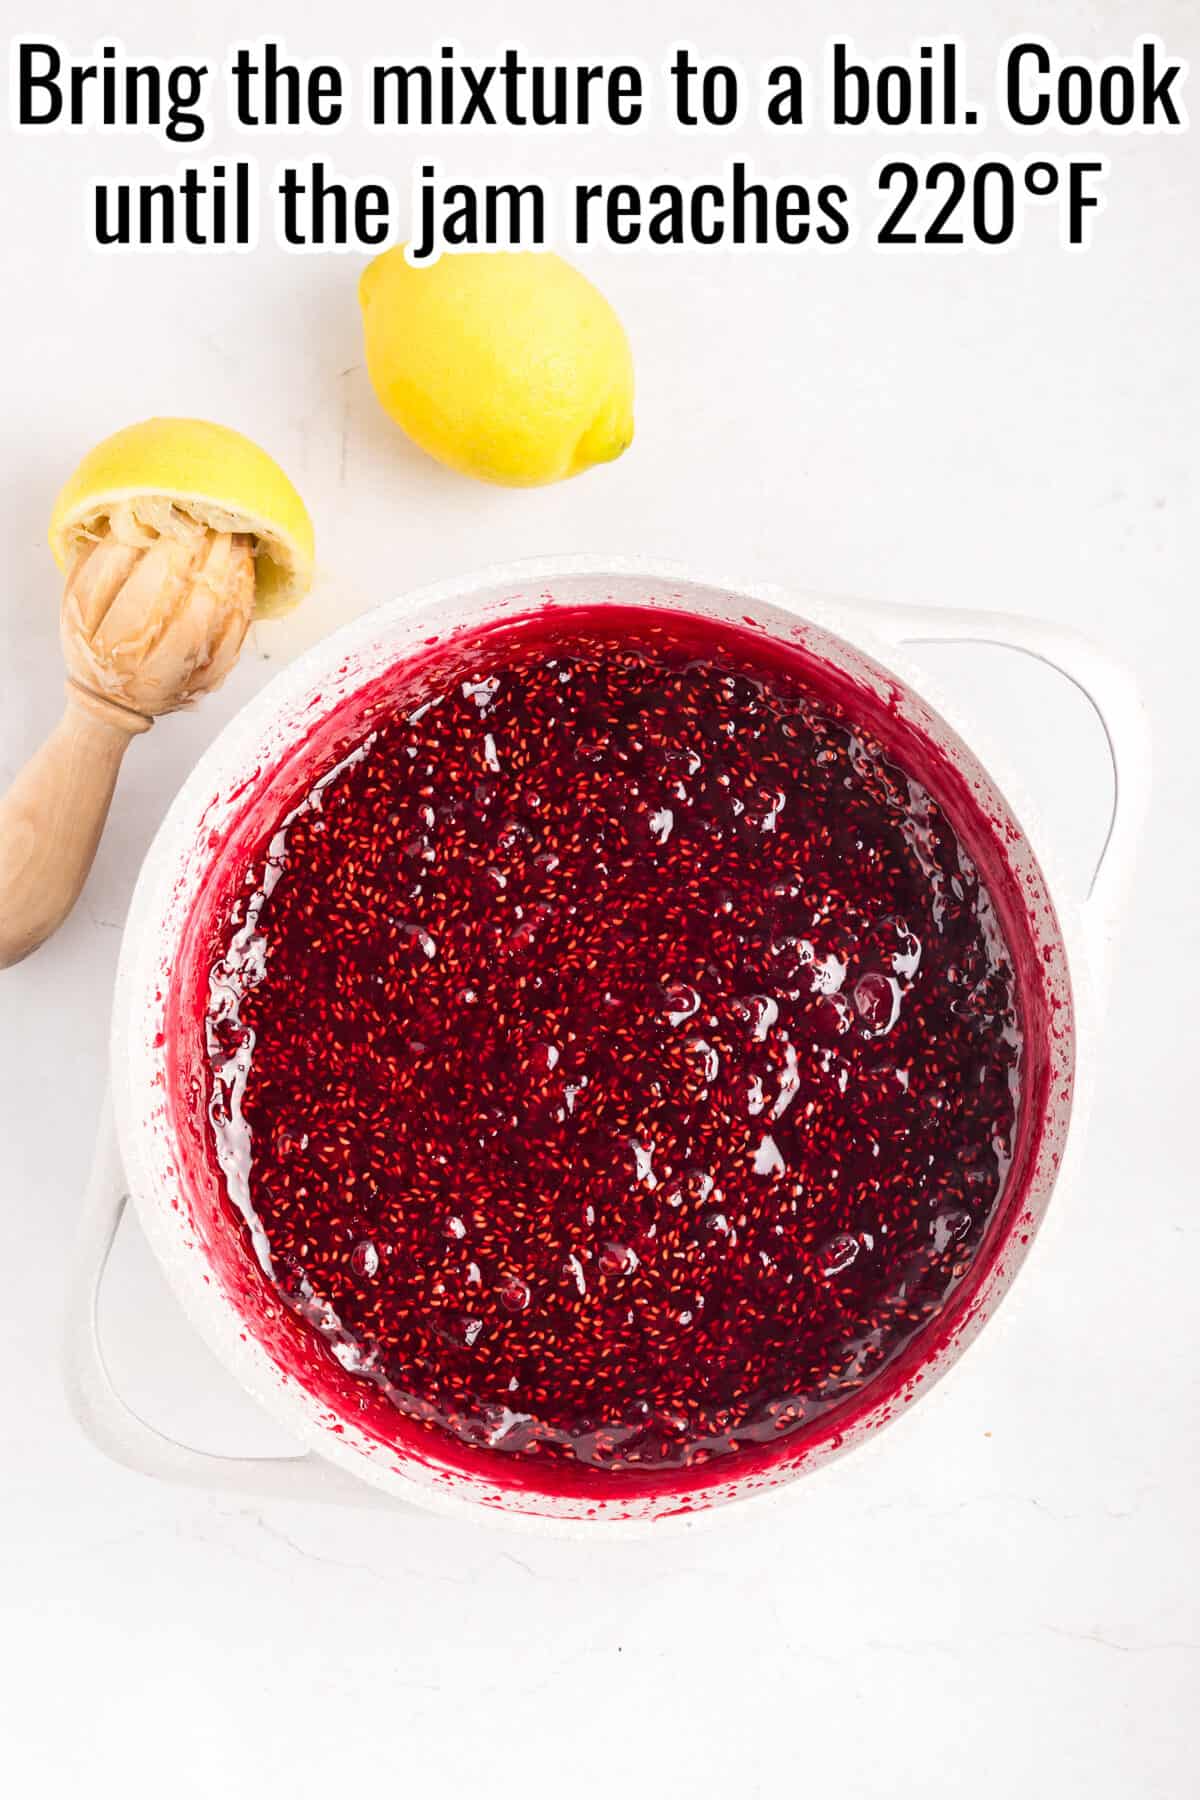
Boil it, then jar it. Turn the heat up to medium-high and bring everything to a boil, stirring so it doesn’t catch on the bottom. Keep cooking until a thermometer hits 220°F (104°C) – that’s the number that tells you it’s actually going to set. Once it’s there, spoon the hot jam into clean jars, let them cool on the counter, then move them to the fridge. Give it 12 to 24 hours before you spread any on toast. It firms up as it sits.
Kylee’s Notes
- Use a large enough pot. Jam bubbles up more than you think, and nobody needs sticky raspberry lava on the stove.
- A candy thermometer is the easiest way to check the set. The jam should reach 220°F (104°C), which helps it thicken properly.
- Stir often, especially once it starts boiling. Sugar can catch on the bottom of the pot quickly.
- Let the jam sit for 12-24 hours before judging the texture. It thickens more as it cools and rests.
- This is a no-pectin jam, so it may be a little softer than store-bought jam. That is normal and honestly kind of lovely.
How to store jam
Refrigerator
Store raspberry jam in clean, covered jars in the fridge for up to 3 weeks.
Freezer
Freeze in freezer-safe jars or containers for up to 6 months. Leave a little space at the top since jam expands as it freezes.
Recipe Tips & Troubleshooting
- My jam is too runny. It may not have cooked long enough or reached 220°F (104°C). Simmer it a little longer and test again. Be sure to use a digital thermometer.
- My jam is too thick. It may have cooked too long. Warm it gently with a small splash of water to loosen it.
- The jam tastes too sweet. Add a tiny squeeze of lemon juice after cooking to brighten it up.
- The jam scorched on the bottom. The heat was likely too high, or it needed more stirring. Use medium to medium-high heat and stir often.
- The jam has lots of seeds. Raspberry jam is naturally seedy. You can strain some of the mixture if you want a smoother texture, but it will be closer to jelly.
- The jam foamed a lot. That is normal. Skim off the foam with a spoon before adding the jam to jars if you want a cleaner look.
FAQs
You can reduce it a little, but the jam may be softer and may not set the same way.
No. This recipe thickens with sugar, lemon juice, and cooking time.
No. Seeds are part of raspberry jam. If you want it smoother, strain some of the cooked mixture before jarring.
More recipes to love
- Raspberry Crumb Muffins. A spoonful of jam gets baked right into the middle of these – it’s basically the whole reason the recipe exists.
- Peanut Butter and Jelly Bars. Trade the strawberry jam for yours and you’ve got a bar recipe running on something you actually made.
- Strawberry Cheesecake French Toast Roll Ups. Raspberry’s already on the approved swap list here, so this is next on the list once the jars are cool.
- Raspberry Cheesecake Cookies. Strain out the seeds first, then this is exactly what the topping was made for.
Get free recipes in your inbox!
Find me on Pinterest, Facebook & Instagram.
If you make this recipe, please comment and let me know how it turned out and leave a star rating! ⭐⭐⭐⭐⭐
Raspberry Jam Recipe
Ingredients
- 30 ounces raspberries fresh or frozen
- 3 ½ cups white sugar
- 5 tablespoons lemon juice about ⅓ cup minus 1 teaspoon, or 2.5 fluid ounces
Instructions
Get prepped
- Set out 2 clean 16 ounce jars with lids. Measure the raspberries, granulated white sugar, and lemon juice.
Cook the jam
- Add the raspberries, sugar, and lemon juice to a large pot over medium heat. Stir often as the raspberries soften and the sugar dissolves. Mash the berries a little as they break down.30 ounces raspberries, 3 ½ cups white sugar, 5 tablespoons lemon juice
Boil the jam
- Increase the heat to medium-high and bring the mixture to a boil. Cook, stirring often, until the jam reaches 220°F (104°C). This should take about 7-9 minutes once it starts boiling.
Finish the jam
- Keep boiling for another 3 minutes, stirring the whole time so it does not scorch on the bottom.
Jar and cool
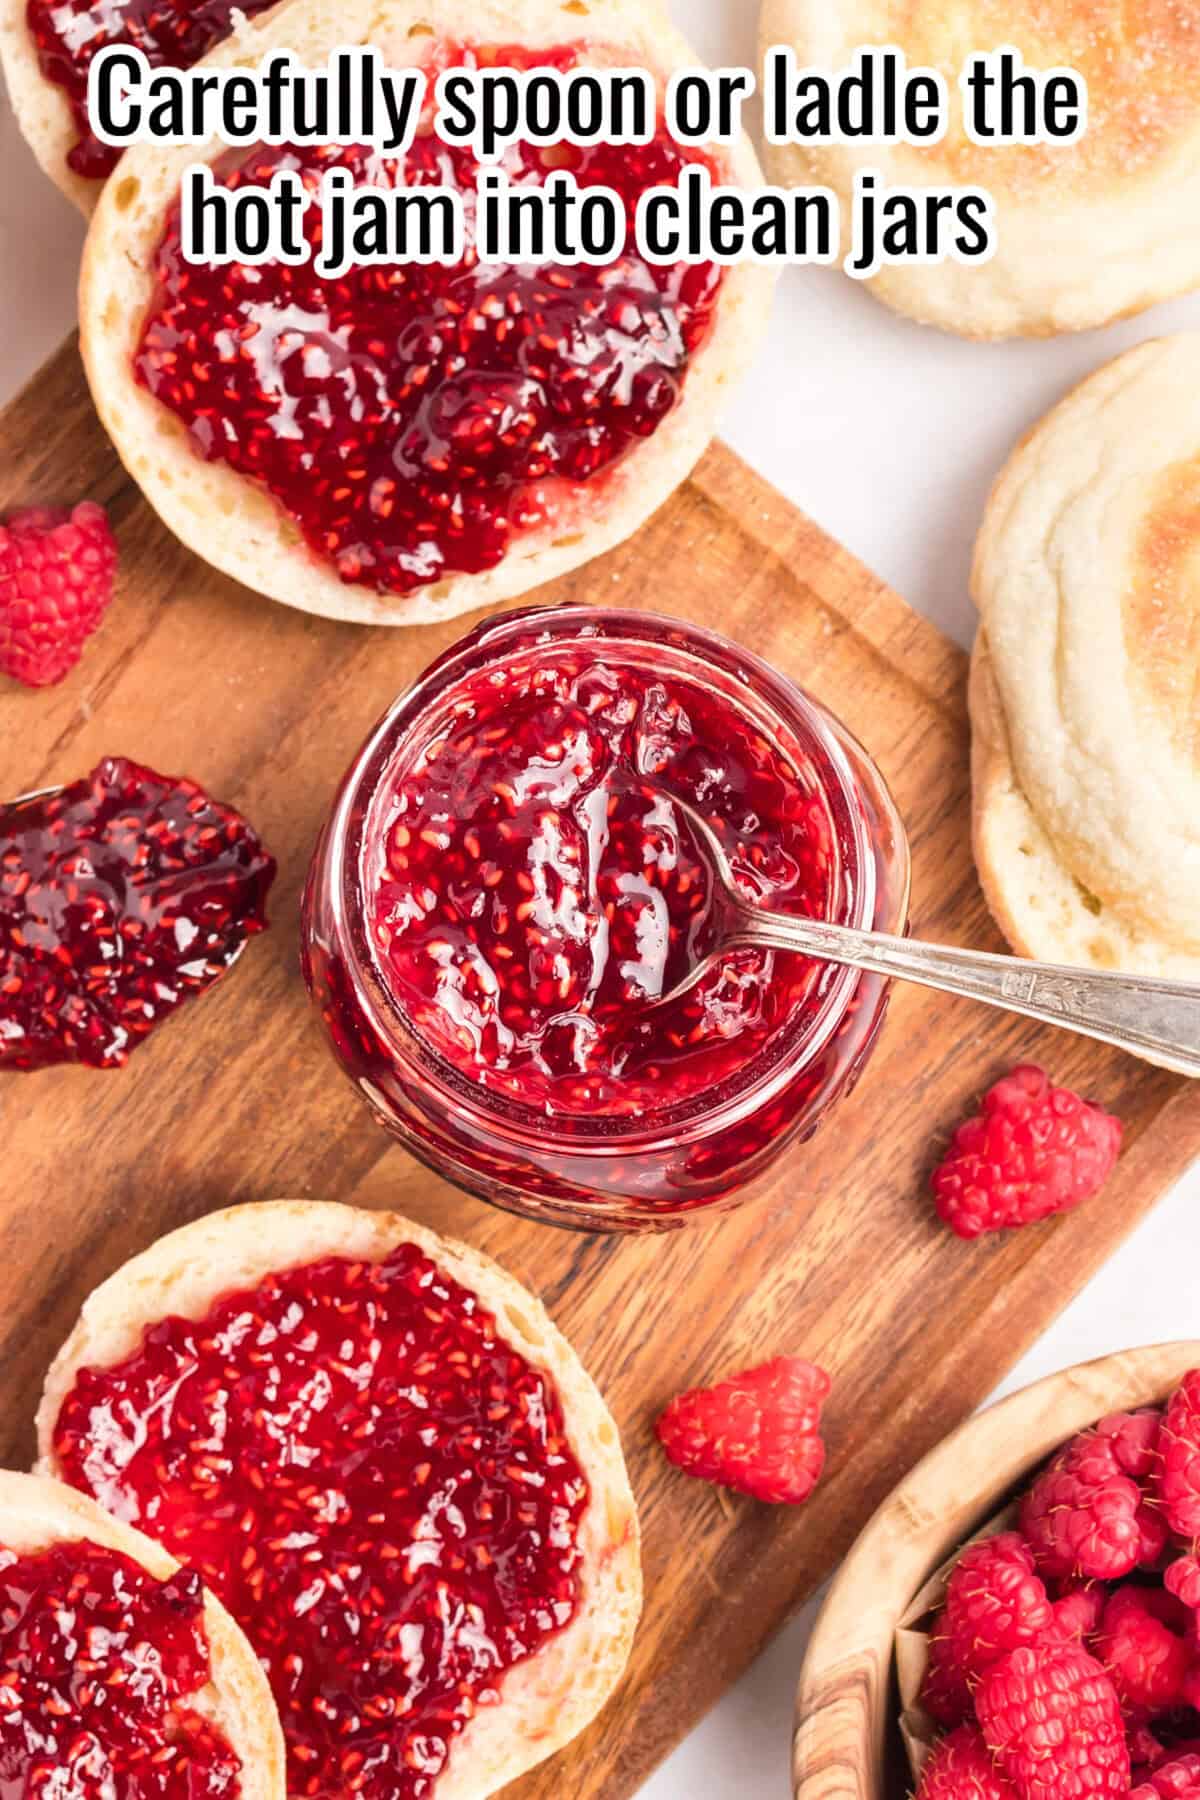
- Carefully spoon or ladle the hot jam into clean jars. Add the lids, let the jars cool at room temperature, then refrigerate. Let the jam sit for 12-24 hours before using so it can finish setting.
Notes
- Use fresh or frozen raspberries.
- Do not thaw frozen raspberries first.
- Stir often so the sugar does not scorch.
- Use a thermometer for the best set.
- Let the jam sit overnight before using.
- Store this as refrigerator or freezer jam unless properly canned.
Would you like to save this recipe?
Nutrition
Nutritional information is an estimate and provided to you as a courtesy. You should calculate the nutritional information with the actual ingredients used in your recipe using your preferred nutrition calculator.
Did you make this recipe?
Make sure to follow @kyleecooks on Instagram for more and tag me #kyleecooks so I can see!
About Kylee Ayotte
I am a born and raised New Zealander (a Kiwi), now living in Phoenix, Arizona. I’m happily married to the love of my life – a hot American boy I met while traveling the world. I’m a mama to 2 awesome little boys and love red things, rugby, cheesecake, and bacon. Mmmmm. Bacon. Meet Kylee




I previously made your strawberry jam, which was fabulous. So after visiting a u-pick farm in Washington and bringing home some fresh raspberries, I came back to your website and just made this last night. It did not disappoint! Thank you for sharing!
Thank YOU so much for coming to rate and comment! Makes a huge difference to me 🙂