Layered Greek Dip (Easy 15-Minute Appetizer)
This post may contain affiliate links. See our affiliate policy here.
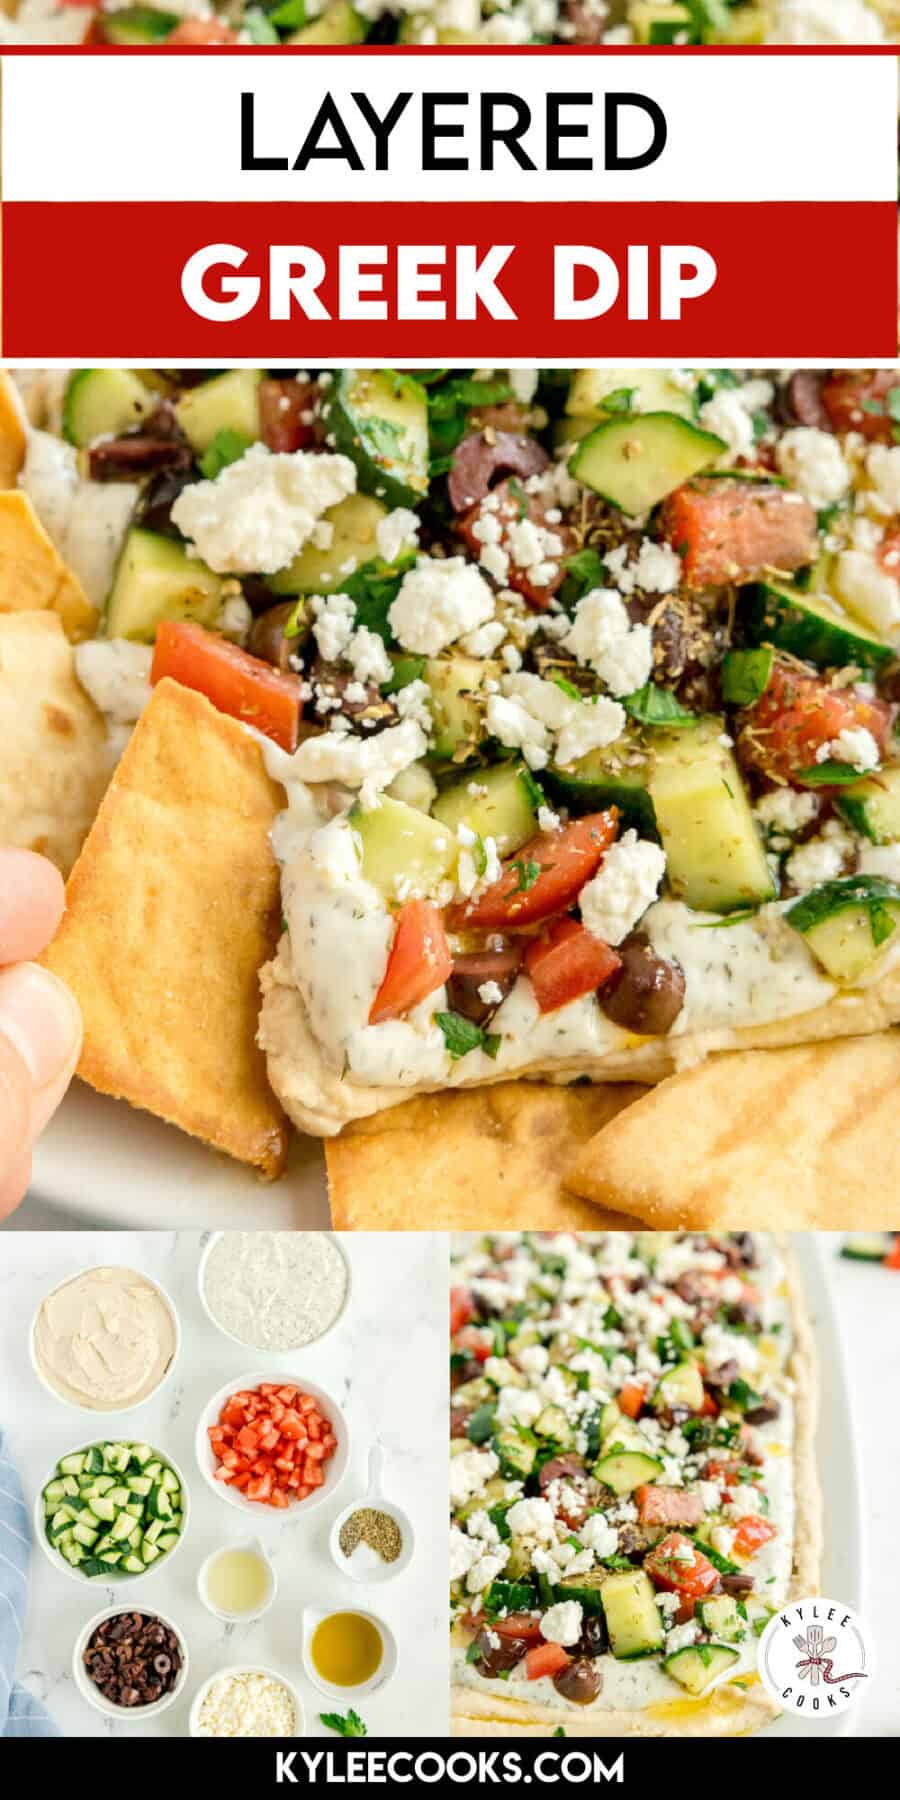
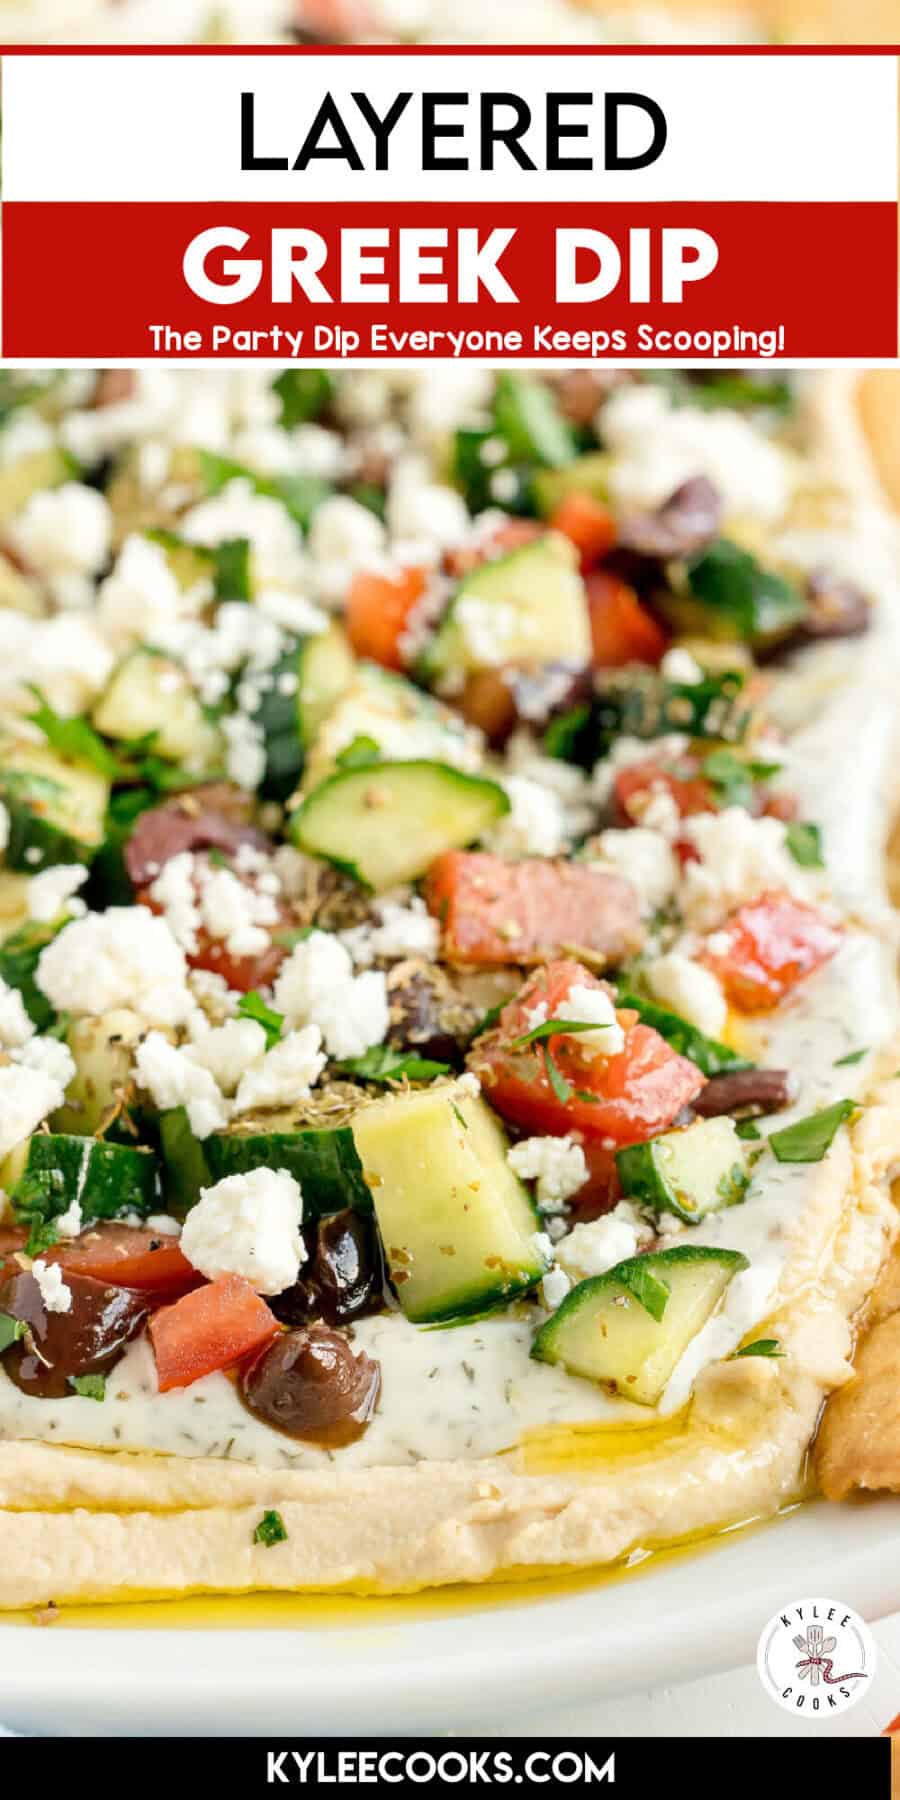

This layered Greek dip is ridiculously good for how little work goes into it. Hummus and tzatziki get topped with tomatoes, cucumber, kalamata olives, feta, and a lemony oregano dressing. It takes 15 minutes, with no cooking required.
The thing that makes it so good is the topping. Instead of just piling raw vegetables on top, I toss them with lemon juice, olive oil, and oregano first. They sit while you build the layers, so you basically end up with a little Greek salad on top of the dip.
Serve it with pita chips or warm pita bread and watch it disappear. It’s vegetarian, easy to scale for a crowd, and looks like you put in considerably more effort than you actually did.
Step-by-step photos and instructions are below. Jump to the recipe card if you wish!
Why you’ll love this
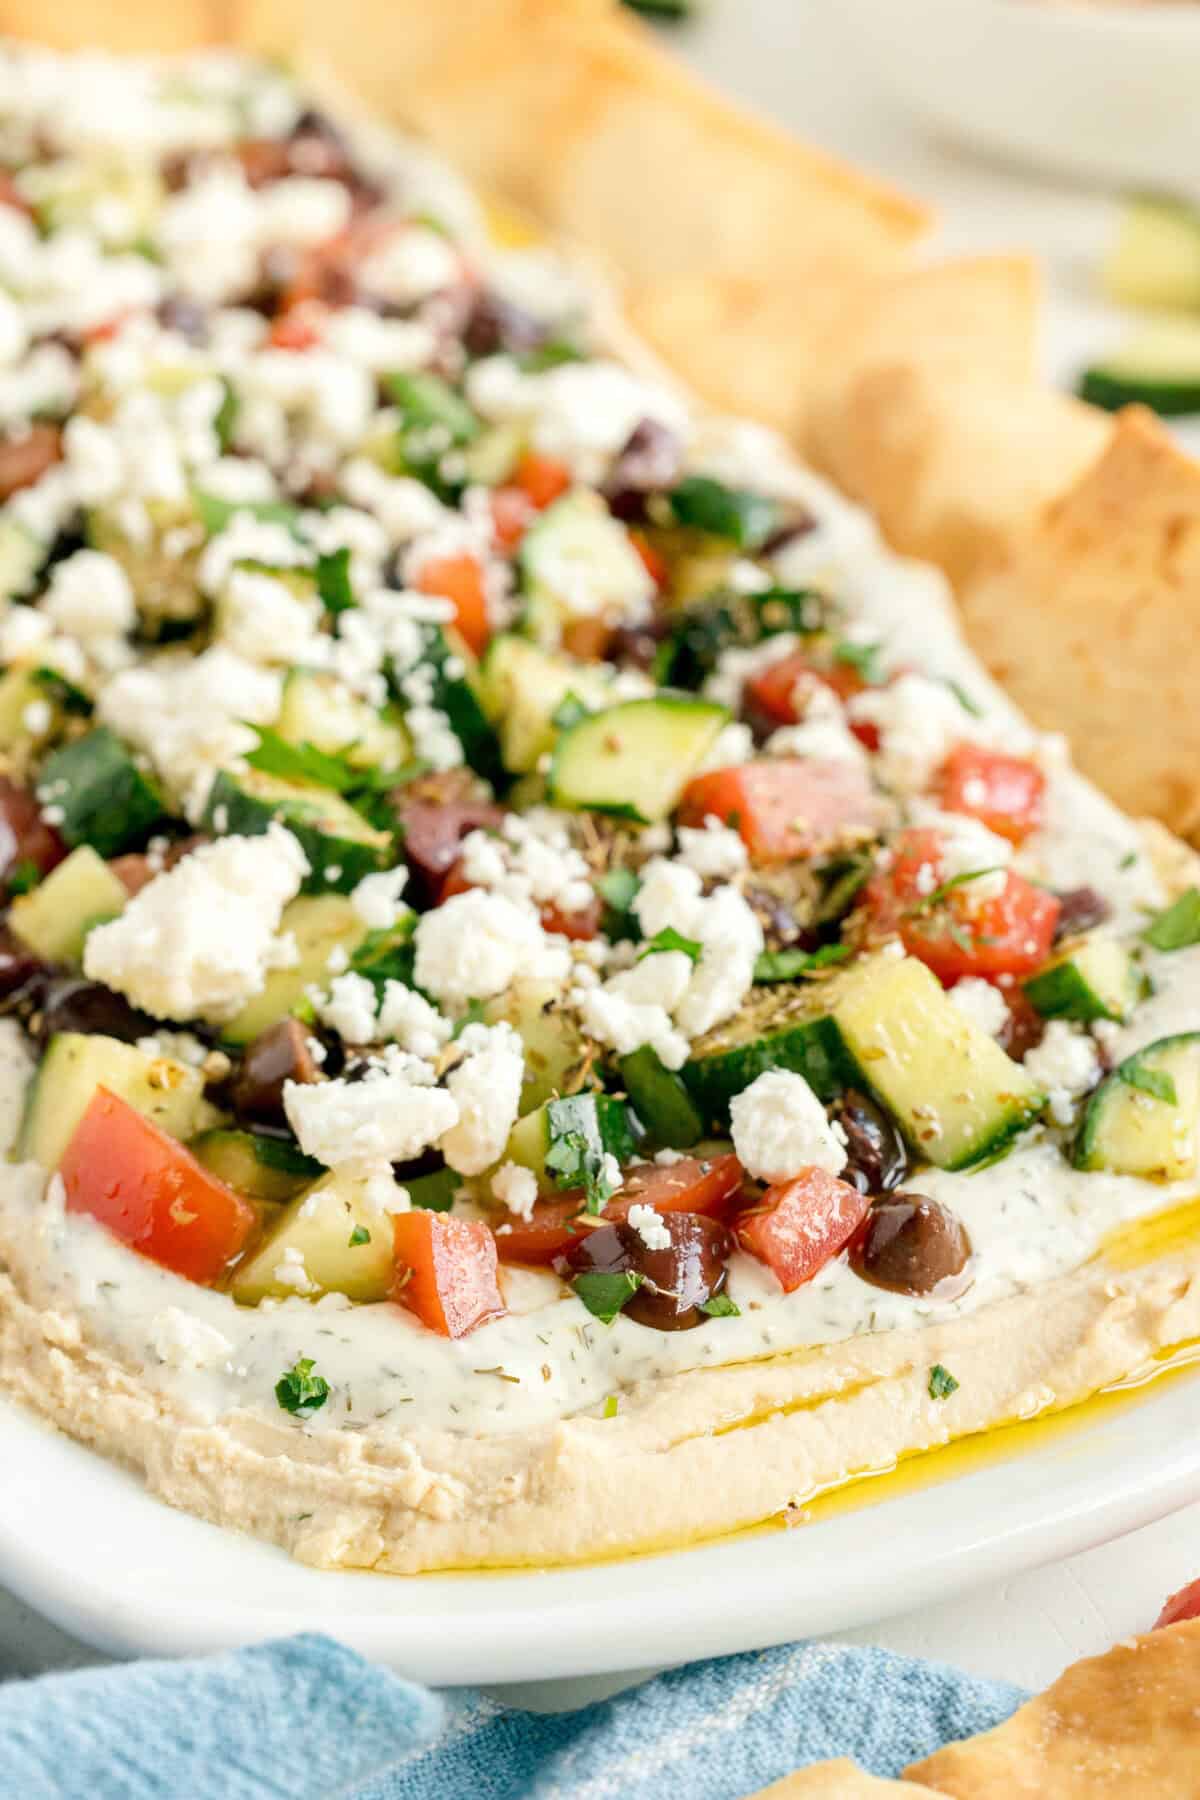
You get something different in every layer – creamy hummus, cool tzatziki, crisp vegetables, briny olives, and salty feta. Cutting the toppings small means you can actually get a little of everything in every scoop of this Greek dip.
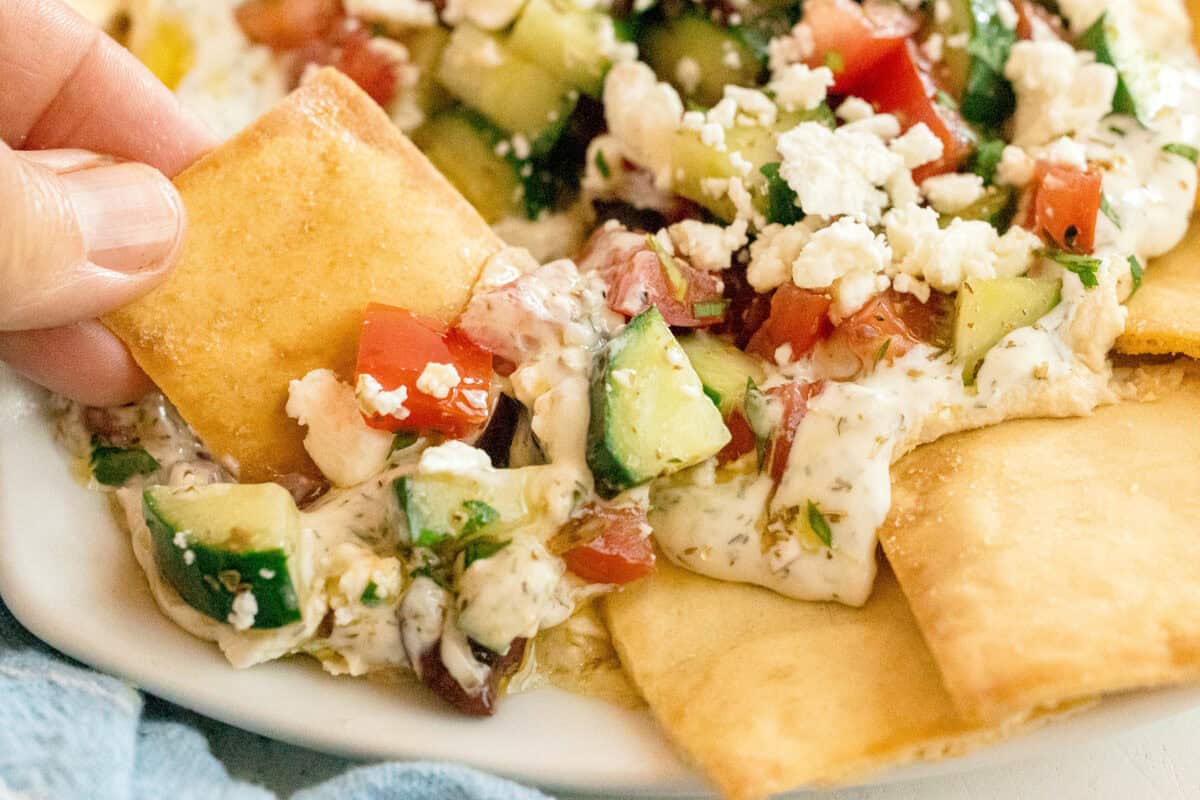
- Easy to scoop. Everything is diced small enough to fit on a pita chip.
- Plenty of texture. Creamy, crunchy, and crumbly all in one bite.
- Easy shortcuts. Store-bought hummus and tzatziki work just fine.
- Easy to scale. Use a bigger platter or make two for a larger crowd.
Can I Make Greek Dip Ahead of Time?
Yes. Prep the hummus, tzatziki, vegetables, and feta the day before and store them separately. Assemble the dip within an hour of serving so the layers stay fresh and don’t get watery.
How to Keep Greek Dip From Getting Watery
Seed the tomatoes, use English cucumber, and drain thin tzatziki if needed. Assemble the dip within an hour of serving so the vegetables don’t have time to release too much liquid.
Step-by-step photos and tips and tricks are below. Jump to the full recipe card instead
Key Recipe Ingredients
Note: This highlights some ingredients. Full list is in the recipe card.
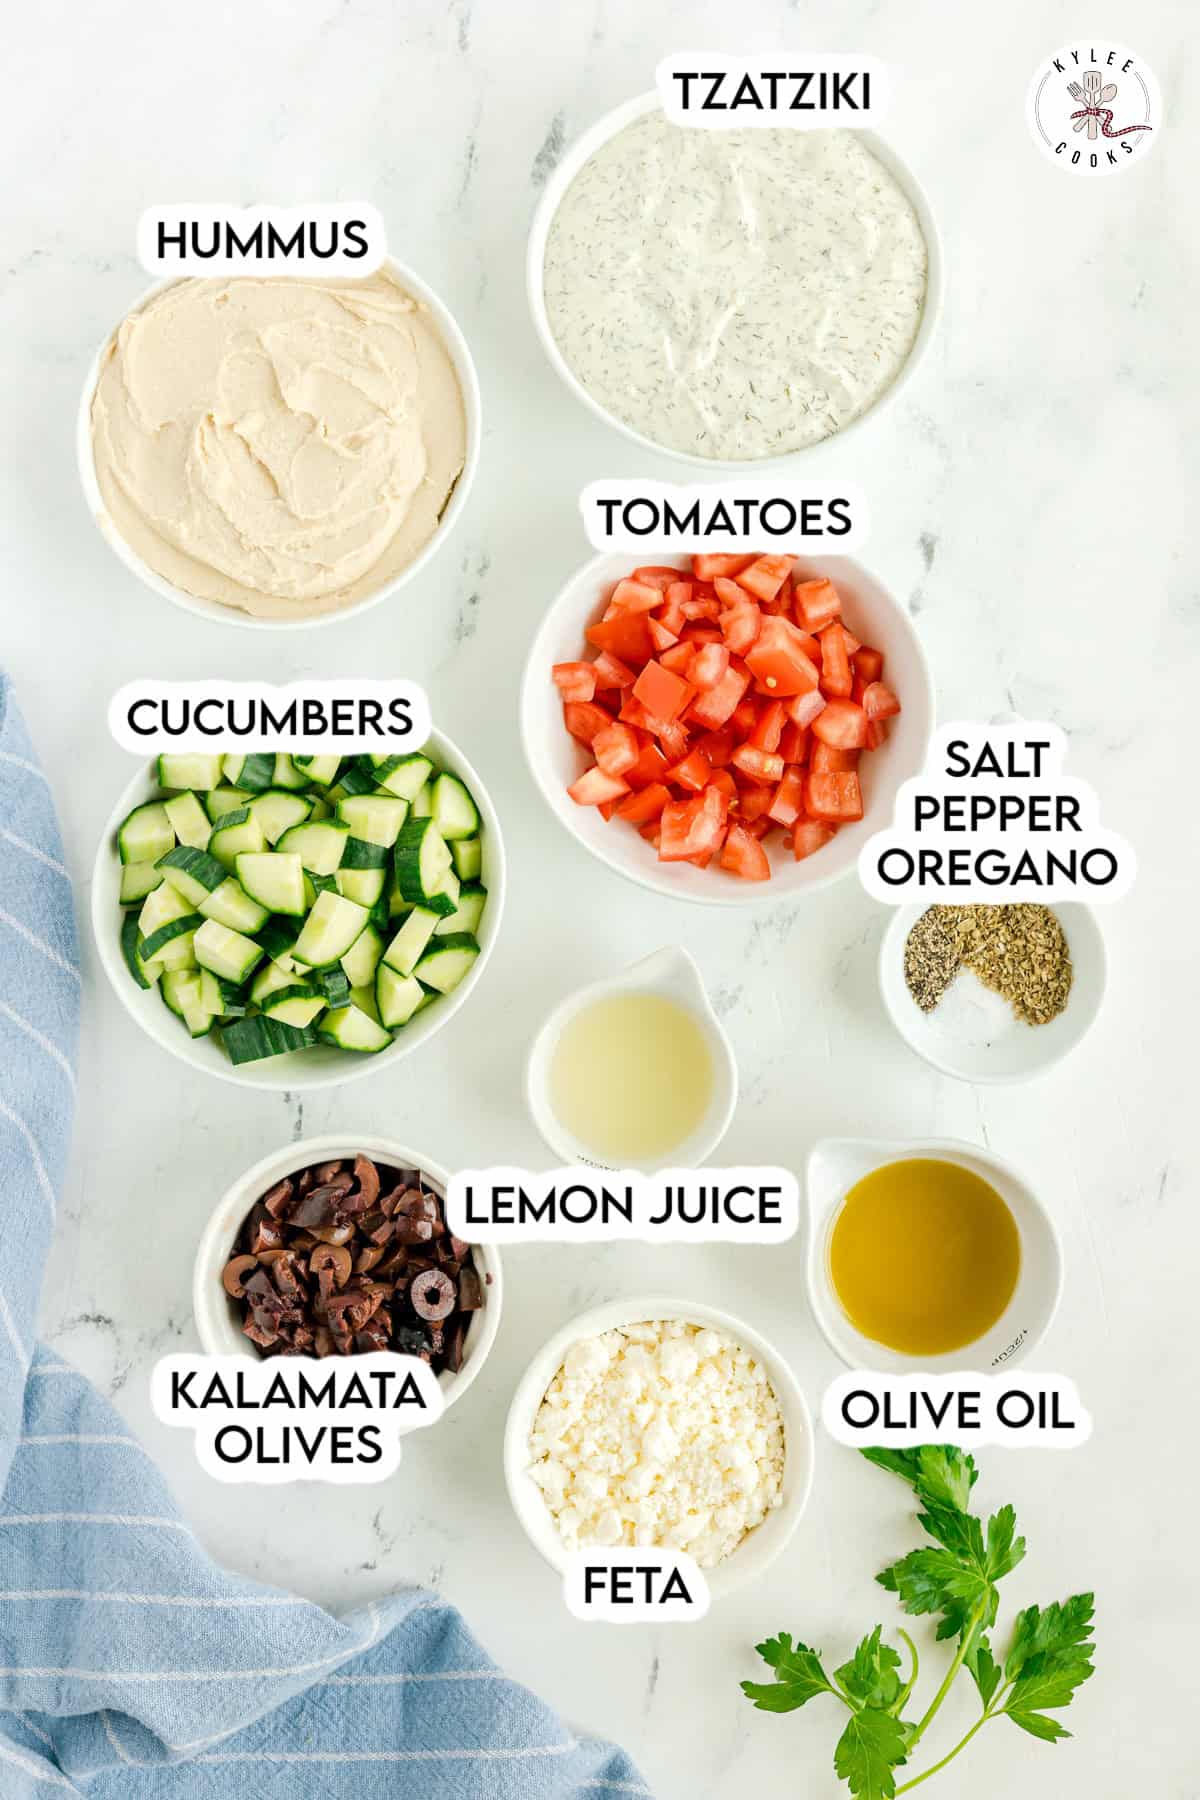
- Hummus. Store-bought works great here – use whatever plain or roasted garlic variety you like. If you want to make your own, my roasted garlic hummus is worth it.
- Tzatziki. Same deal – store-bought is fine, usually near the hummus in the deli section. Or make my Greek tzatziki ahead of time. It keeps well in the fridge for a few days.
- Roma tomatoes. Roma tomatoes have less water and fewer seeds than regular tomatoes, which makes them a great choice here. Seed them before dicing.
- English cucumber. English cucumbers have thin skin and small seeds, so you can dice and go – no peeling or seeding needed. If you only have a regular cucumber, peel and seed it before dicing.
- Kalamata olives. Briny and meaty – they’re the ones you want here. Buy them pitted to save yourself some work.
- Feta cheese. Buy a block and crumble it yourself. It’s usually cheaper than pre-crumbled, and the texture is creamier.
- Olive oil. Use something you actually like the taste of. It goes into the vegetable mixture and gets drizzled over the top, so you’ll taste it.
Would you like to save this recipe?
How to make this recipe
This is a step-by-step photo guide. Full ingredients and instructions are in the printable recipe card below.
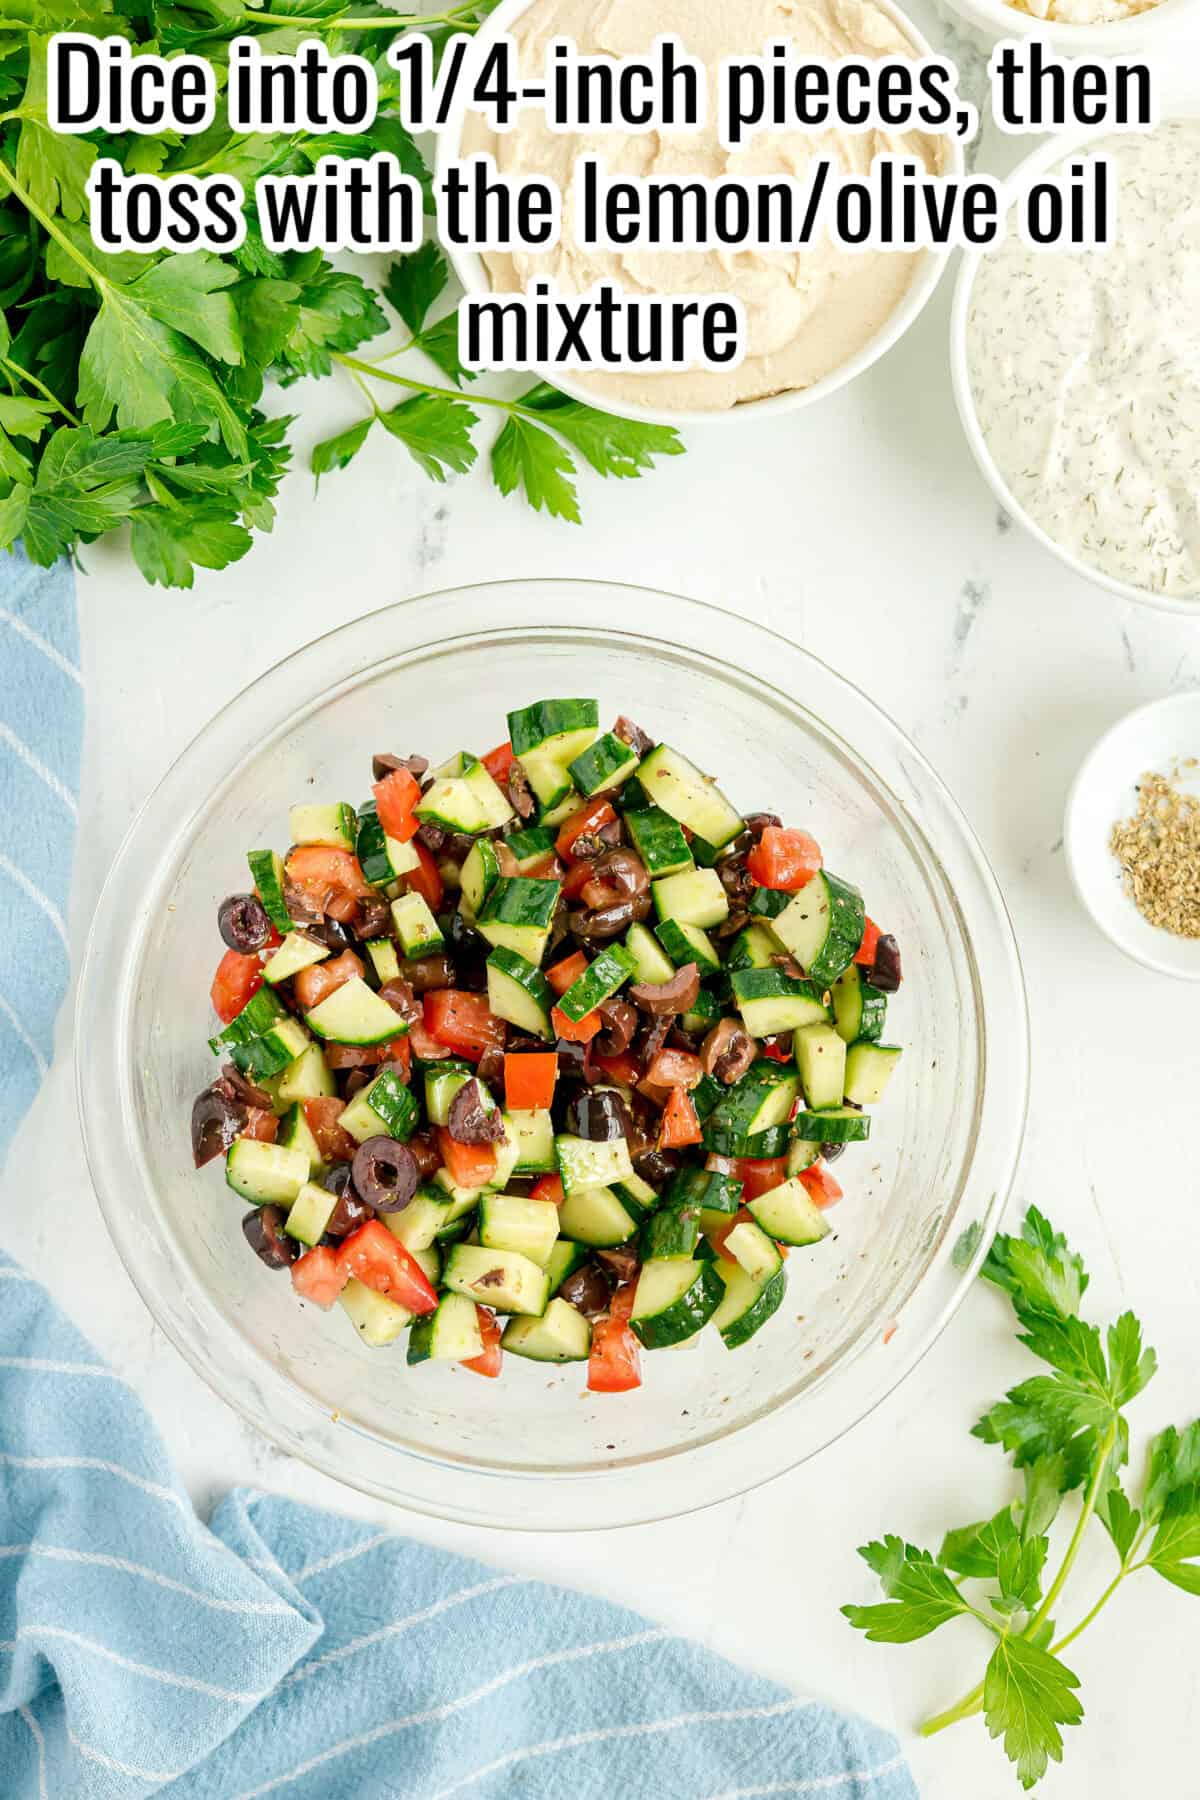
Prep and season the vegetables. Seed the tomatoes, then dice the tomatoes and cucumber into small, roughly 1/4-inch pieces. Roughly chop the olives. Toss everything with olive oil, lemon juice, oregano, salt, and pepper, then let it sit while you start assembling the dip.
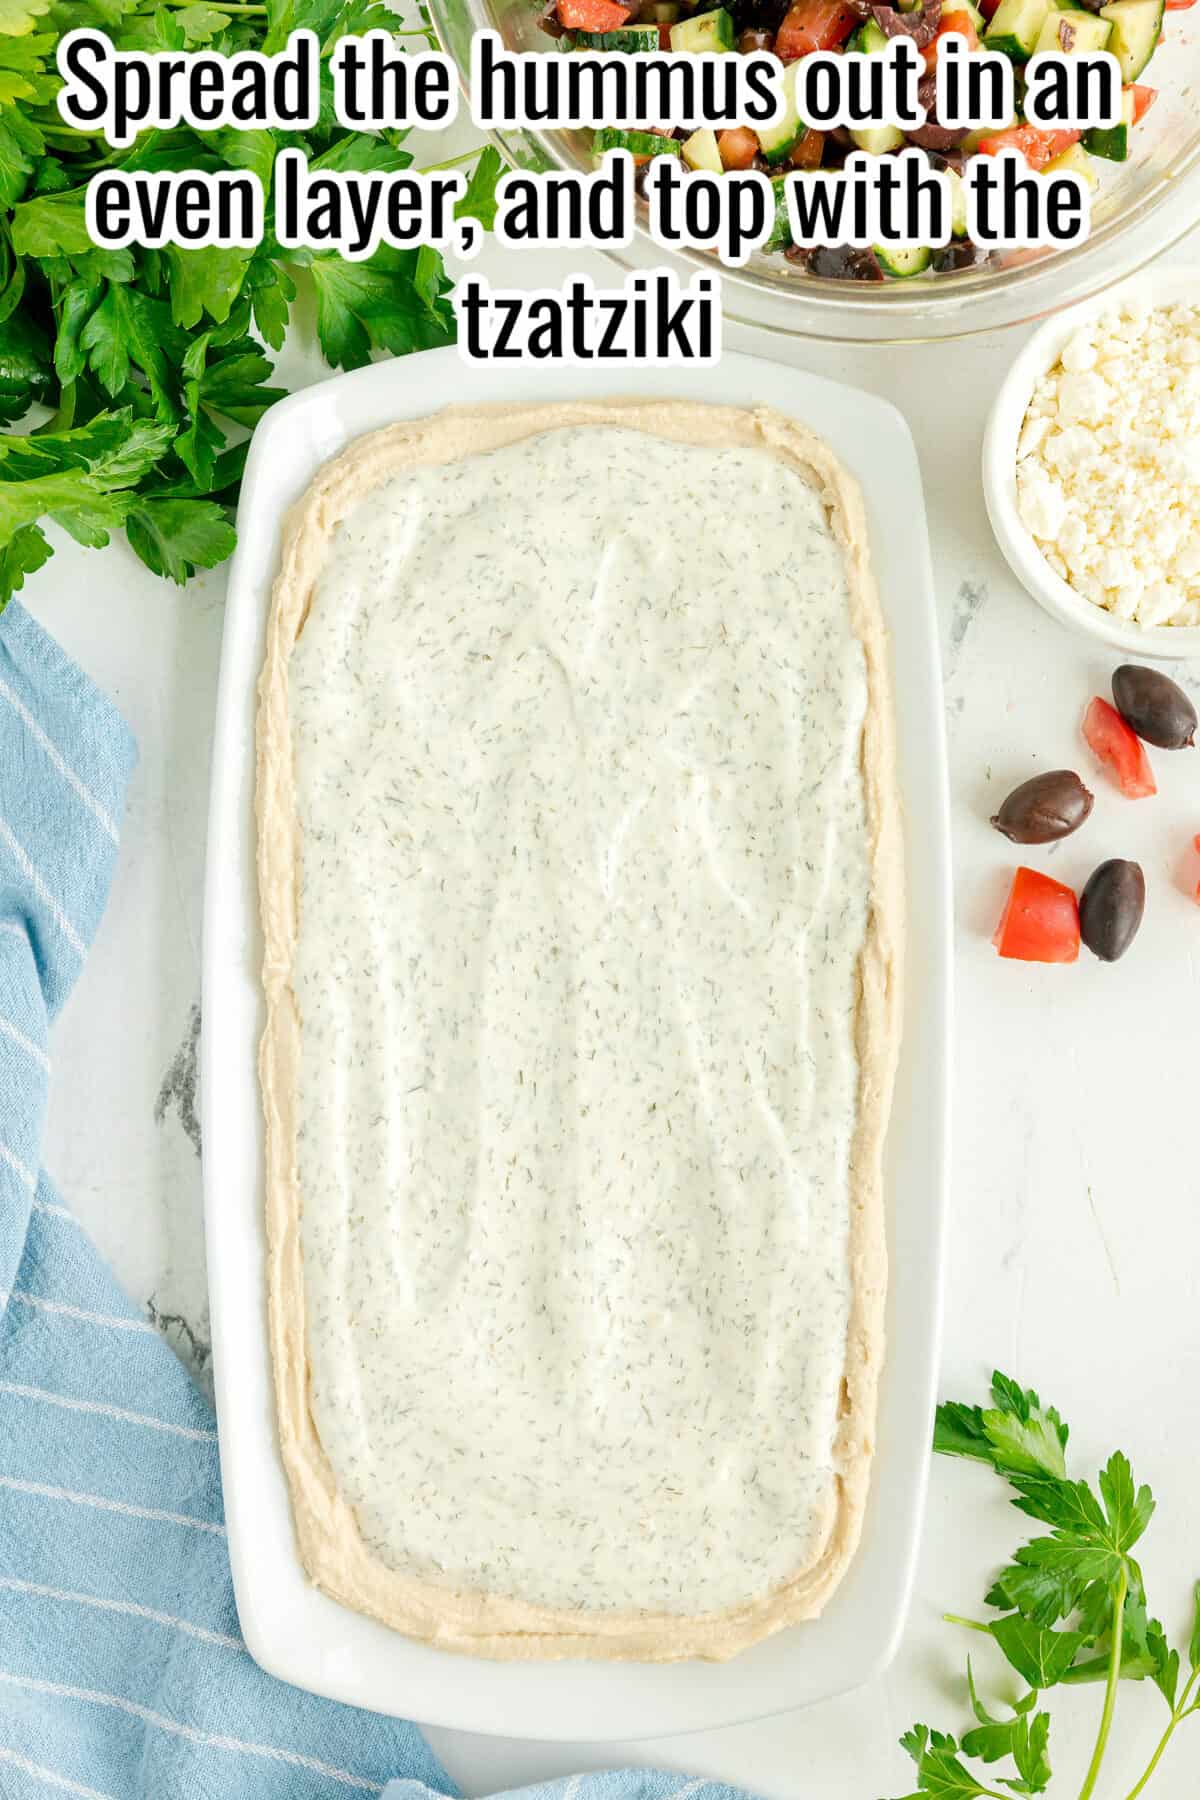
Build the base. Spread the hummus over a large platter, leaving a little room around the edge. Gently spread the tzatziki over the hummus, leaving a border so you can still see the hummus underneath.
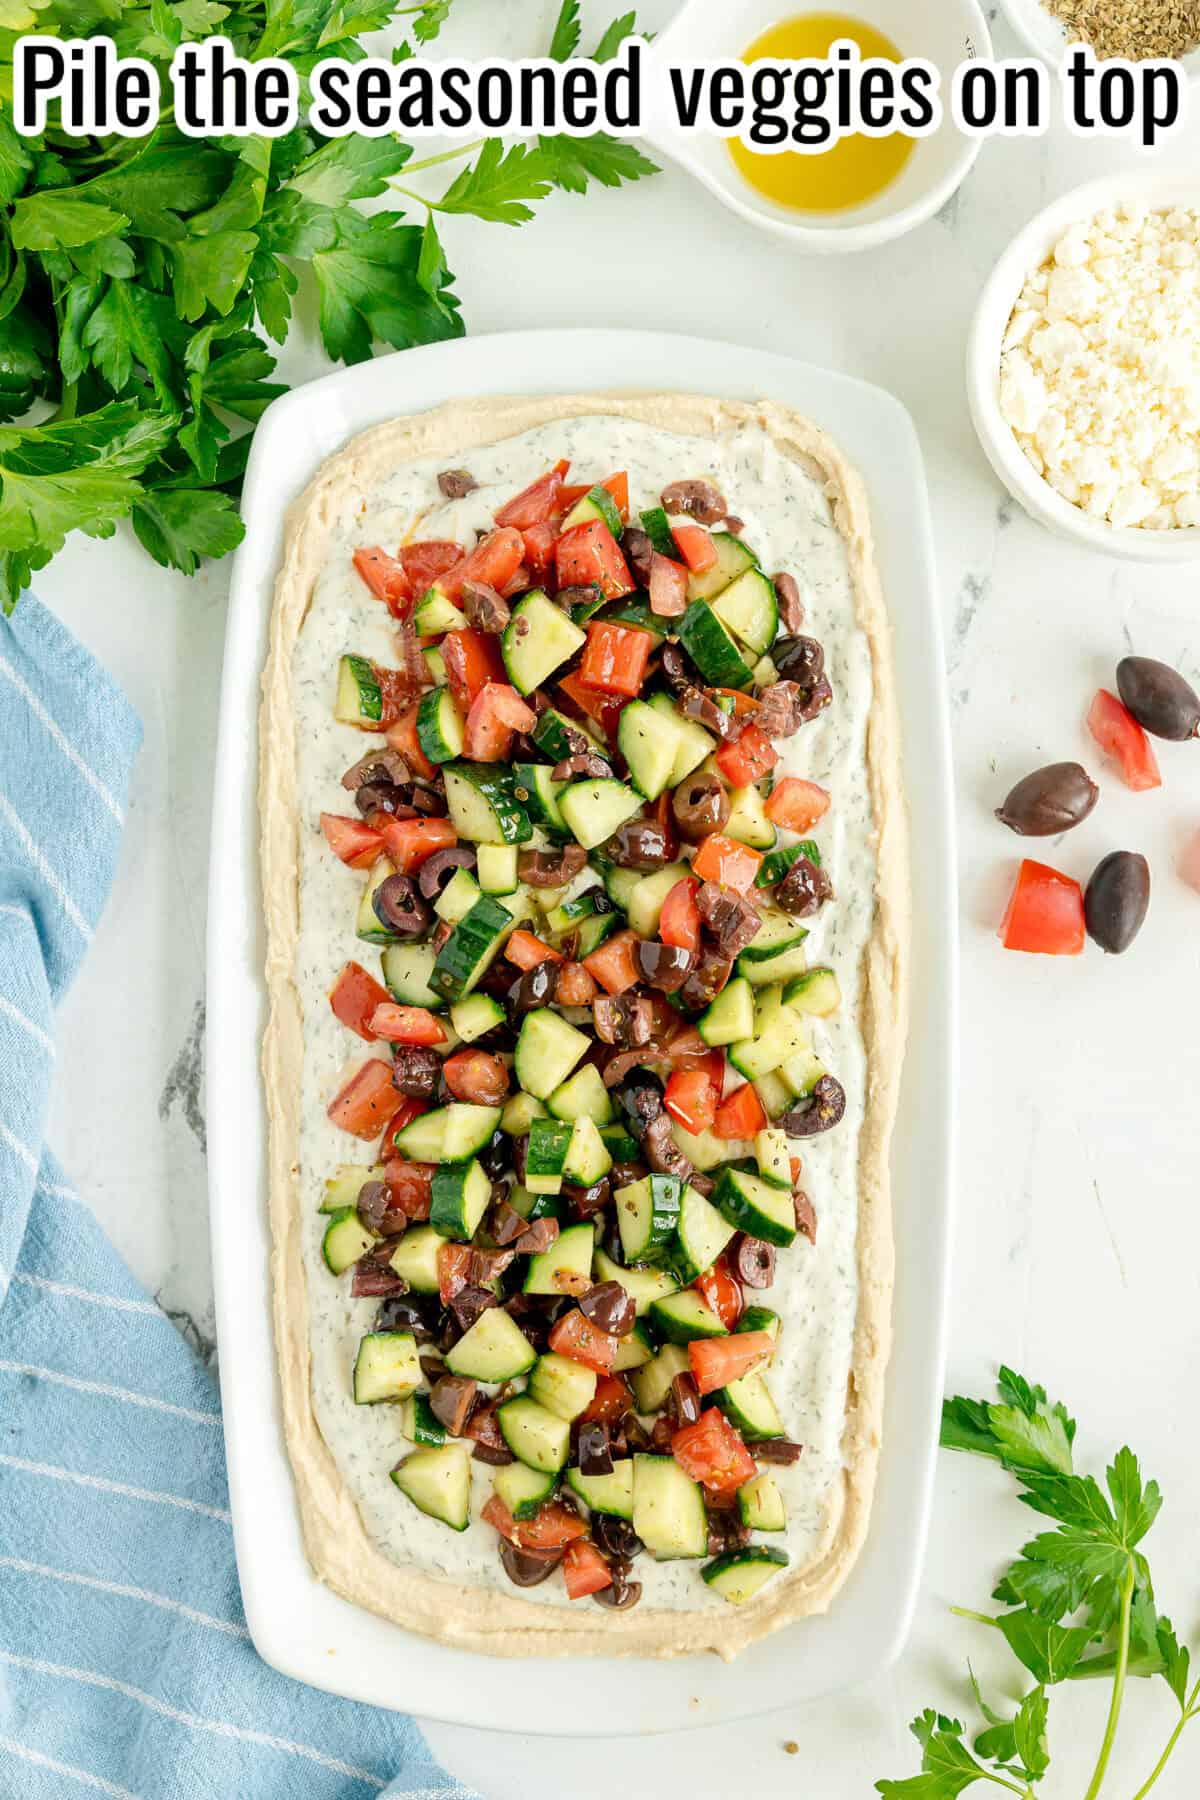
Add the toppings. Spoon the seasoned vegetable mixture over the tzatziki, keeping a little of the tzatziki visible around the edges.
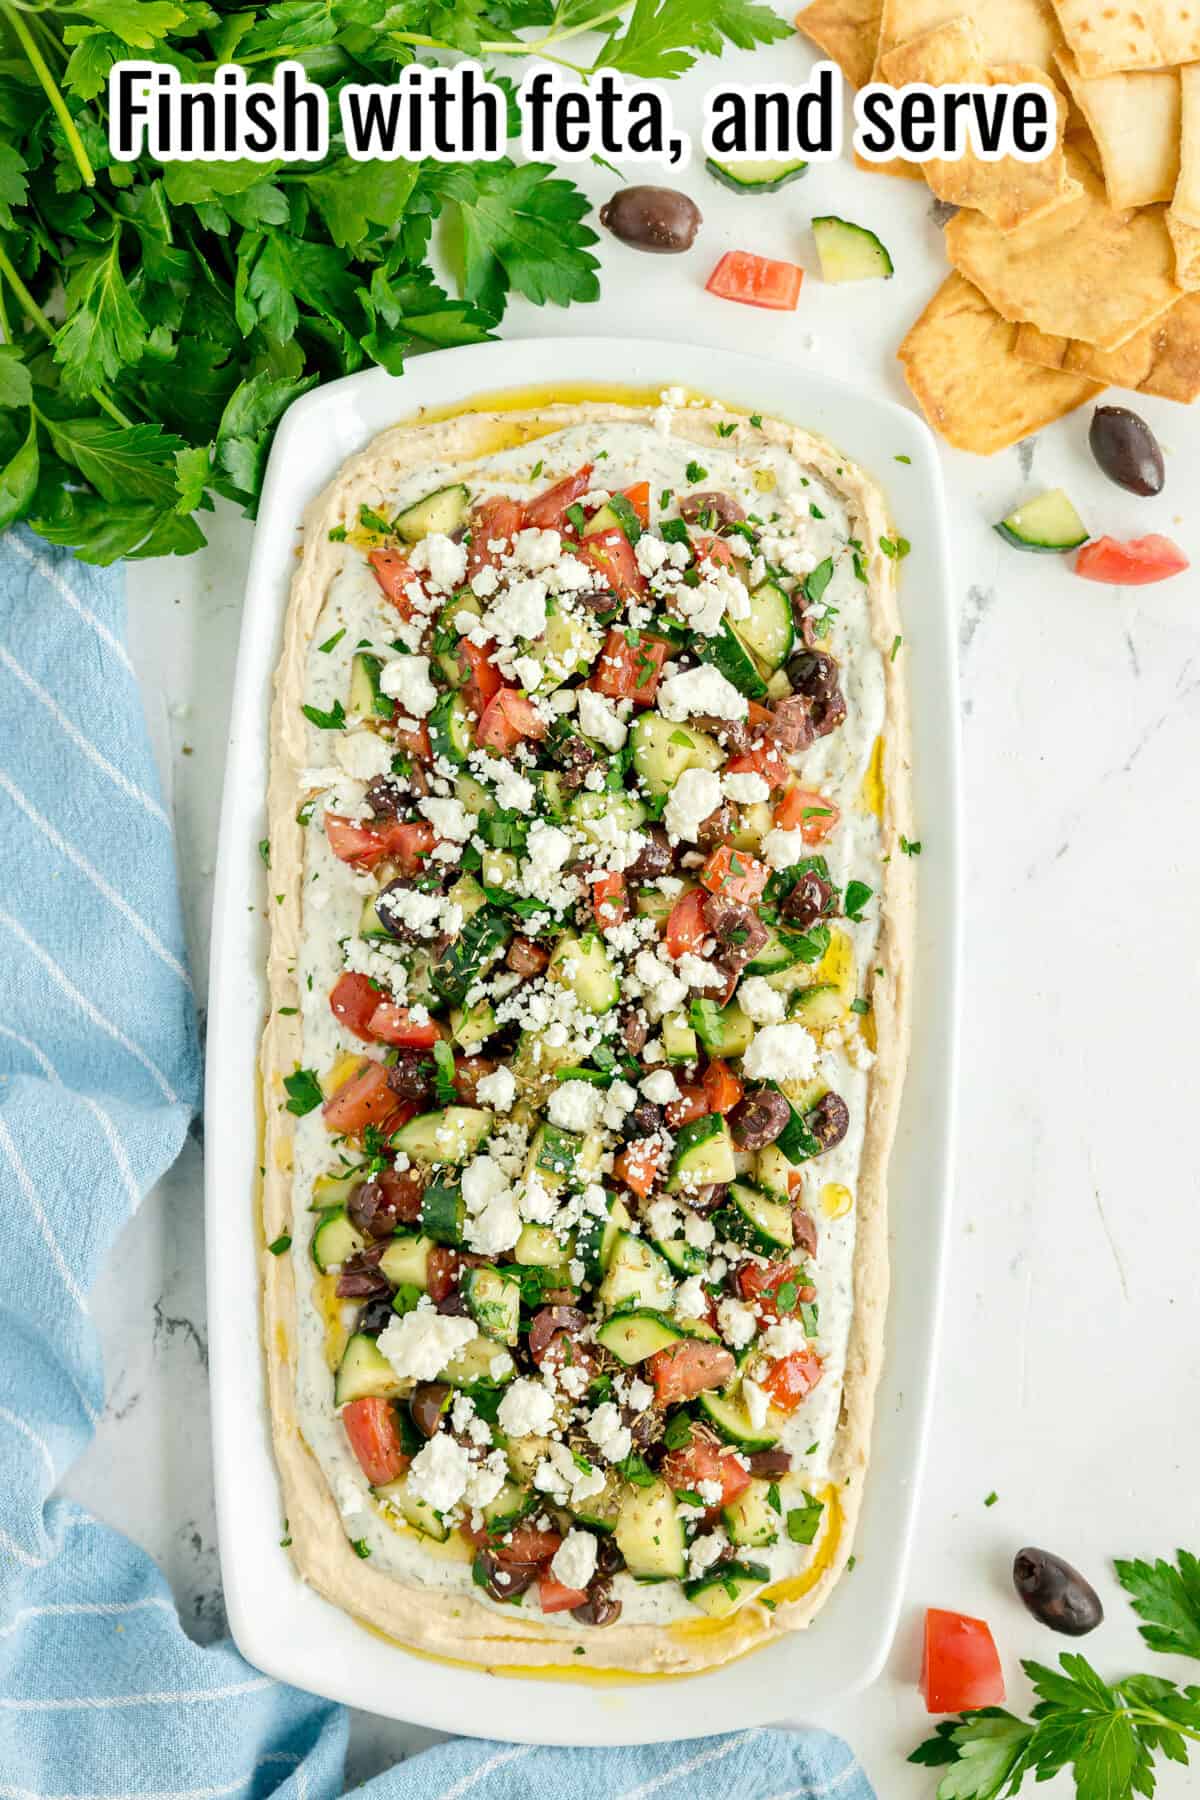
Finish the dip. Scatter the feta over the vegetables, then finish with parsley, oregano, and a drizzle of olive oil. Serve right away with pita chips or pita bread.
Kylee’s Notes
- Seed the tomatoes before dicing them to keep extra liquid out of the dip.
- Let the seasoned vegetables sit for about 5 minutes while you build the base. That short rest gives the lemon, olive oil, and oregano time to do their thing.
- Keep the hummus and tzatziki cold until you’re ready to assemble. They’re easier to spread and the layers hold together better.
- Use the back of a spoon or an offset spatula to spread the hummus and tzatziki without mixing the layers together.
- Leave a little of each layer showing around the edges. It makes the finished platter look much better.
- Crumble feta from a block if you can. The texture is creamier and you get those nice uneven chunks on top.
How to store leftovers
Store leftover Greek dip in an airtight container in the refrigerator for up to 2 days. The layers will start to blend together and the vegetables will soften, but it’ll still taste good.
Recipe Tips & Troubleshooting
- The layers are sliding around. The hummus or tzatziki may be too warm or loose. Keep them cold, and drain watery tzatziki before using.
- The dip is bland. Taste the vegetable mixture before adding it. A little more salt or lemon juice can make a big difference.
- The vegetables won’t stay on the dip. They may be cut too large. Keep everything around 1/4 inch so it settles into the tzatziki instead of rolling off.
- There’s liquid pooling on top. Spoon off any excess liquid from the seasoned vegetables before adding them to the platter.
FAQs
Plain full-fat Greek yogurt works well. Stir in a little garlic and fresh dill if you want more of that tzatziki flavor.
Sure. Try roasted red peppers, artichoke hearts, sun-dried tomatoes, or sliced pepperoncini. Keep everything chopped small so it’s easy to scoop.
More recipes to love
- Buffalo Chicken Dip. Hot, cheesy, and a great second dip to put out for a crowd.
- Instant Pot Spinach Artichoke Dip. Warm and creamy, with the Instant Pot doing most of the work.
- Cucumber Tomato Feta Salad. Lots of the same fresh, briny flavors, served as an easy side salad.
Get free recipes in your inbox!
Find me on Pinterest, Facebook & Instagram.
If you make this recipe, please comment and let me know how it turned out and leave a star rating! ⭐⭐⭐⭐⭐

Layered Greek Dip
Ingredients
- 1¼ cups hummus about 10 ounces (or homemade)
- 1¼ cups tzatziki about 10 ounces (or homemade)
- 2 roma tomatoes
- 1 cup English cucumber
- ½ cup kalamata olives pitted
- 2 tablespoons olive oil divided
- 1 teaspoon dried oregano divided
- 1 tablespoon fresh lemon juice
- ¼ teaspoon salt
- ¼ teaspoon pepper
- ½ cup feta cheese crumbled
- 2 tablespoons fresh parsley chopped
- For serving
- Pita chips and pita bread
Instructions
- Get prepped. Seed and dice the roma tomatoes into small pieces – about ¼ inch (about pea sized). Dice the cucumber to match. Roughly chop the kalamata olives. Chop the parsley.
- Season the veg. In a small bowl, toss the tomatoes, cucumber, and olives with 1 tablespoon of the olive oil, the lemon juice, half the oregano, salt, and pepper. Set aside while you build the base – even 5 minutes makes a difference.
- Build the base. Spread the hummus across your serving platter in a thin, even layer, leaving about a ½ inch border around the edge. Spoon the tzatziki over the hummus and spread gently, leaving a border of hummus showing around the edges.
- Add the toppings. Spoon the seasoned veg mixture over the tzatziki layer, leaving a small border. Scatter the crumbled feta over the top.
- Finish it. Drizzle the remaining tablespoon of olive oil over everything. Sprinkle with the remaining oregano and the fresh parsley. Arrange pita chips and pita bread wedges around the platter. Serve immediately.
Notes
Let the seasoned veg sit while you build the base – it makes a real difference.
Leave a visible border between each layer for the best presentation.
Dice everything to about ¼ inch so it fits neatly on a chip.
Build right before serving. Best within an hour of assembly.
Crumble your own feta from a block for better texture and flavor.
Would you like to save this recipe?
Nutrition
Nutritional information is an estimate and provided to you as a courtesy. You should calculate the nutritional information with the actual ingredients used in your recipe using your preferred nutrition calculator.
Did you make this recipe?
Make sure to follow @kyleecooks on Instagram for more and tag me #kyleecooks so I can see!
About Kylee Ayotte
I am a born and raised New Zealander (a Kiwi), now living in Phoenix, Arizona. I’m happily married to the love of my life – a hot American boy I met while traveling the world. I’m a mama to 2 awesome little boys and love red things, rugby, cheesecake, and bacon. Mmmmm. Bacon. Meet Kylee