Beer Battered Fish (Ready in 20 minutes)
This post may contain affiliate links. See our affiliate policy here.
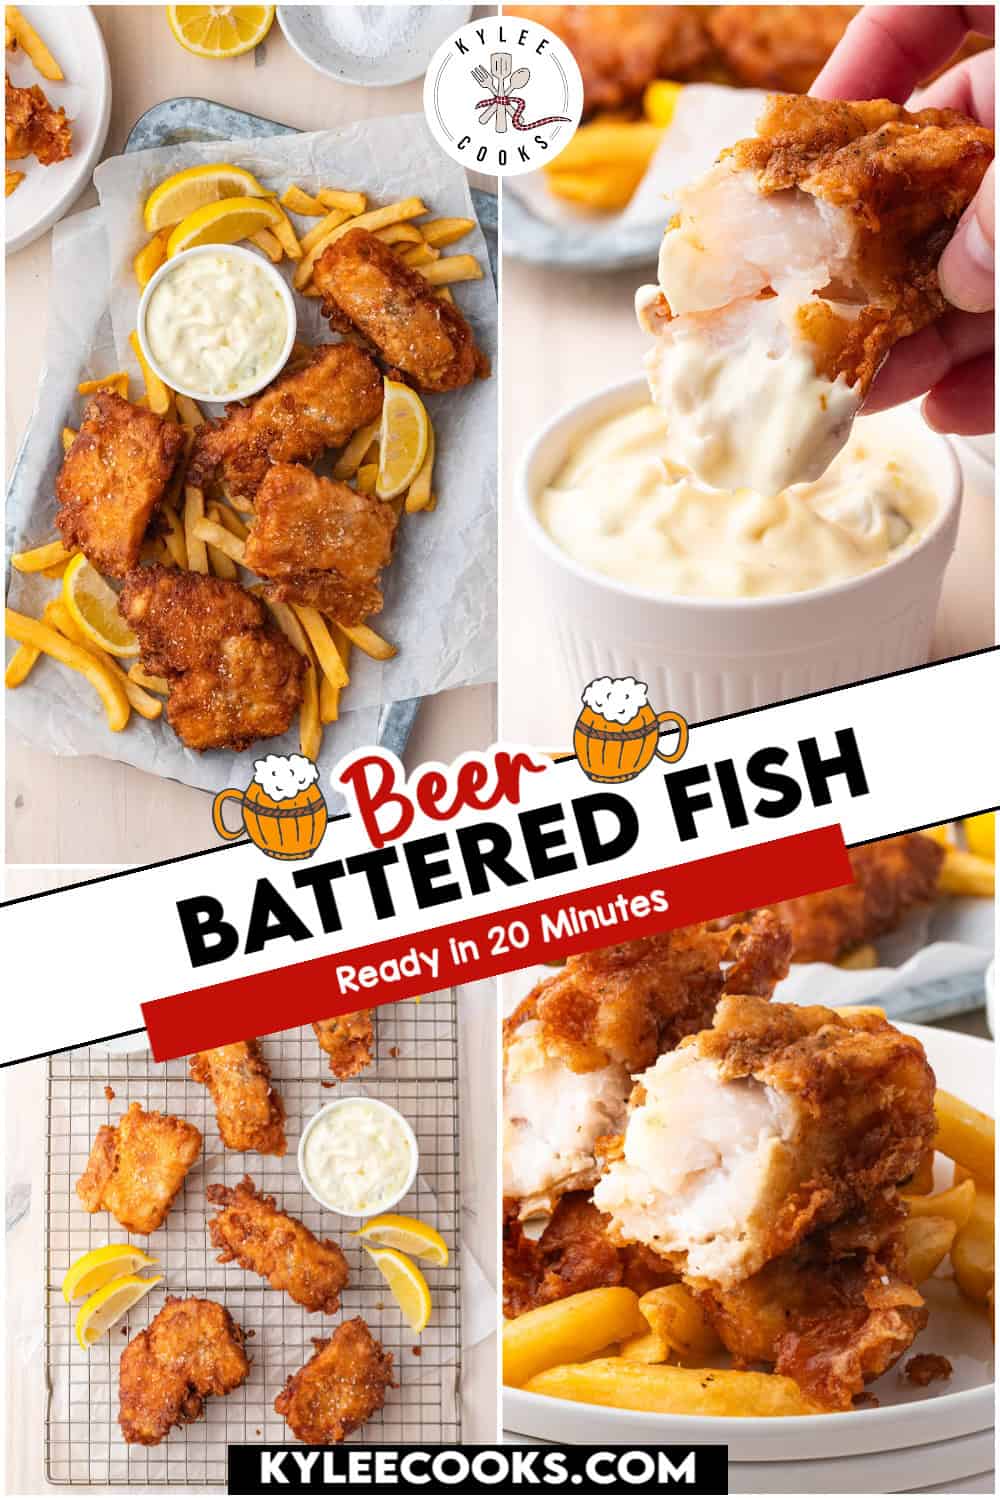
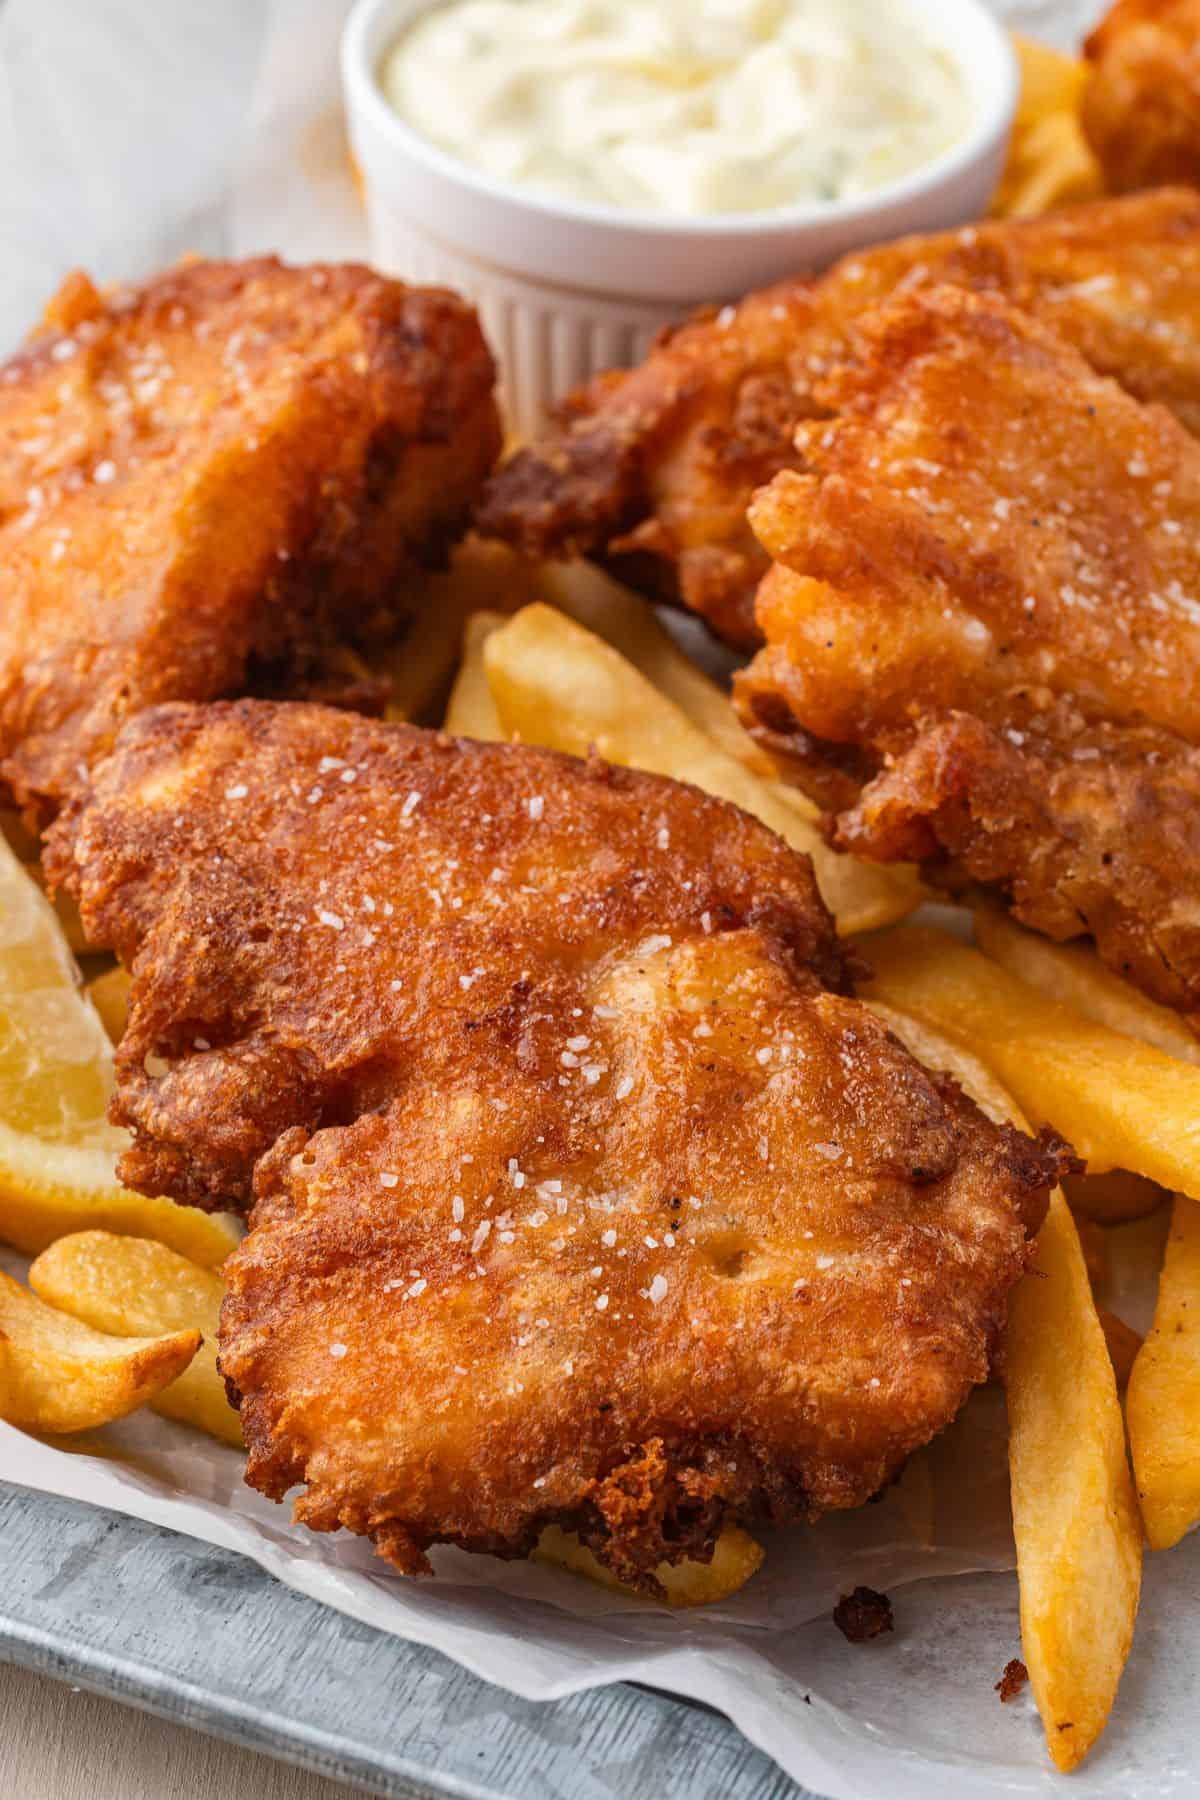
There’s something about biting into a piece of fish with a proper crunchy coat that just hits different. This is the kind of recipe I make when I want something that feels like a treat – golden, crunchy on the outside, tender and flaky on the inside, ready in about 20 minutes.
Beer battered fish has been around for a long time, and for good reason. The carbonation in the beer does something special to the batter – it makes it light and airy instead of heavy and doughy. You get that crunch without the grease, and the fish inside stays soft and flaky. It’s everything fish and chips is supposed to be.
I used cod here because it’s thick enough to hold its shape through the frying process, flakes beautifully once cooked, and has a mild enough flavor that the seasoned batter really gets to shine. Haddock and pollock work just as well if that’s what you have.
This recipe comes together fast, and the ingredient list is short. If you’ve been a little nervous about frying at home, this is a great one to start with. Get your oil hot, keep an eye on the temperature, and you’ll have a plate of crispy fish that rivals anything from a restaurant.
Step-by-step photos and instructions are below. Jump to the recipe card if you wish!
Why you’ll love this
This is the kind of weeknight dinner that feels like you went all out without actually going all out. Minimal ingredients, fast cook time, and the result is genuinely impressive.
- Quick. Start to finish in about 20 minutes.
- Light batter. Beer and cornstarch keep it crispy, not heavy.
- Flexible. Cod, haddock, halibut, or pollock all work here.
Family-friendly. Even the fish skeptics usually go back for more.
What is the best fish to use?
Firm white fish is your best bet. Cod is the classic choice, but haddock, pollock, and halibut all work really well. Avoid delicate fish like tilapia or sole – they tend to fall apart in the fryer.
Does the beer flavor come through?
A little, yes – especially in the crust. A lager or pilsner keeps it mild and slightly yeasty without being overpowering. If you don’t want any beer flavor, you can sub cold sparkling water, though the flavor will be more neutral.
Is this the same as fish and chips?
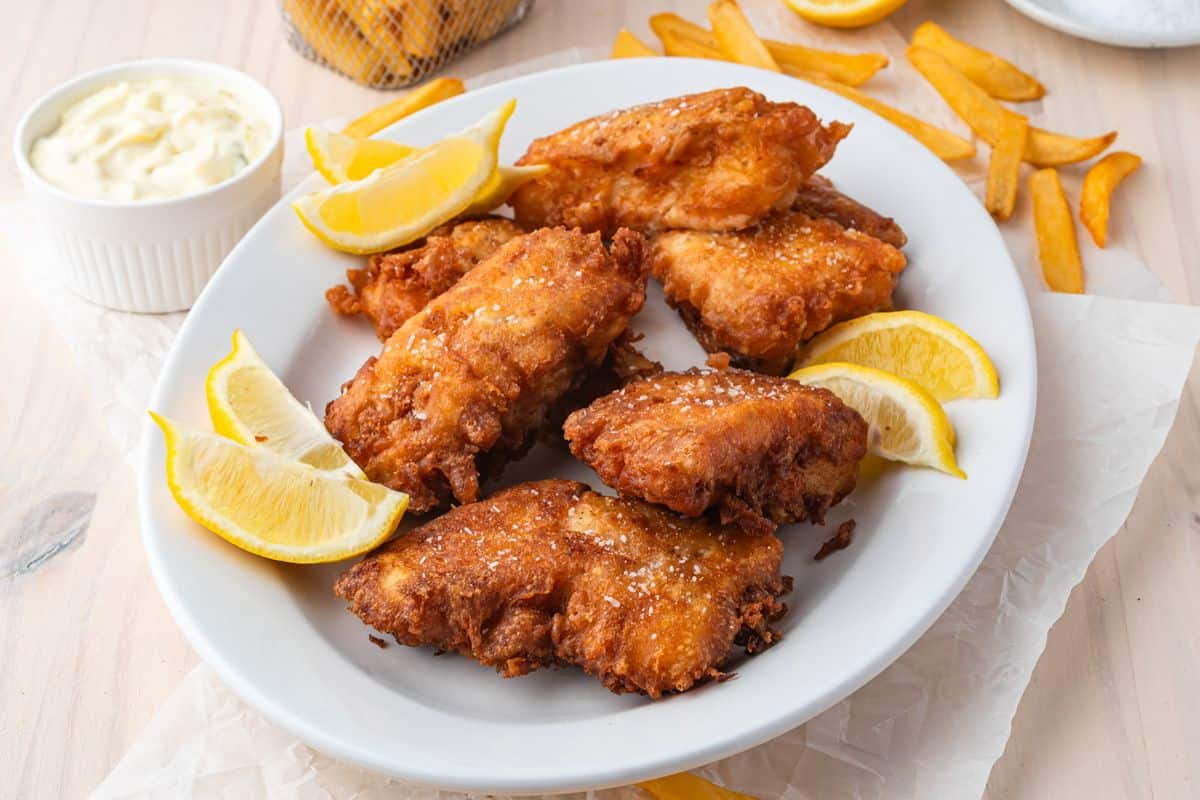
This is the fish part! Serve it with potato wedges or fries and you’ve got the full classic. Coleslaw on the side never hurts either.
Can kids eat Beer Battered Fish?
The short answer is yes – the alcohol in the beer cooks off during frying, so there’s no alcohol left in the finished dish. That said, if you’d rather skip the beer entirely, cold sparkling water works as a straight swap and still gives you a light, airy batter. The flavor will be more neutral but the texture is just as good.
What to serve with fish
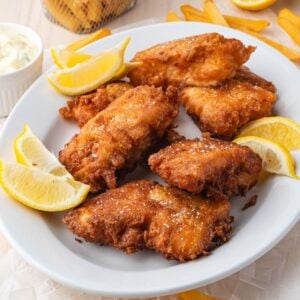
The classic move is homemade coleslaw on the side – the creamy, tangy crunch is the perfect contrast to hot, crispy fish. Homemade potato wedges bake up while you prep the batter, so everything lands on the table at the same time. Homemade Tartar sauce (from Love Bakes Good Cakes) and lemon wedges are non-negotiable on my end. If you want to keep it lighter, a simple green salad works too.
Step-by-step photos and tips and tricks are below. Jump to the full recipe card instead
Would you like to save this recipe?
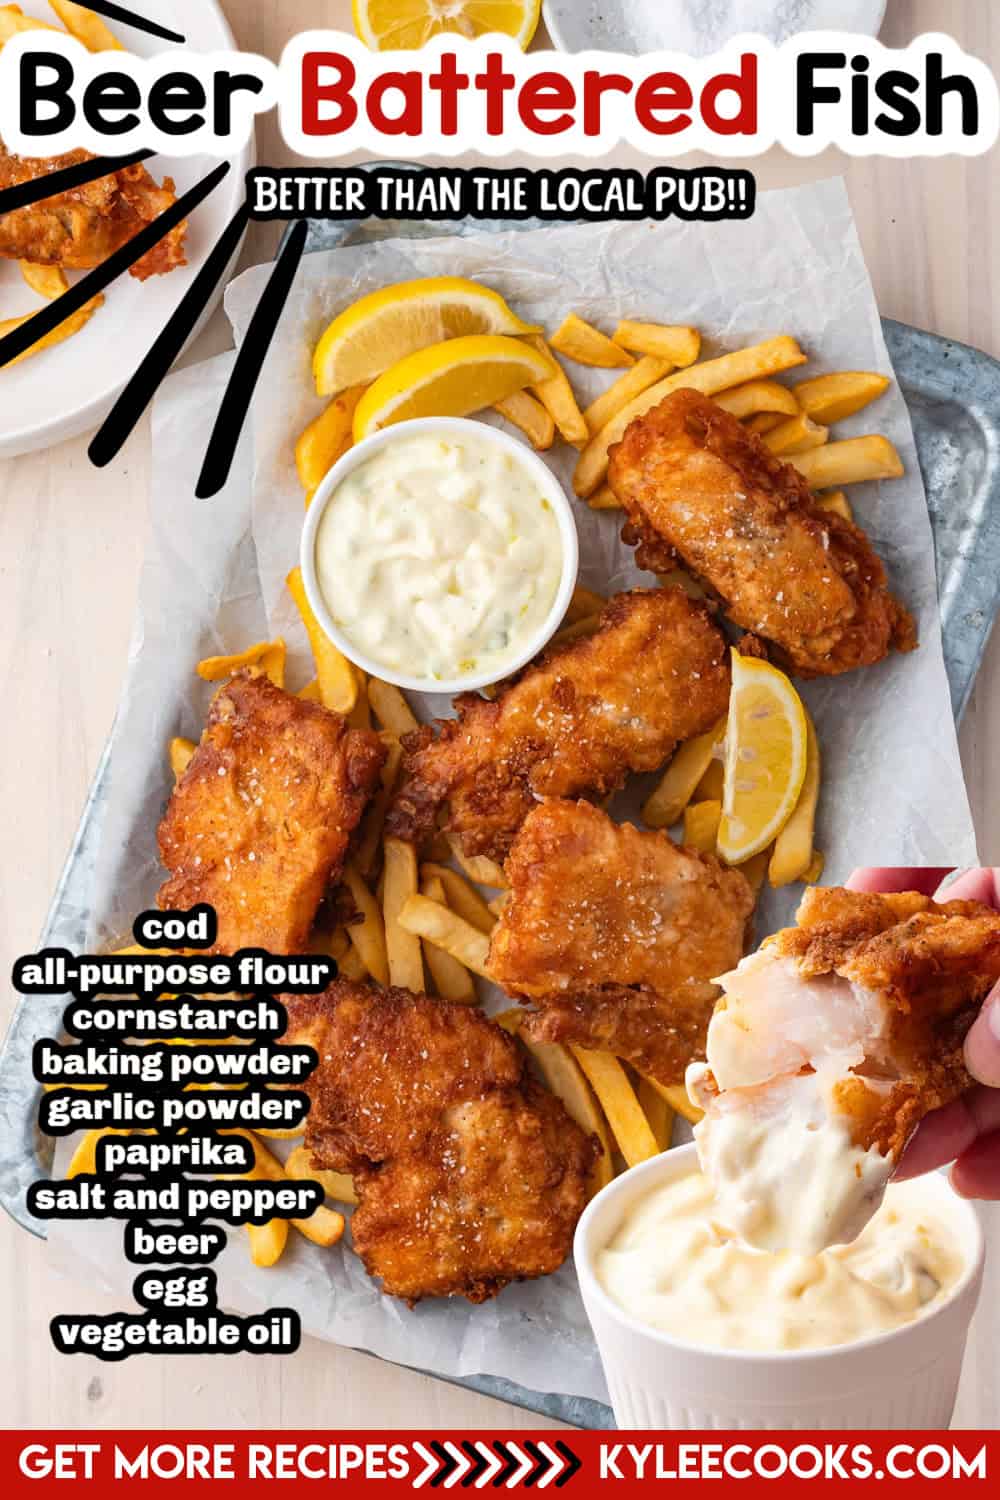
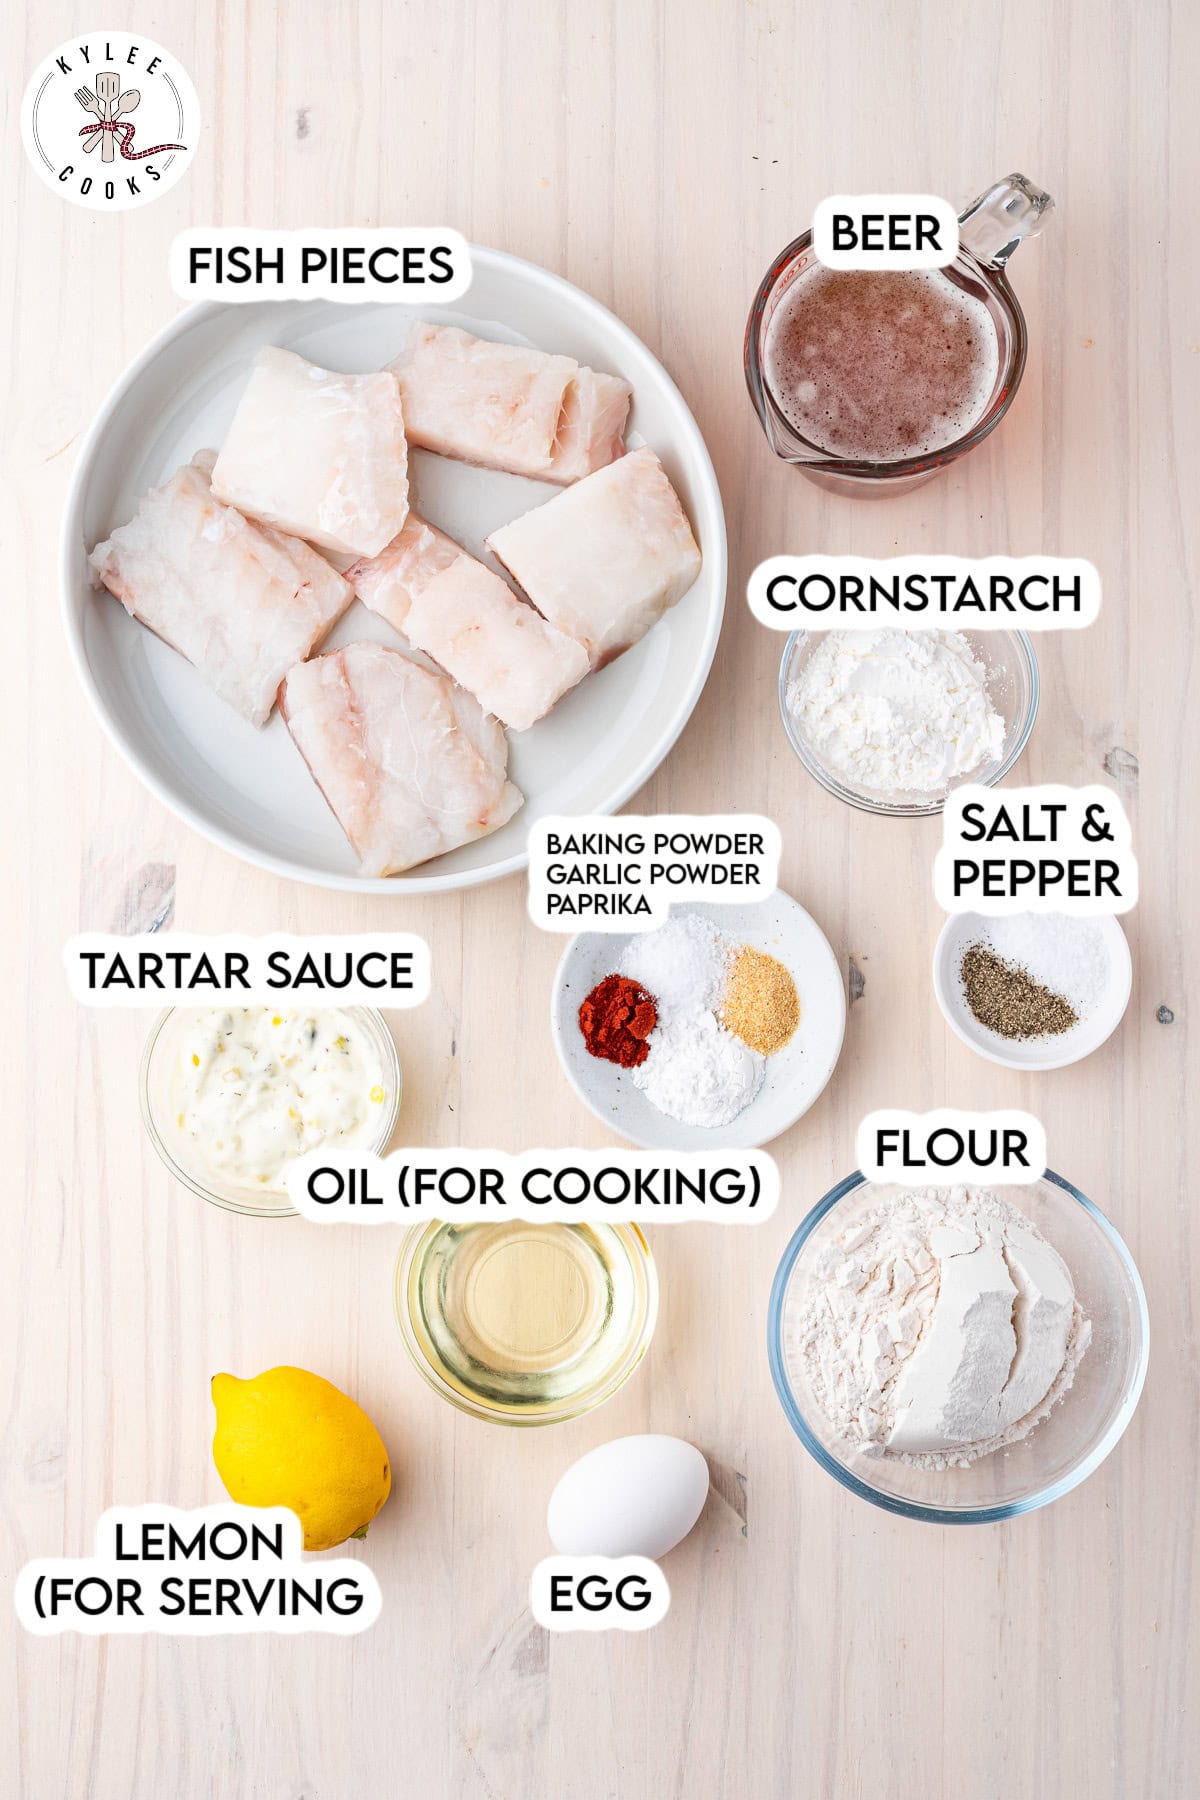
Key Recipe Ingredients
Note: This highlights some ingredients. Full list is in the recipe card.
- Cod. This is my go-to for fish and chips because it’s thick, holds together in the fryer, and has a mild flavor that lets the batter shine. Haddock or pollock are solid swaps – pollock especially if you’re watching the budget.
- Beer. A cold lager or pilsner is the classic pick and it’s classic for a reason. The carbonation is what makes the batter light instead of heavy. Use something you’d actually drink – the flavor does come through in the crust. Skip the dark beers unless you want something more bitter.
- Cornstarch. Don’t skip this. It’s what makes the difference between a batter that’s actually crispy and one that just gets soft the second it hits the air.
- Flour. You need it twice – once for dredging the fish so the batter has something to stick to, and again in the batter itself. Plain all-purpose, nothing fancy. Just make sure you measure them out separately before you start – the recipe calls for 1/4 cup for dredging and 1/2 cup for the batter, and you don’t want to be scrambling mid-cook.
- Baking powder. A little lift goes a long way here. It’s what helps the batter puff up light and airy instead of sitting flat and dense on the fish.
- Paprika. Mostly for color and a little warmth. Regular works fine, smoked gives it a slightly deeper flavor – either way it’s a small amount that makes the batter look gorgeous coming out of the oil.
- Oil. You want something neutral with a high smoke point – vegetable oil and canola oil are both perfect. Avoid olive oil or anything with a strong flavor, it’ll come through in the batter. You only need about an inch in the pot, so don’t stress about using a ton of it – though if you have a deep fryer, this recipe works great in one.
How to make this recipe
This is a step-by-step photo guide. Full ingredients and instructions are in the printable recipe card below.
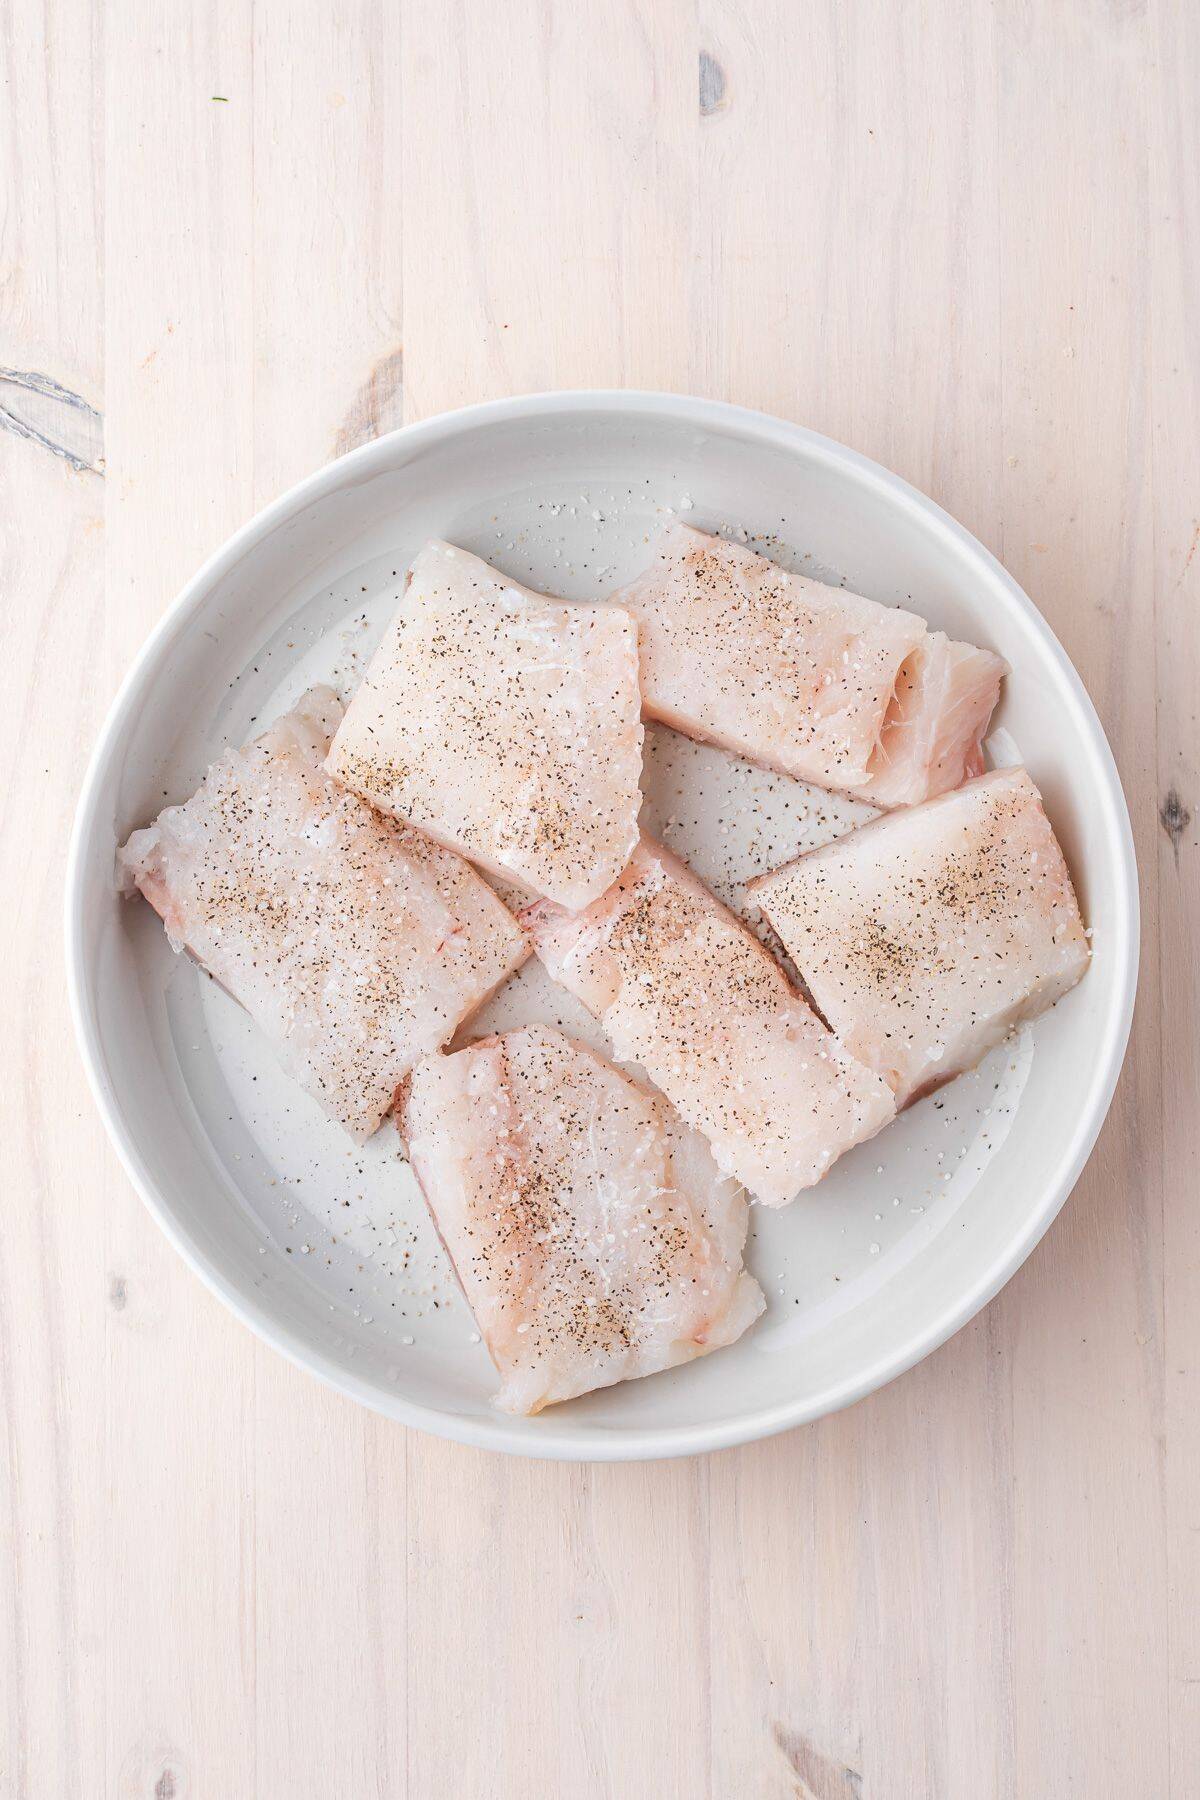
JumpStart by patting the cod completely dry with paper towels – this is the most important step and it’s worth taking your time with it. Any moisture left on the fish will create steam under the batter and stop it from crisping up.
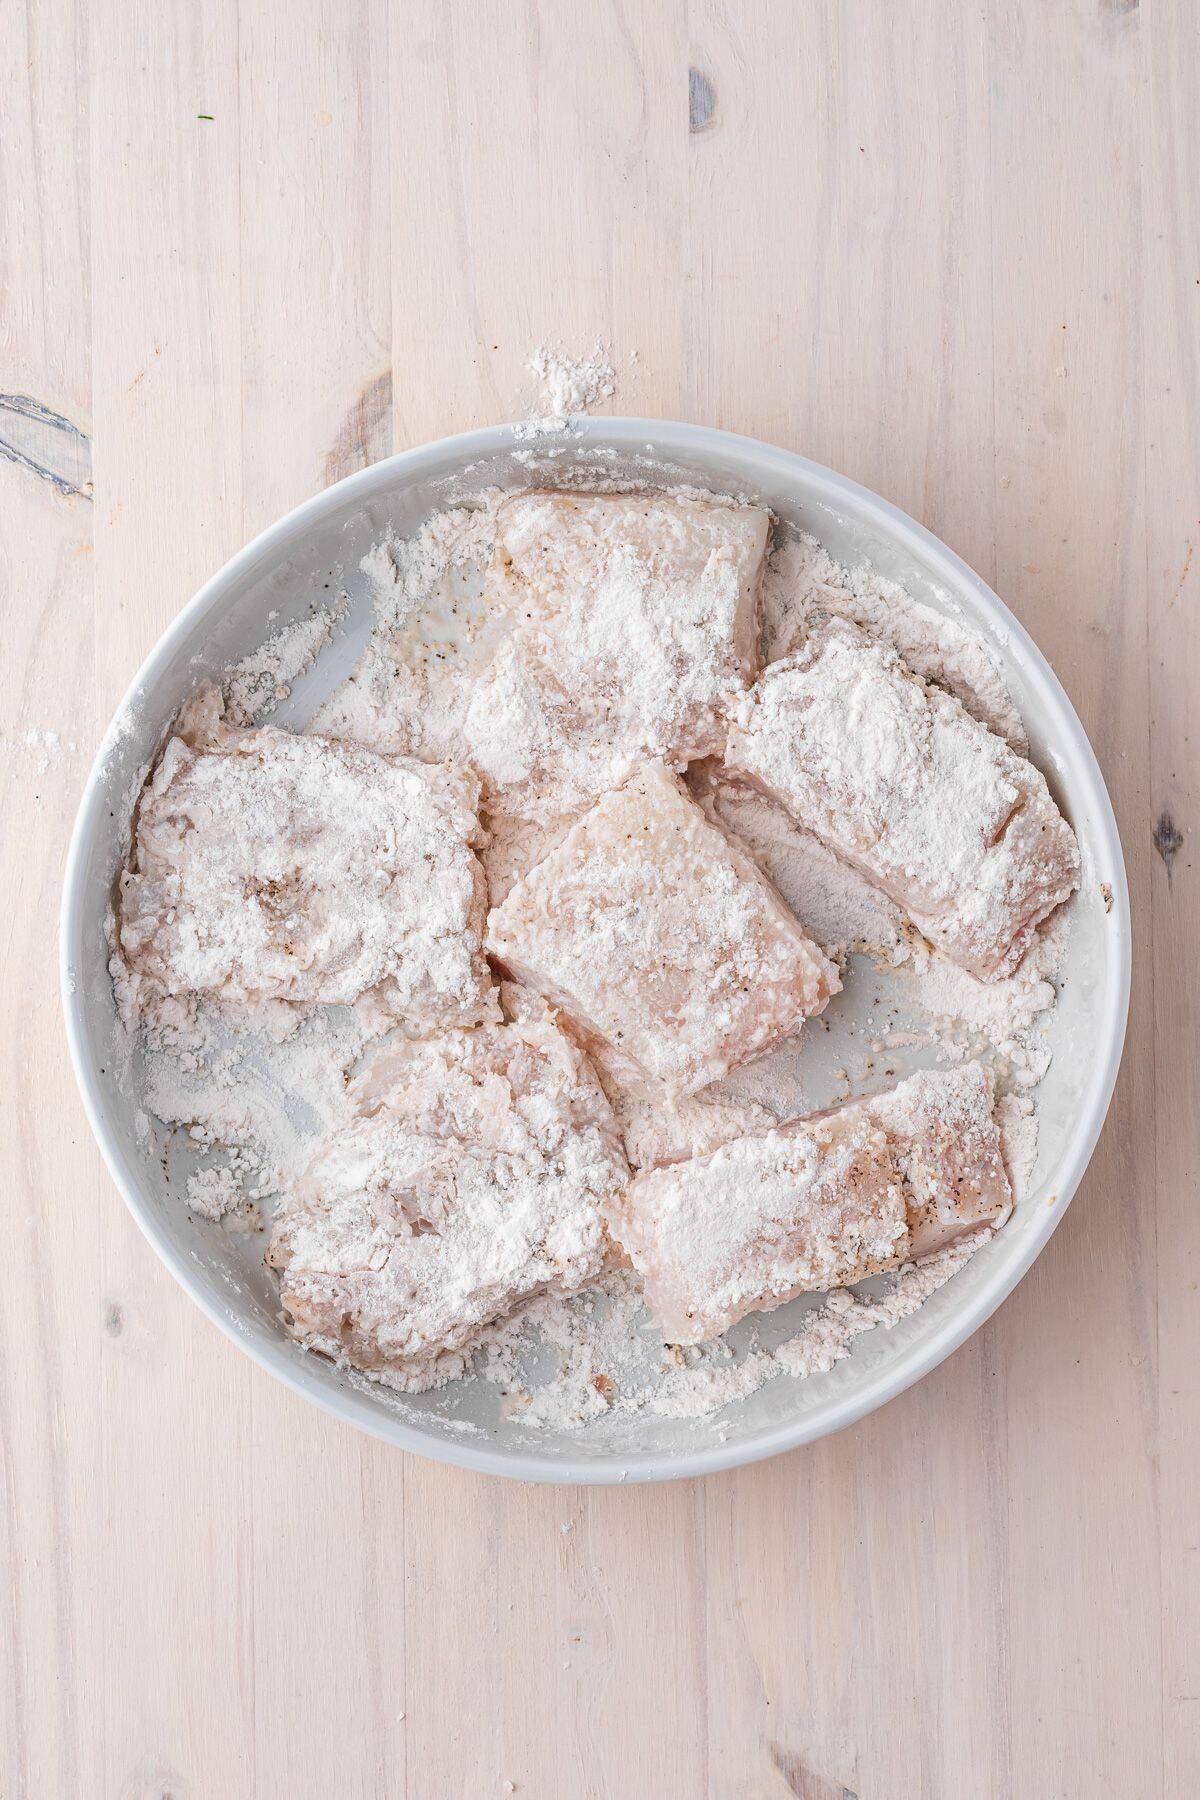
Once it’s dry, season both sides generously with salt and pepper, then toss each piece in the flour until fully coated. Press it in gently so it sticks. The flour layer is what gives the batter something to grip onto – skip it and the batter slides right off in the oil.
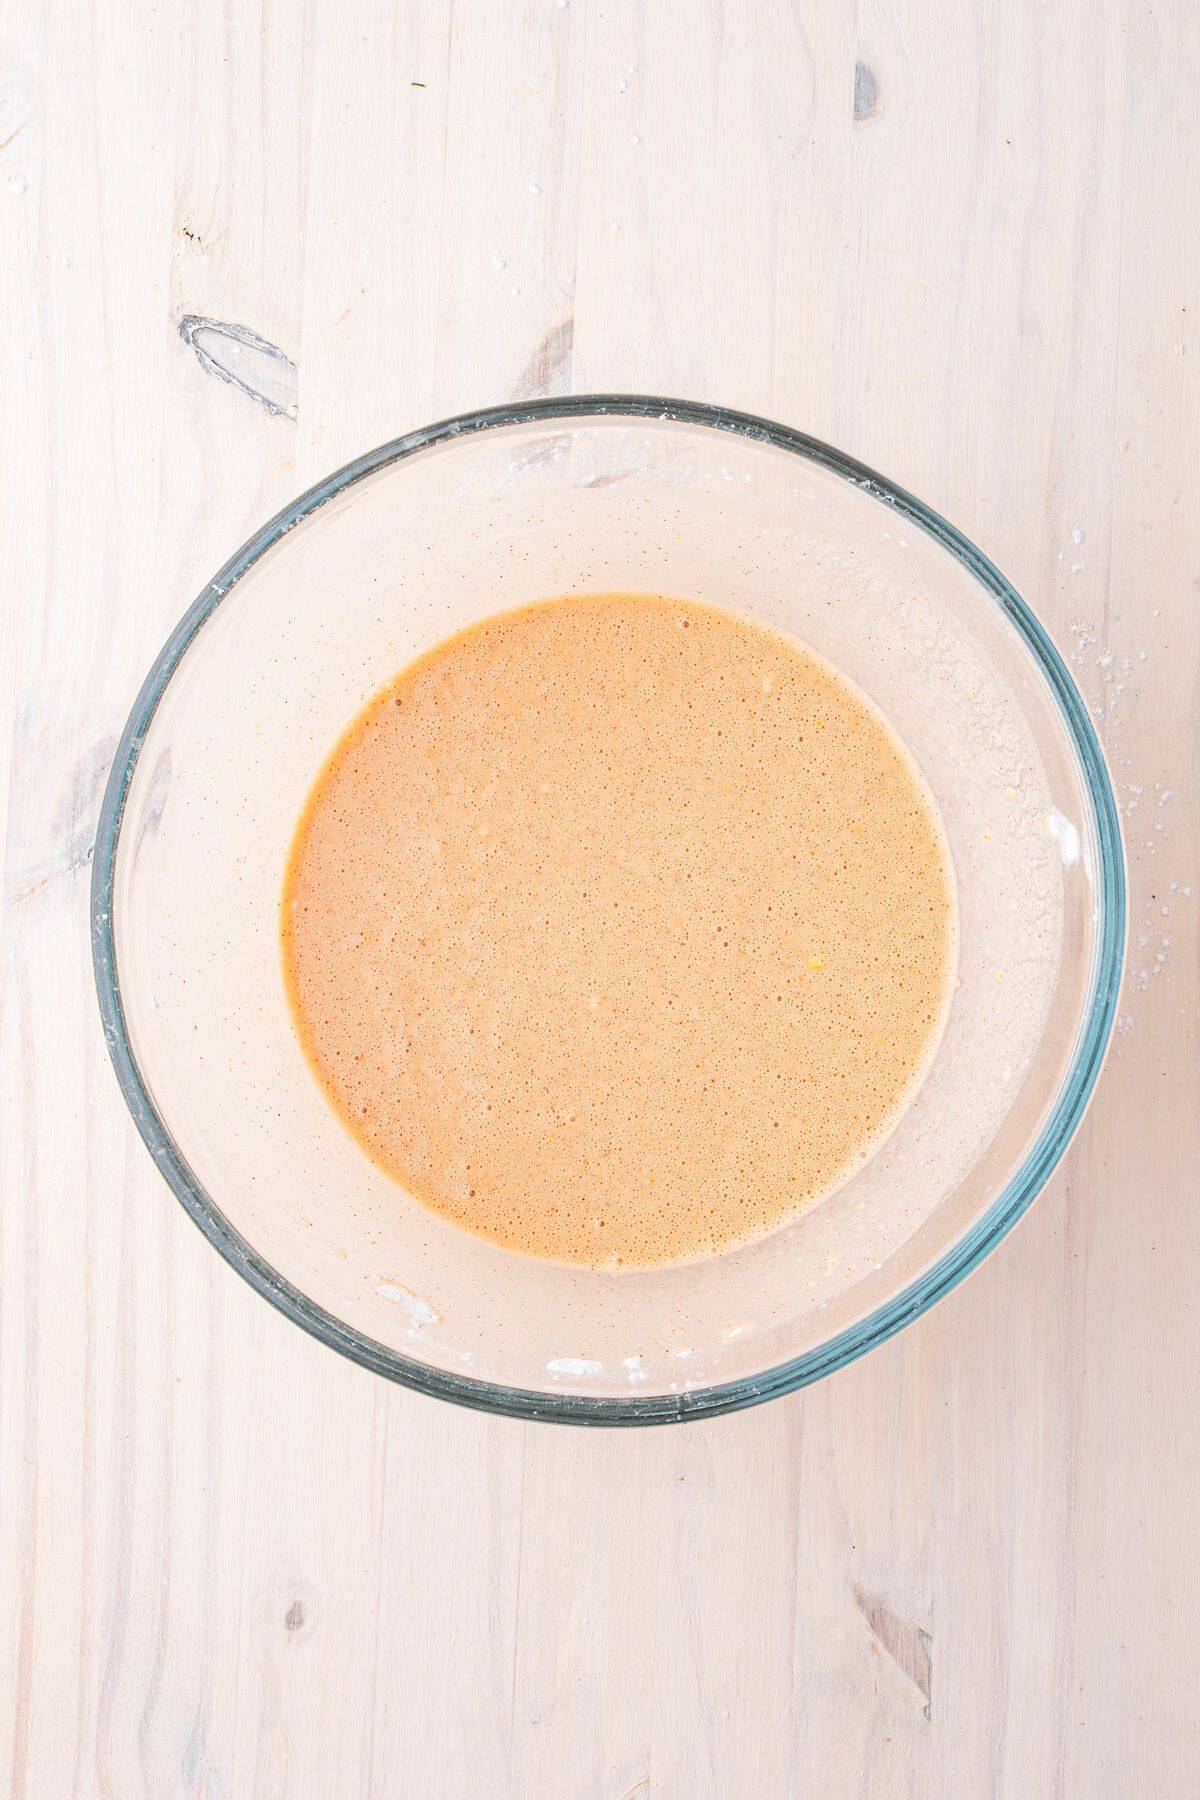
Whisk the flour, cornstarch, baking powder, garlic powder, paprika, and salt together first, then add the cold beer and egg. The batter should be smooth and a little bubbly from the carbonation – that’s exactly what you want. It should be thick enough to coat the back of a spoon but not gloppy.
Drop each floured piece of fish into the batter one at a time, turning it to make sure every surface is covered before it goes in the oil.

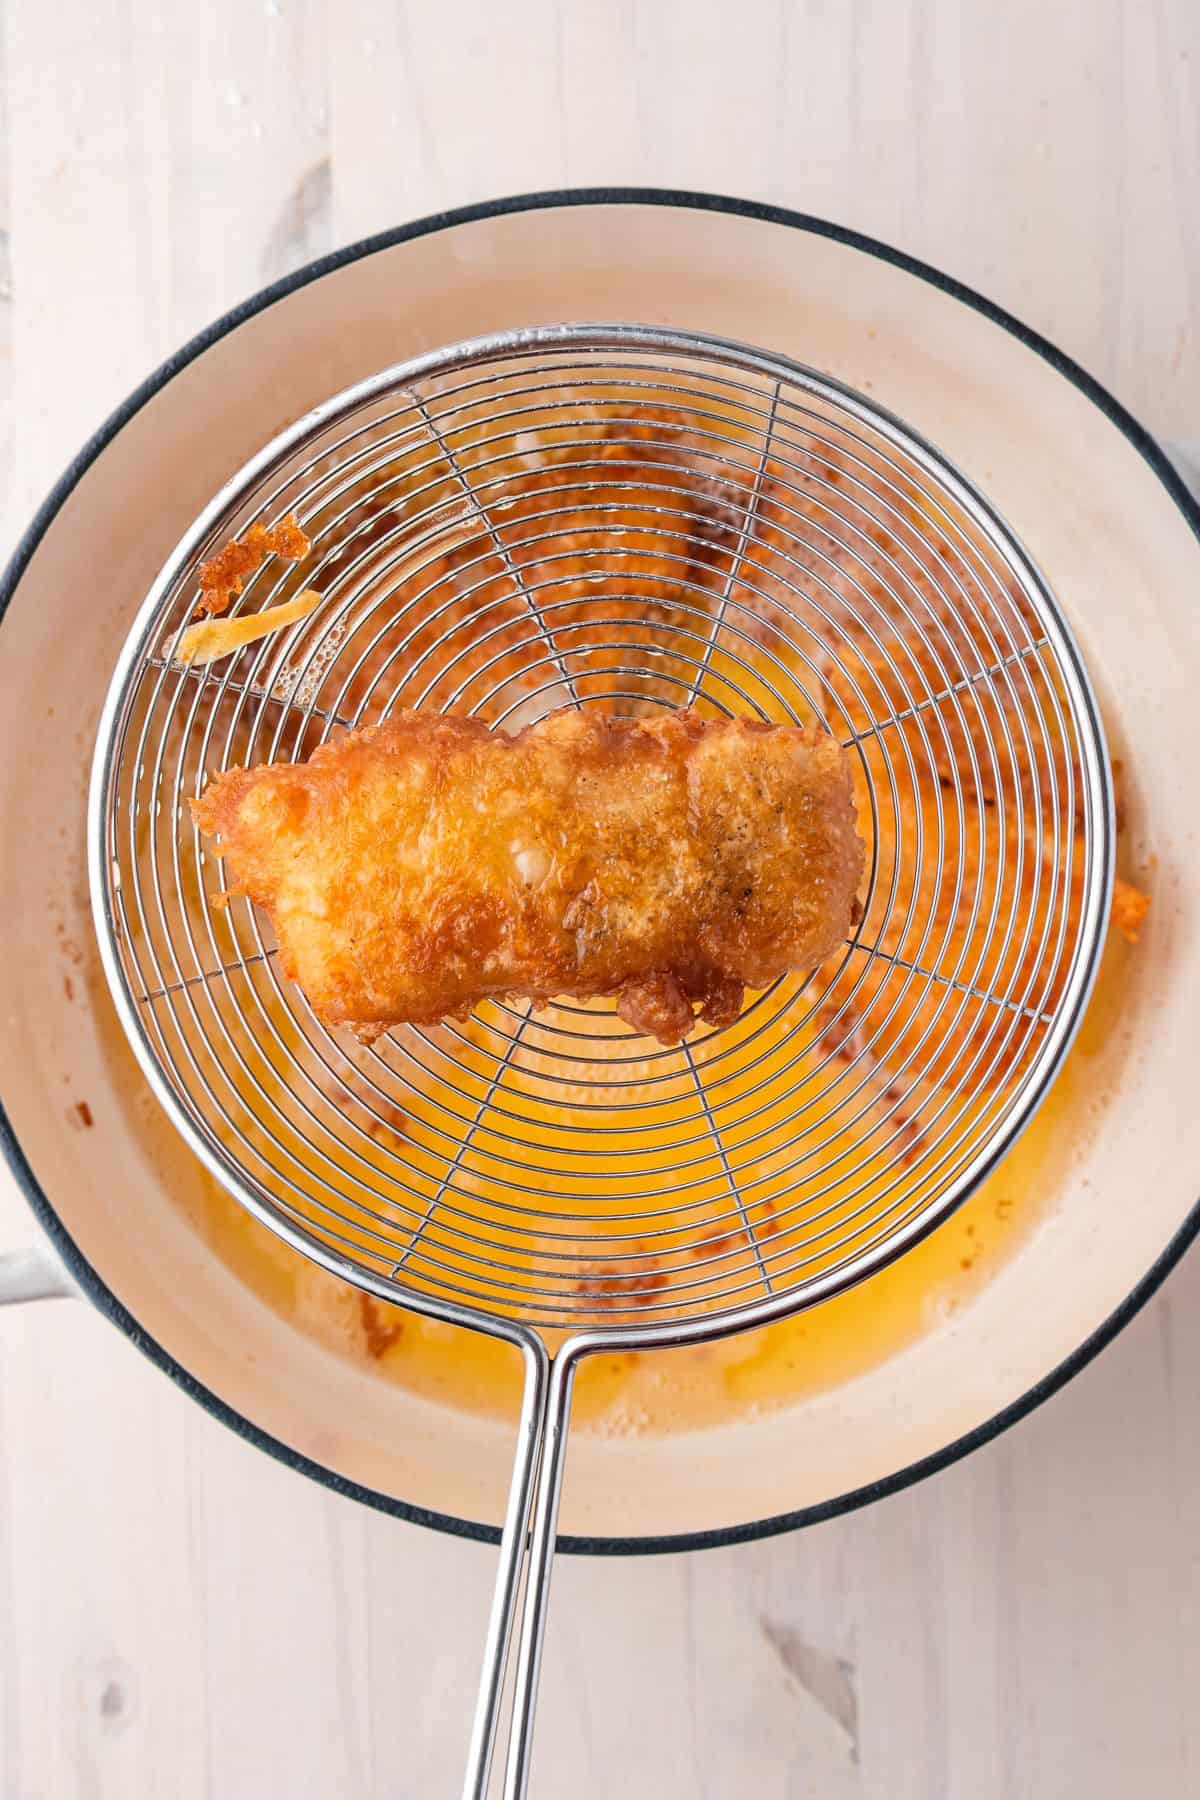
Lower the battered fish gently into the hot oil and leave it alone. You’re looking for a deep amber, golden brown color before you pull it – pale gold isn’t done yet.
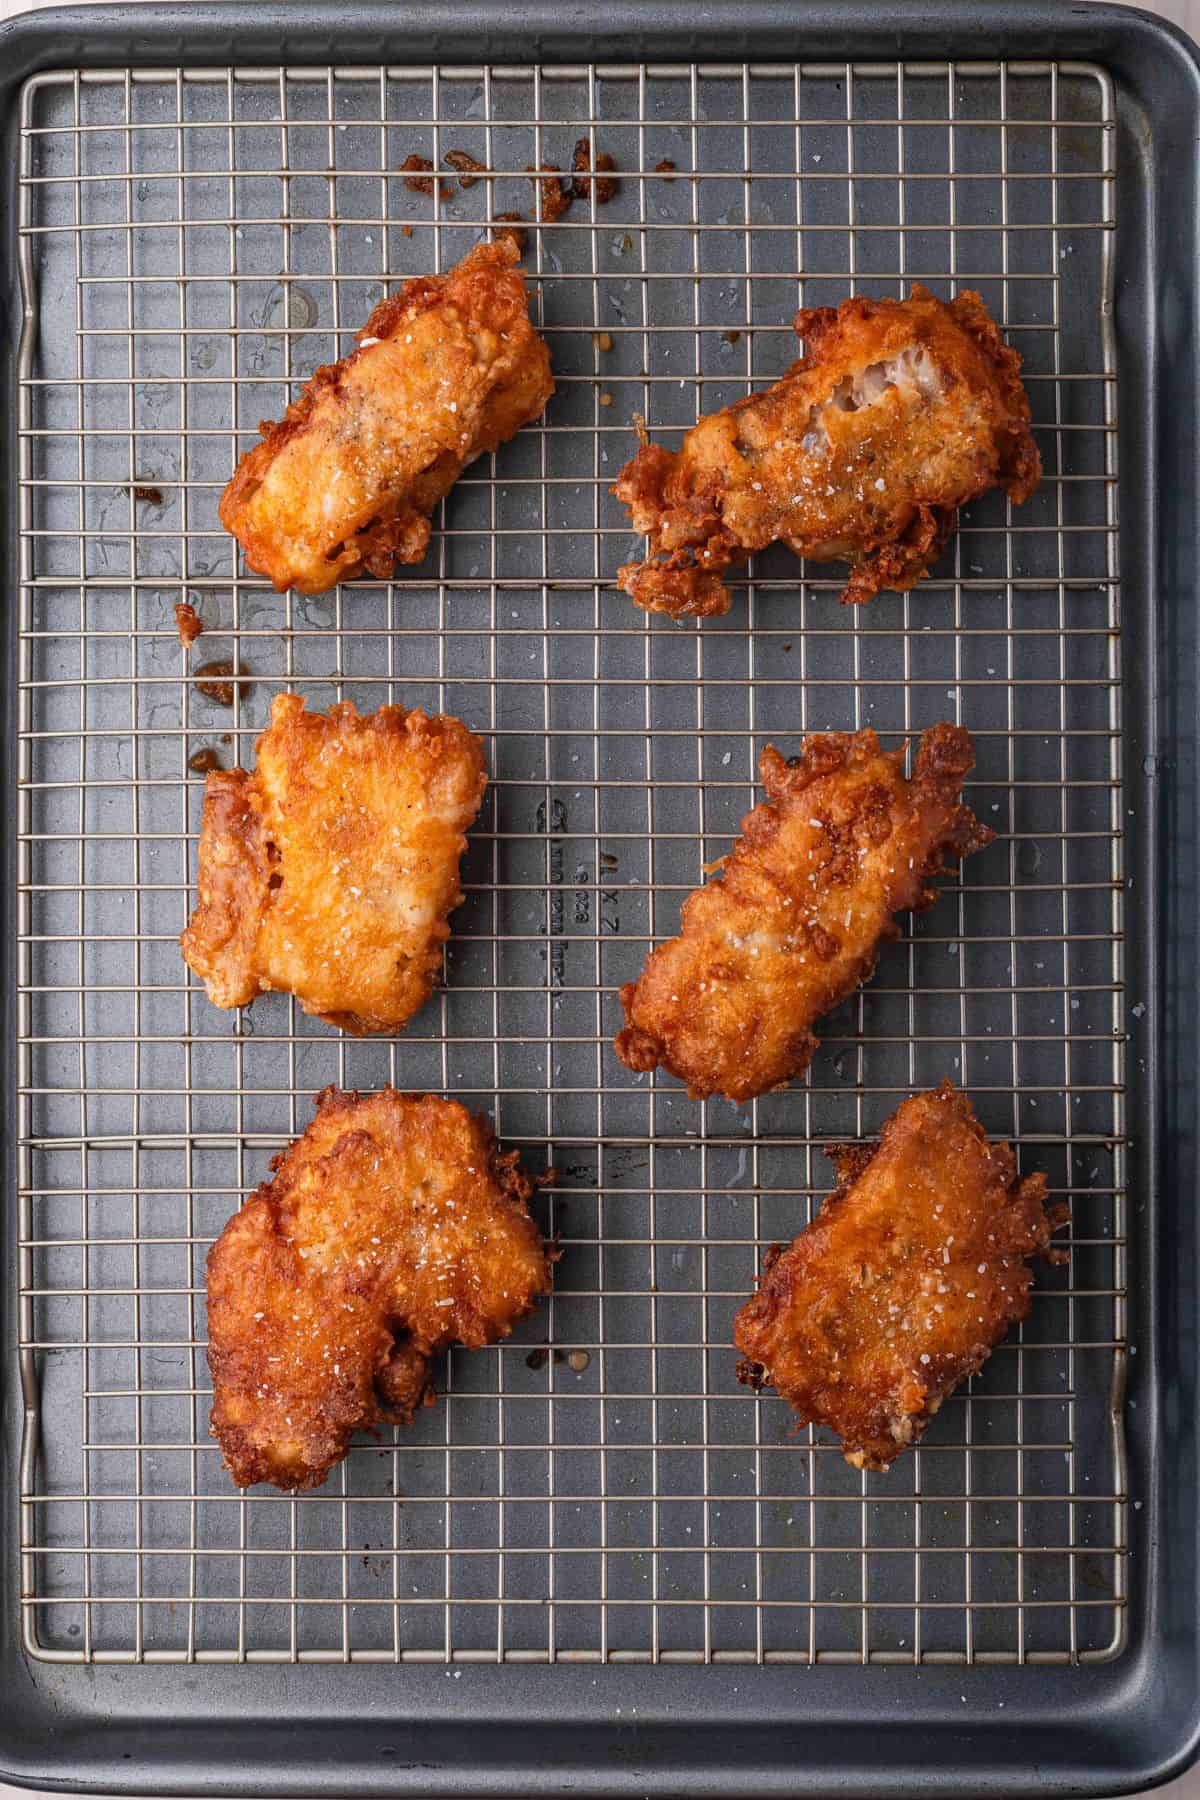
Remove each piece with a spider strainer or slotted spoon and set it on a wire rack over a baking sheet. The rack keeps air circulating underneath so the bottom of the crust stays just as crispy as the top. Hit everything with flaky salt while it’s still hot.
Kylee’s Notes
- Don’t skip patting the fish dry. It sounds like a small thing but it makes a real difference. Any moisture on the surface will steam under the batter and stop it from crisping up properly. Take an extra minute and use paper towels on all sides.
- Cold beer, hot oil. That temperature contrast is part of what makes the batter puff and crisp when it hits the fryer. If your beer has been sitting out, pop it back in the fridge while you prep everything else.
- Frying in batches is not optional. Adding too many pieces at once drops the oil temperature fast, and you end up with greasy, soft batter instead of the crunch you’re after. Let the oil recover between rounds.
- A thermometer clipped to the side of the pot takes the guesswork out of frying. You want to stay in that 340°F-350°F (170°C-175°C) range. Too cool and the batter absorbs oil. Too hot and the outside burns before the fish cooks through.
- Wire rack over a baking sheet is the right move for draining. Paper towels trap steam underneath the fish, which softens the bottom of the crust. The rack lets air circulate all the way around and keeps everything crispy.
- Flaky salt on top right when it comes out of the oil. Don’t wait. The salt sticks better when the batter is still hot, and it makes a real difference to the final bite.
How to store leftovers
Refrigerator. Store in an airtight container for up to 3 days. Lay the pieces in a single layer – stacking will make the coating soggy.
Reheating. An air fryer at 375°F (190°C) for 3-4 minutes is the best way to get the crunch back. The oven works too – 400°F (205°C) on a wire rack for about 8-10 minutes. Avoid the microwave – it makes the batter soft and rubbery.
Troubleshooting
- The batter is falling off the fish. The fish wasn’t dry enough before dredging. Pat it really well with paper towels – any moisture under the batter and it won’t stick.
- Batter is greasy, not crispy. The oil temperature dropped too low. Let it come back up to 340°F (170°C) between batches. Frying too many pieces at once will tank the temperature fast.
- Outside is dark but fish is still raw inside. Oil is too hot. Back it down and give the fish more time. Thicker pieces need a little longer at a slightly lower temp.
- Batter is too thick. Add a tablespoon of cold beer or cold water at a time until it loosens up. It should coat the fish but not be gloppy.
- Fish is sticking together in the pot. You’re frying too many at once. Give each piece space and fry in batches.
FAQs
Clip a thermometer to the side of the pot. It makes it easy to watch and adjust the heat as you go. Aim to keep it between 340°F-350°F (170°C-175°C) throughout.
Can I make the batter ahead of time?
Not really – the carbonation in the beer is what makes the batter light, and that starts to fade pretty quickly once it sits. Mix it right before you fry.
More recipes to love
- Oven Baked Fish (with Lemon) – All the flaky, tender fish without the frying. Ready in 20 minutes and way lighter.
- Blackened Tilapia – Big flavor from a handful of pantry spices. Done in 15 minutes on the stovetop.
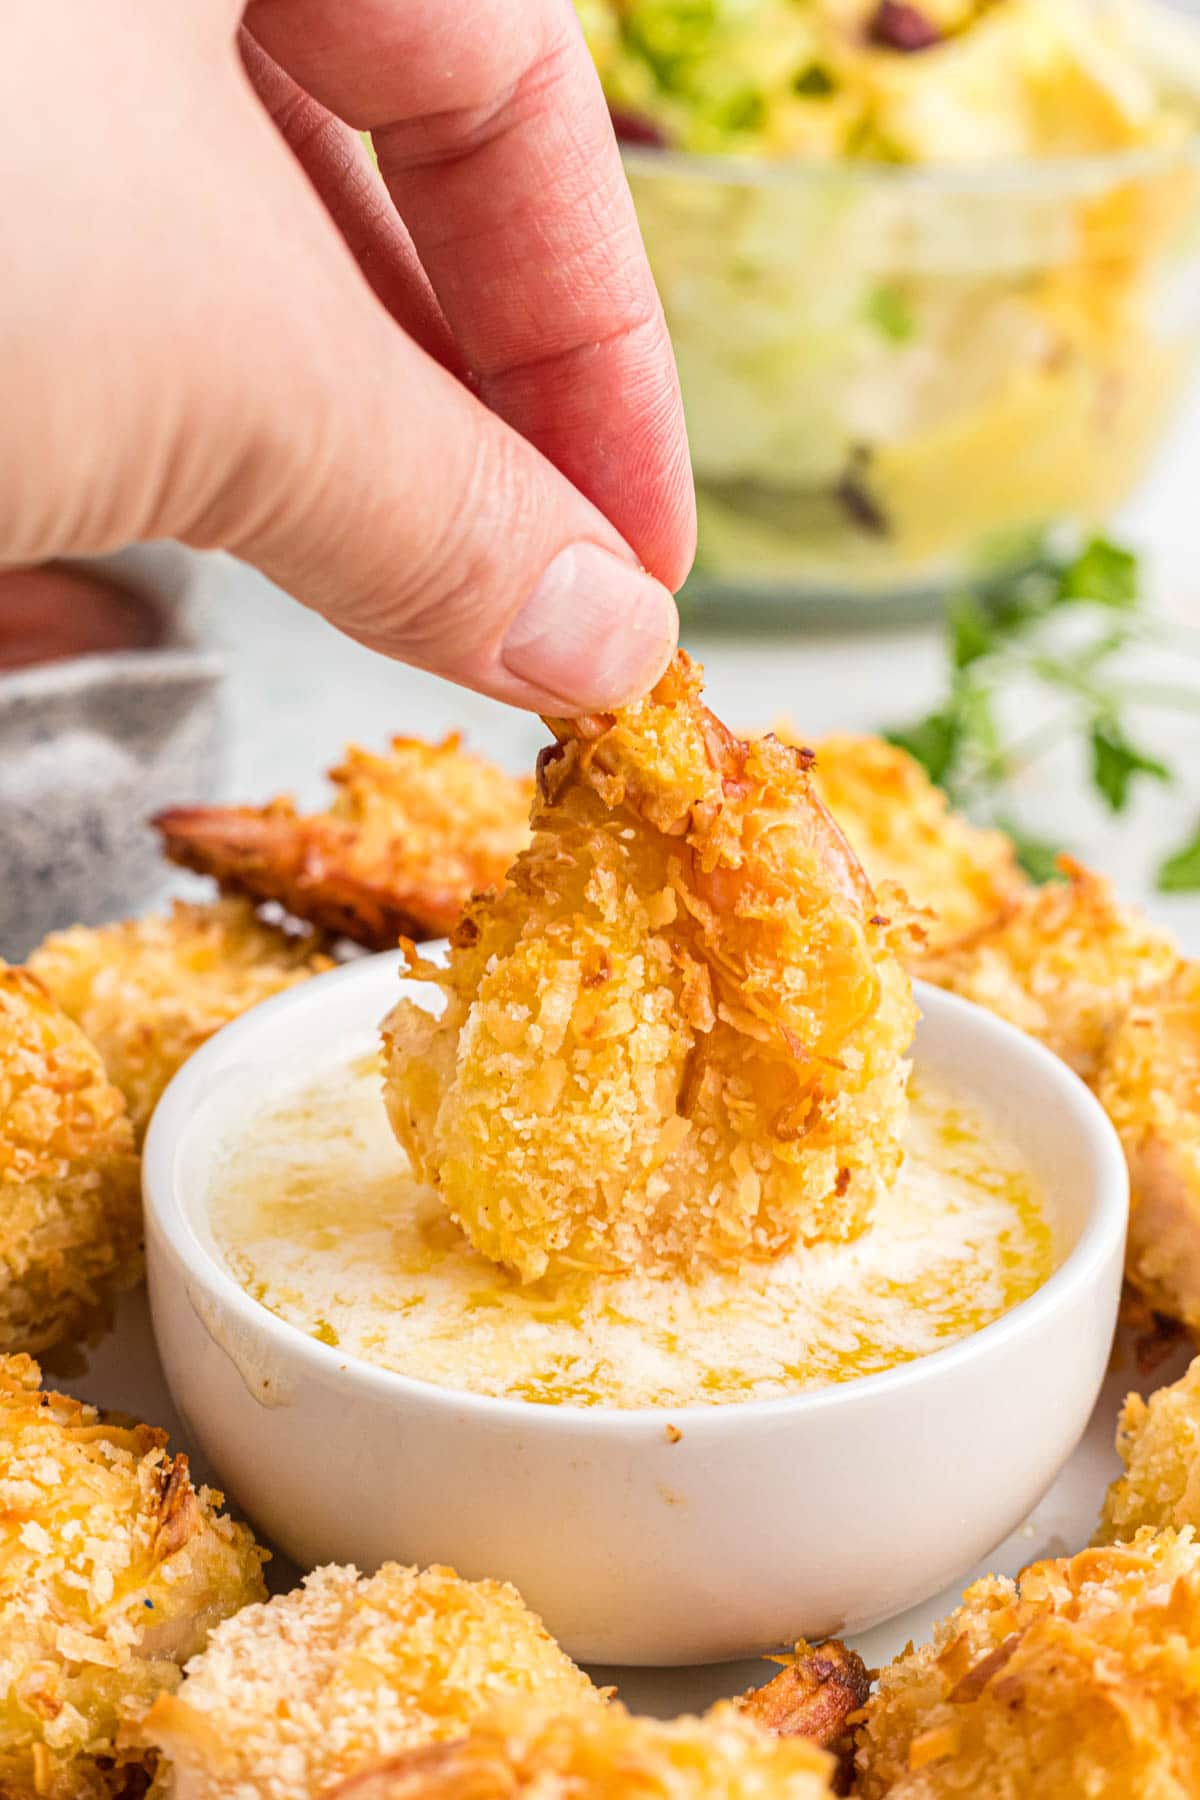
- Coconut Shrimp – Crispy, golden, and a little sweet. Great for when you want that same fried crunch in a totally different direction.
Get free recipes in your inbox!
Find me on Pinterest, Facebook & Instagram.
If you make this recipe, please comment and let me know how it turned out and leave a star rating! ⭐⭐⭐⭐⭐
Beer Battered Fish
Equipment
- Dutch Oven or deep pot
- Wire rack and baking sheet
Ingredients
For the fish
- 1 pound cod cut into 3-4 inch pieces
- Salt and pepper for seasoning
- 1/4 cup all-purpose flour for dredging
- Vegetable or canola oil for frying
For the beer batter
- 1/2 cup all-purpose flour
- 1/4 cup cornstarch
- 1 teaspoon baking powder
- 1 teaspoon garlic powder
- 1/2 teaspoon paprika
- 1 teaspoon salt
- 1/2 cup cold beer lager or pilsner
- 1 large egg
To serve
- Lemon wedges
- Tartar sauce
Instructions
- Get prepped. Pat the fish completely dry with paper towels. Season both sides of each piece generously with salt and pepper.
- Dredge the fish. Coat each piece in the 1/4 cup of flour, pressing gently so it sticks all over. Set aside.
- Heat the oil. Pour about an inch of vegetable or canola oil into a Dutch oven or deep pot and heat to 340°F (170°C). Use a thermometer – oil temperature matters a lot here.
- Make the batter. While the oil heats, whisk together the flour, cornstarch, baking powder, garlic powder, paprika, and salt.1/4 cup all-purpose flour, 1/4 cup cornstarch, 1 teaspoon baking powder, 1 teaspoon garlic powder, 1/2 teaspoon paprika, 1 teaspoon salt
- Add the cold beer and egg and whisk until smooth and evenly combined.1/2 cup cold beer, 1 large egg
- Fry the fish. Dip each piece into the batter, letting any excess drip off, then gently lower into the hot oil. Fry in batches – don't crowd the pot. Cook 3-4 minutes per side until deep golden brown.
- Drain and finish. Transfer to a wire rack set over a baking sheet. Sprinkle with flaky salt while still hot. Serve immediately with lemon wedges and tartar sauce.
Notes
- Pat the fish completely dry before dredging – moisture stops the batter from crisping.
- Keep the beer cold right up until you mix the batter.
- Fry in batches so the oil temperature stays consistent.
- Use a thermometer – aim for 340°F-350°F (170°C-175°C) throughout.
- Drain on a wire rack, not paper towels, to keep the crust crispy.
- Hit it with flaky salt the second it comes out of the oil.
Would you like to save this recipe?
Nutrition
Nutritional information is an estimate and provided to you as a courtesy. You should calculate the nutritional information with the actual ingredients used in your recipe using your preferred nutrition calculator.
Did you make this recipe?
Make sure to follow @kyleecooks on Instagram for more and tag me #kyleecooks so I can see!
About Kylee Ayotte
I am a born and raised New Zealander (a Kiwi), now living in Phoenix, Arizona. I’m happily married to the love of my life – a hot American boy I met while traveling the world. I’m a mama to 2 awesome little boys and love red things, rugby, cheesecake, and bacon. Mmmmm. Bacon. Meet Kylee