Vanilla Bundt Cake Recipe (No Mixer Needed)
This post may contain affiliate links. See our affiliate policy here.
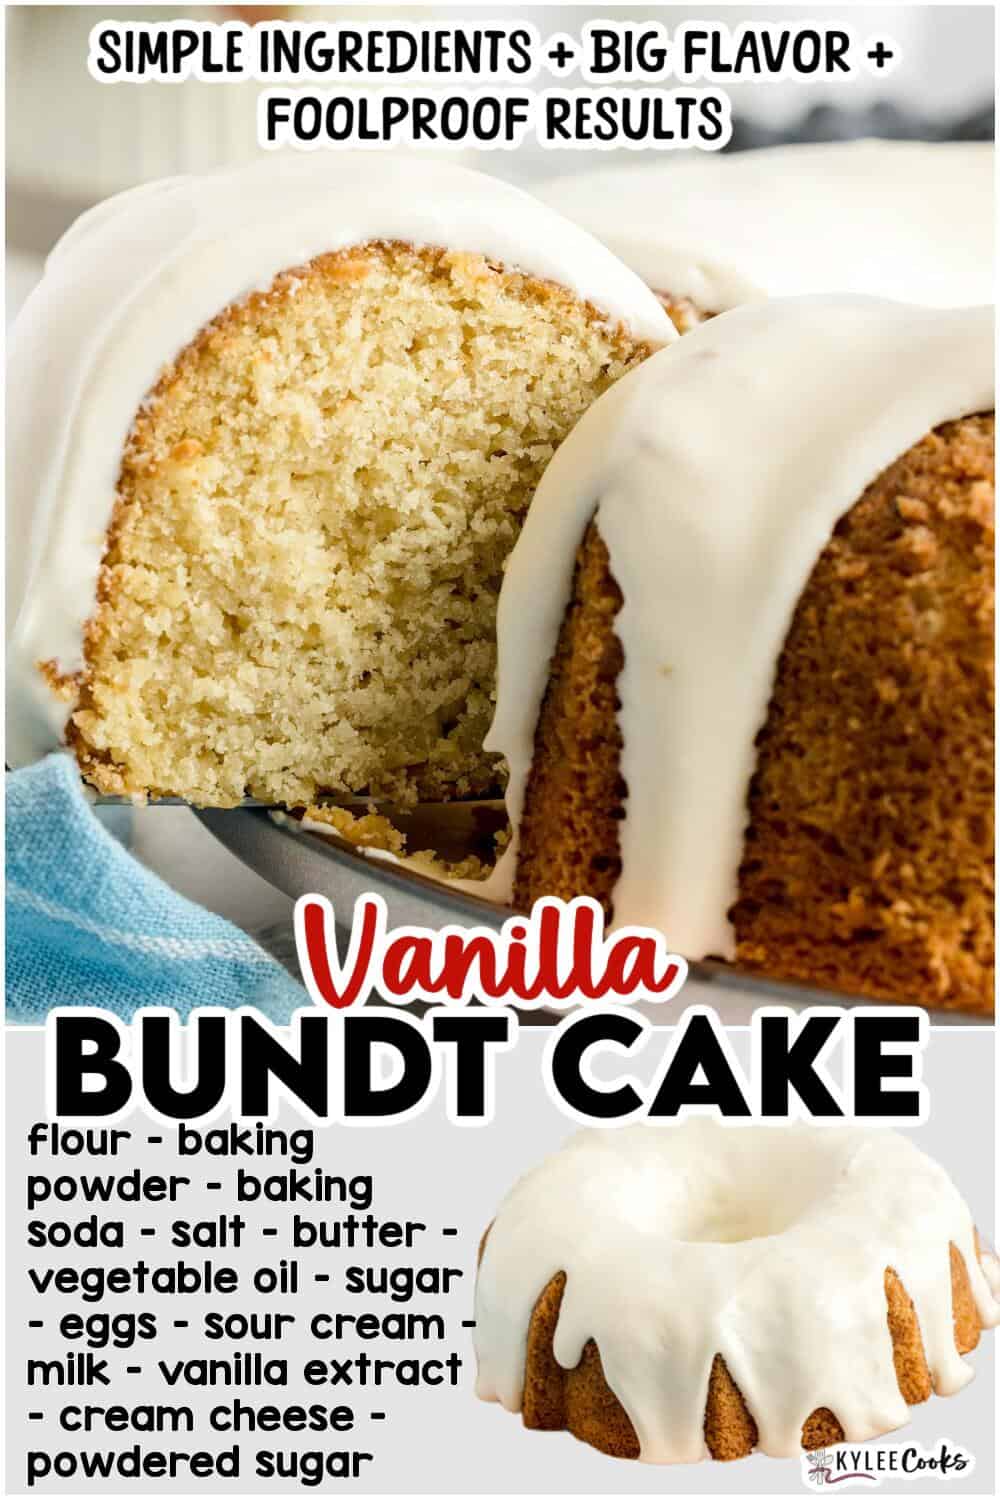
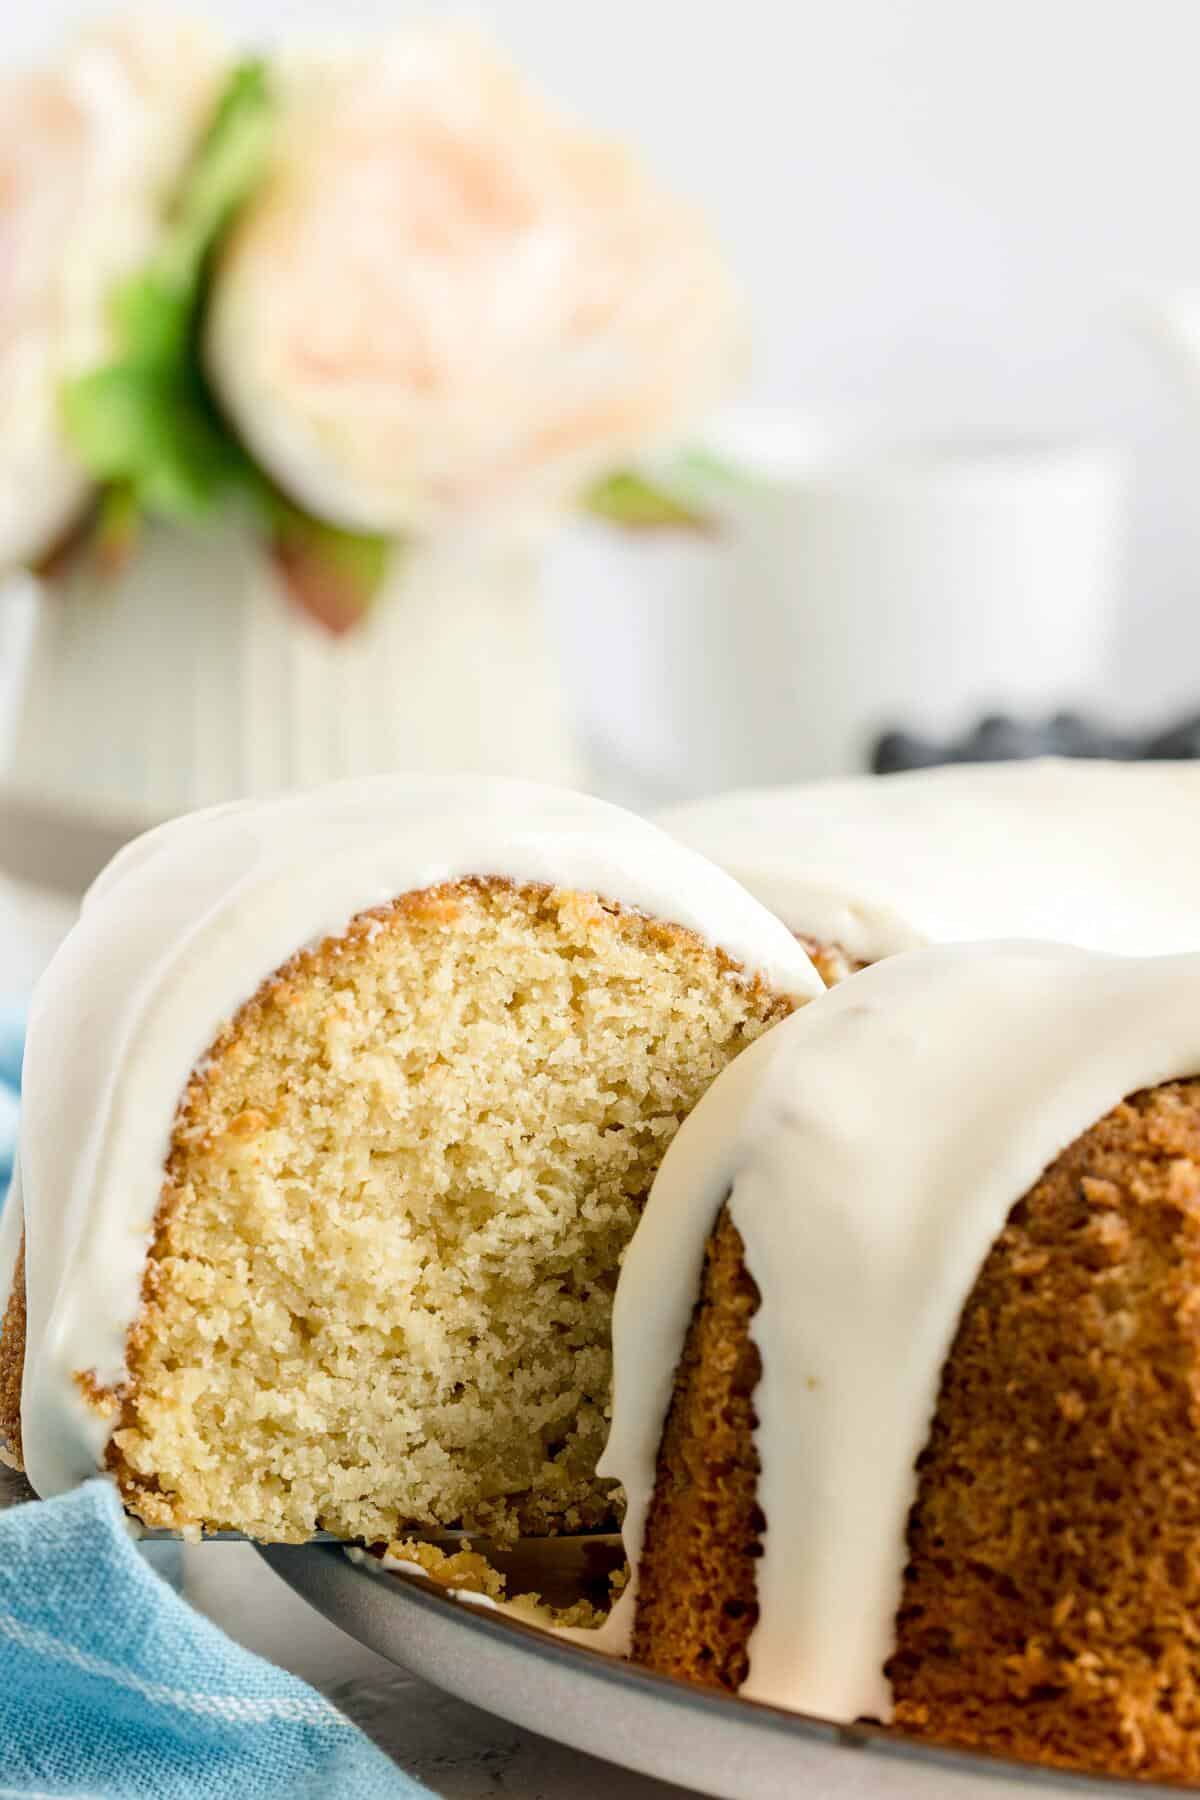
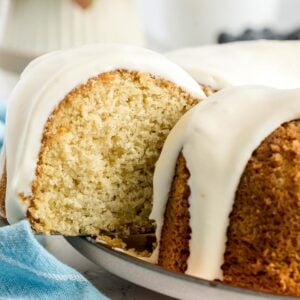
I’ve been making bundt cakes for years, and this vanilla one is the recipe I keep coming back to – because it works every single time. Soft, buttery, loaded with warm vanilla flavor, and finished with a cream cheese glaze that makes the whole thing look like it came from a real bakery window.
No mixer. No special techniques. Just a reliable recipe that feels a little fancy without any of the fuss. You’ll make it once and it’ll become your go-to. That’s just how it goes.
Step-by-step photos and instructions are below. Jump to the recipe card if you wish!
Why you’ll love this
- No mixer needed. Melted butter means you can mix this entirely by hand. One bowl, a whisk, and a spatula. That’s it.
- It stays moist for days. Sour cream and oil do the heavy lifting here. The crumb stays soft and tender even on day two or three, which almost never happens with a from-scratch cake.
- The glaze makes it look like a bakery cake. Five minutes of mixing and a slow pour is all it takes. It sets just enough to look intentional without being fussy.
- It works for everything. Birthday, potluck, holiday table, random Tuesday night. This cake never feels out of place.
- It actually works every time. No tricky techniques, no special equipment, no crossing your fingers while it bakes. Just a reliable recipe you can count on.
Can You Make This Ahead?
Yes, and honestly it might be better the next day. Bake the cake completely, let it cool, then wrap it tightly in plastic wrap and leave it at room temperature overnight. The crumb settles and the flavor deepens a little. Just hold off on the glaze until you’re ready to serve – it takes five minutes and looks much better fresh. If you’re making it more than a day ahead, refrigerate it and bring it back to room temperature before glazing.
Why Did My Cake Stick to the Pan?
This is the most heartbreaking bundt cake problem and it almost always comes down to two things – not enough grease, or waiting too long to flip it. Bundt pans have a lot of surface area and every ridge and curve needs to be coated. Baking spray with flour is the easiest option, but softened butter brushed into every corner works too.
Step-by-step photos and tips and tricks are below. Jump to the full recipe card instead
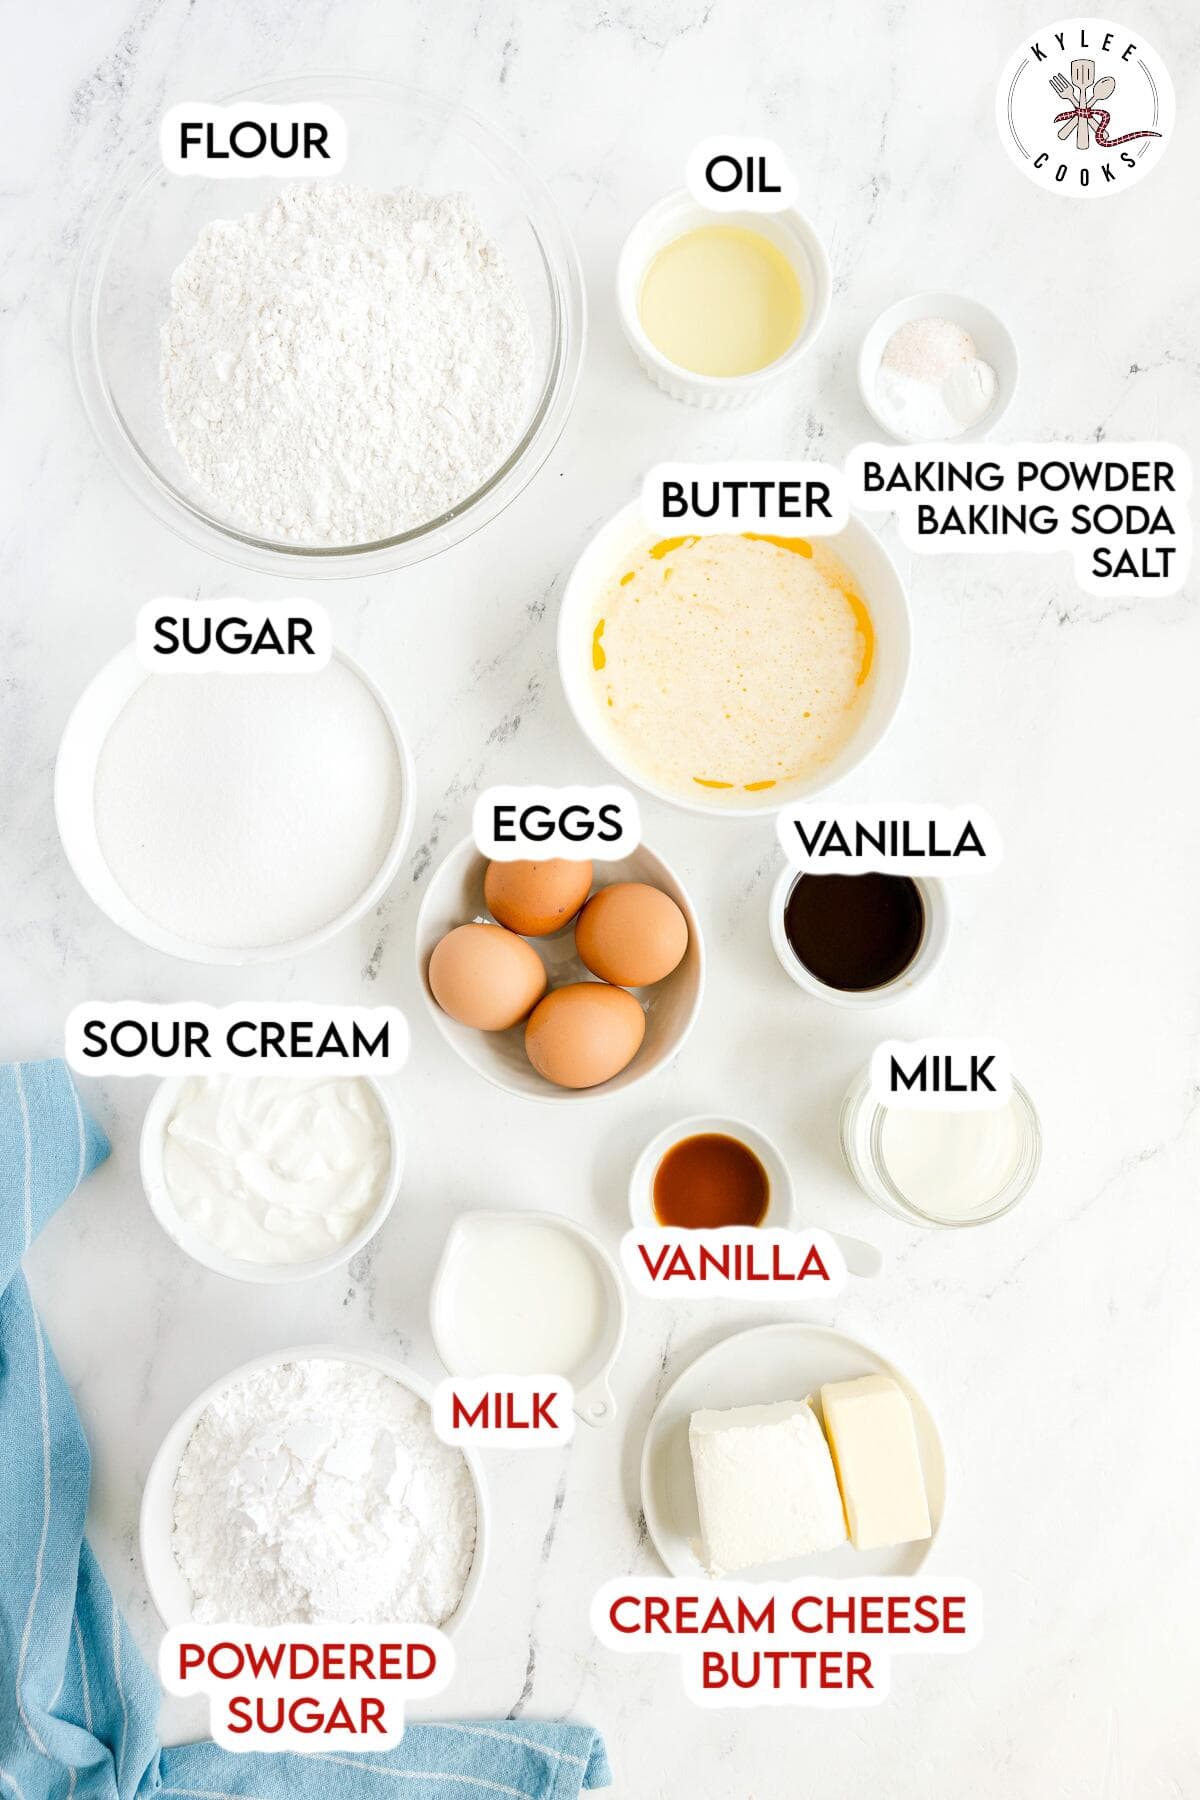
Key Recipe Ingredients
Note: This highlights some ingredients. Full list is in the recipe card.
- Flour. Just regular all-purpose flour. The one thing worth doing is spooning it into the measuring cup instead of scooping straight from the bag – scooping packs it in and too much flour is the fastest way to end up with a dry cake.
- Baking powder and baking soda. You need both, and they both need to be fresh. If yours have been sitting in the back of the cupboard for a year, grab new ones. Old leaveners are a silent cake killer.
- Salt. Don’t skip it. It balances the sweetness and makes the vanilla taste more like vanilla. If you’re using unsalted butter, add an extra 1/4 teaspoon.
- Butter. Melted, not softened – which is why you don’t need a mixer for this one. It mixes in easily and gives the crumb that soft, rich texture. I use salted butter. Let it cool down a little before you add it so you’re not scrambling your eggs.
- Vegetable oil. This is what keeps the cake moist past day one. Butter gives you flavor, oil gives you staying power. You need both.
- Sugar. Just plain white granulated sugar. Nothing special here.
- Eggs. Large eggs, and let them sit out before you start. Cold eggs don’t mix in as smoothly and can mess with the texture of the crumb. Room temperature is the move.
- Sour cream. This one does a lot of the heavy lifting. Full fat sour cream gives you a tender, moist crumb that holds up for days. Greek yogurt works if that’s what you have.
- Milk. Just loosens the batter a little so everything comes together smoothly. Whole milk is great but whatever you have on hand is fine.
- Vanilla extract. The whole point of this cake, so use a good one. Two tablespoons sounds like a lot but that’s what gives it that deep, warm vanilla flavor that actually tastes like something. Don’t cut it back.
- Cream cheese. Gives the glaze that slight tang and creamy texture that makes it so much better than a plain sugar glaze. Make sure it’s fully softened before you mix or you’ll end up with lumps no matter how long you beat it.
- Powdered sugar. Sweetens and thickens the glaze. Add it gradually and you’ll have full control over the consistency.
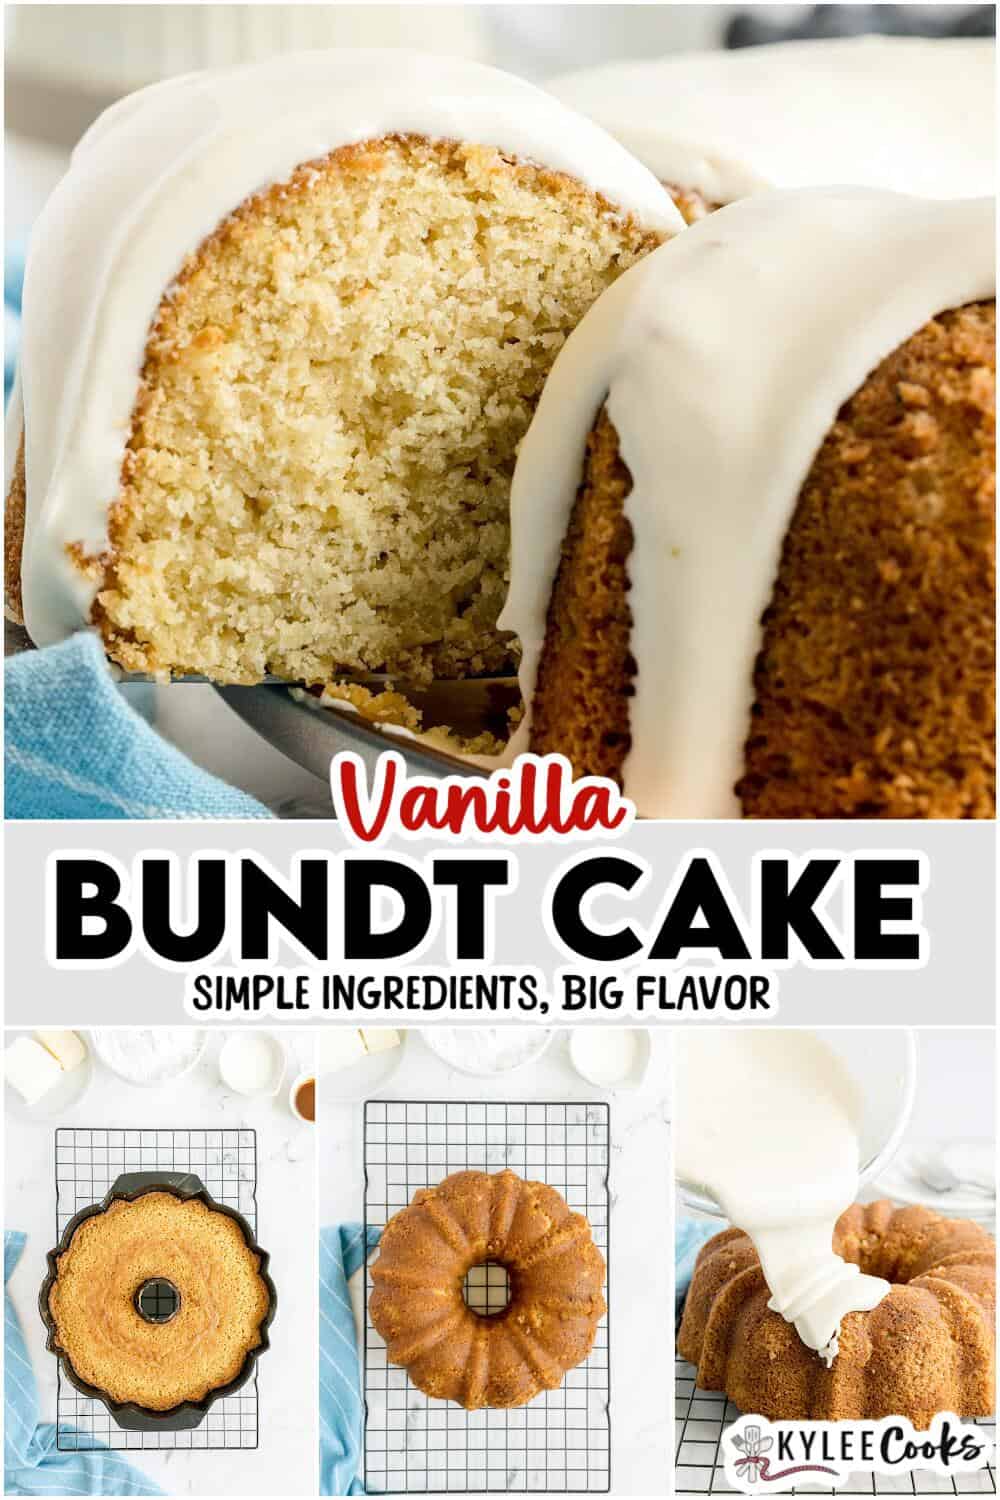
How to make this recipe
This is a step-by-step photo guide. Full ingredients and instructions are in the printable recipe card below.
Would you like to save this recipe?
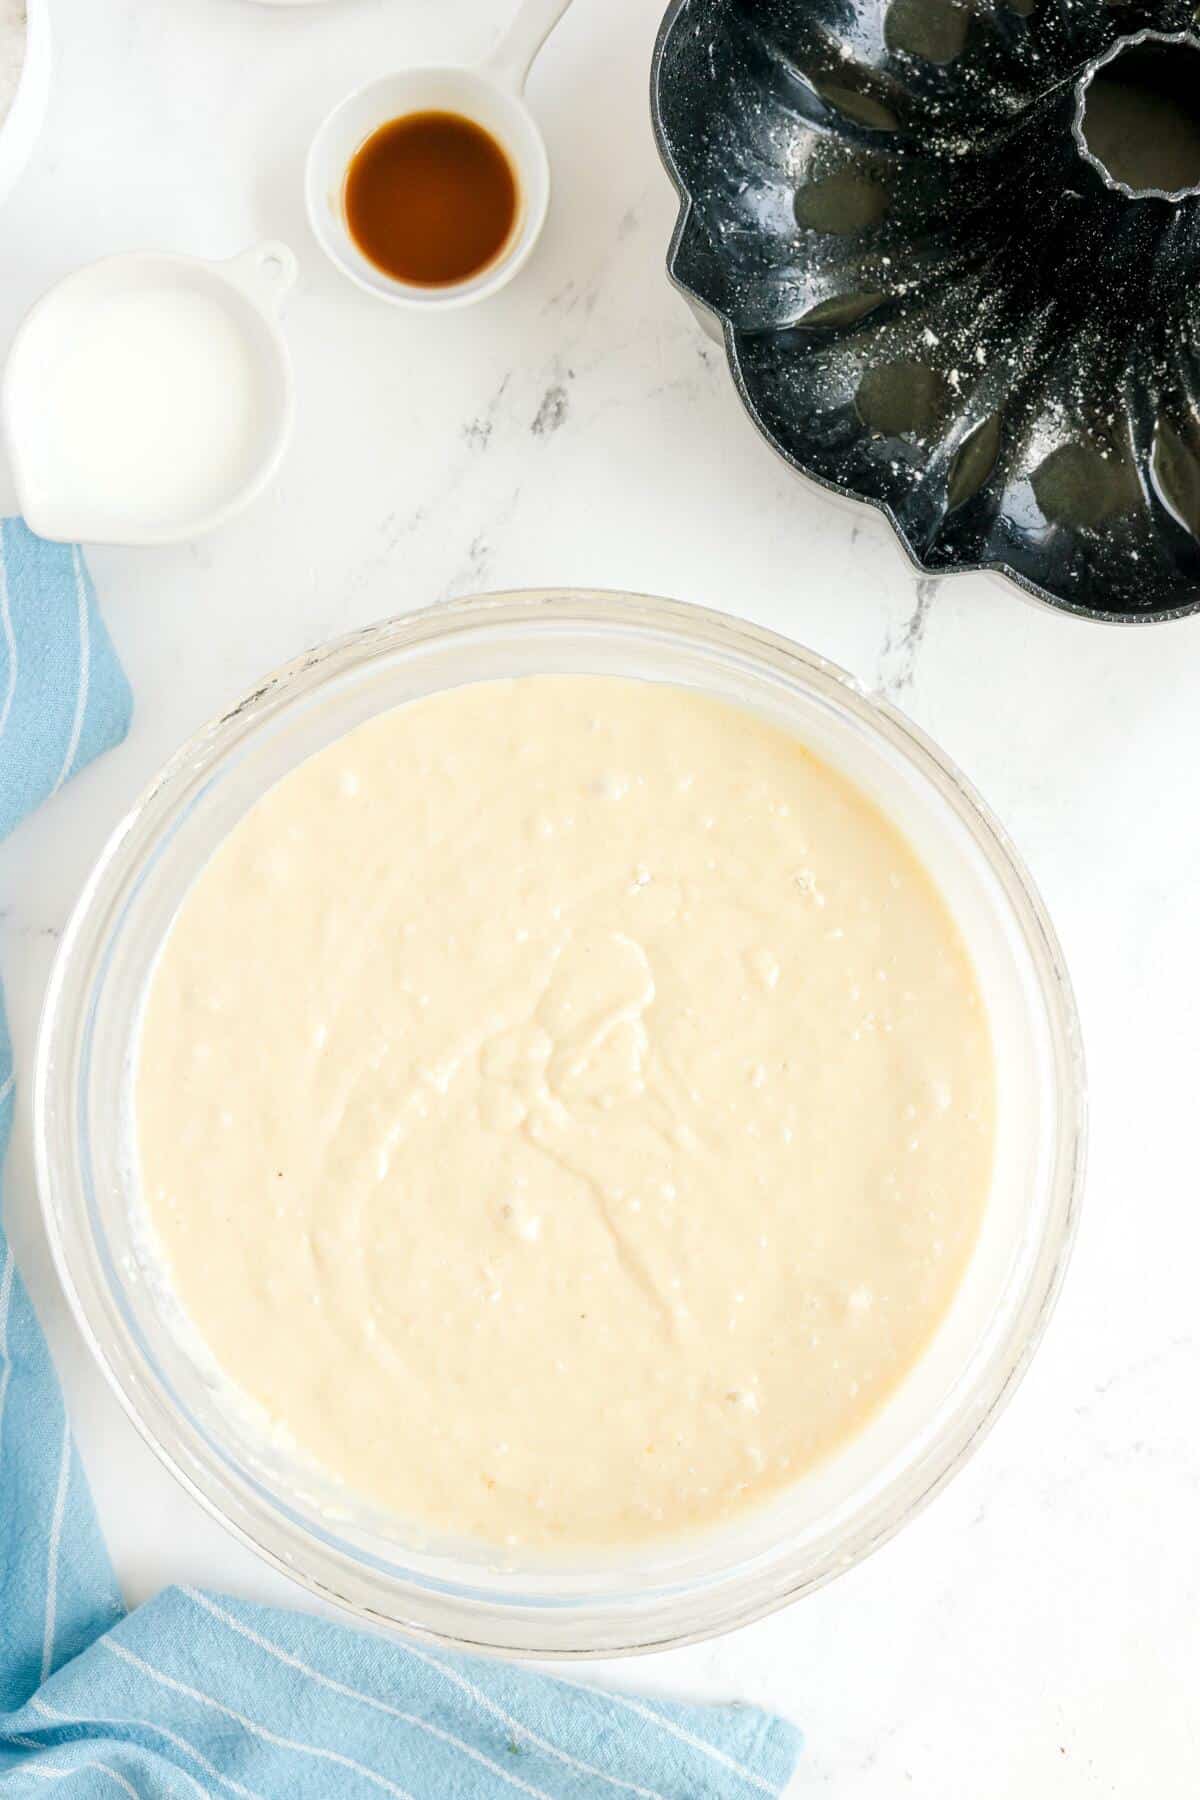
Mix together the batter. Whisk your dry ingredients in one bowl and your wet ingredients in another, then add the dry to the wet in two additions. Fold gently with a spatula – you’re done as soon as you can’t see streaks of flour anymore. The batter will be thick and smooth, a little like a dense pancake batter.
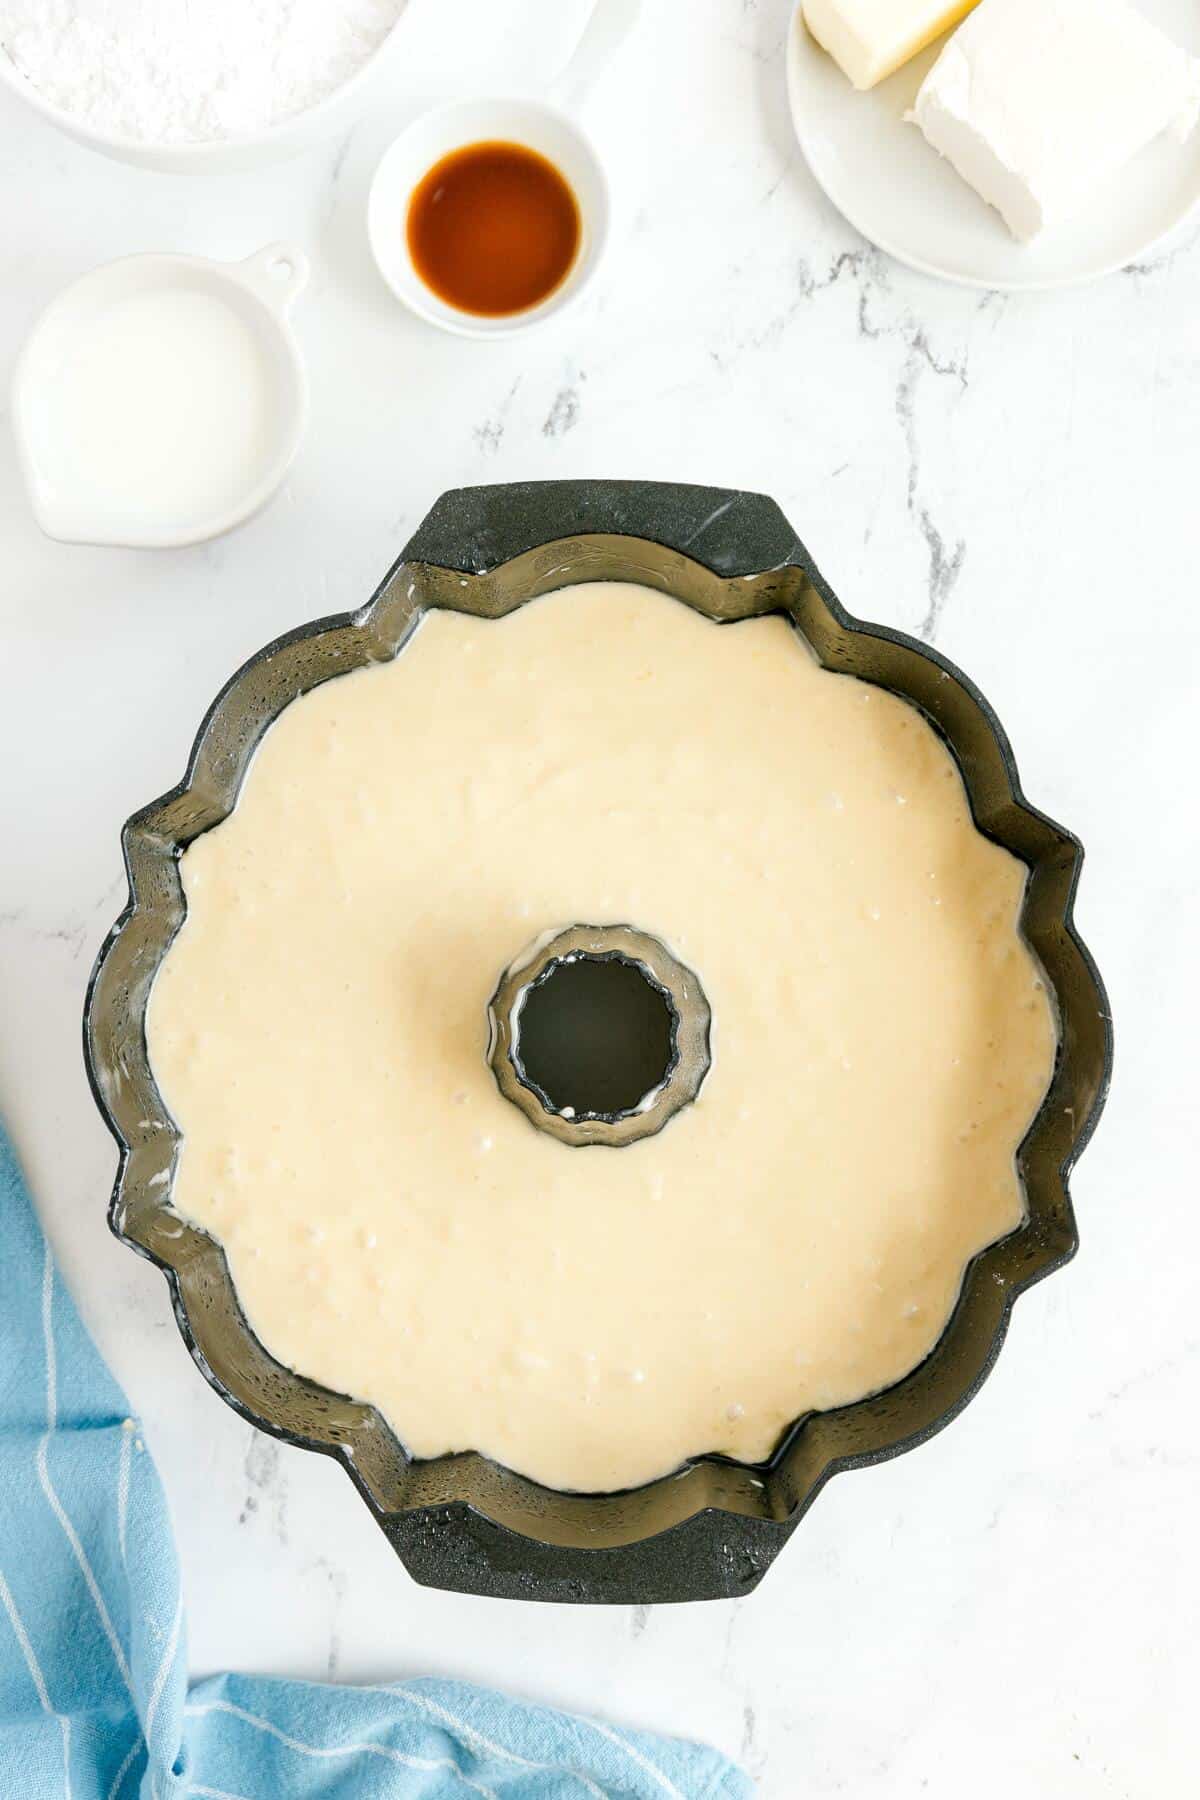
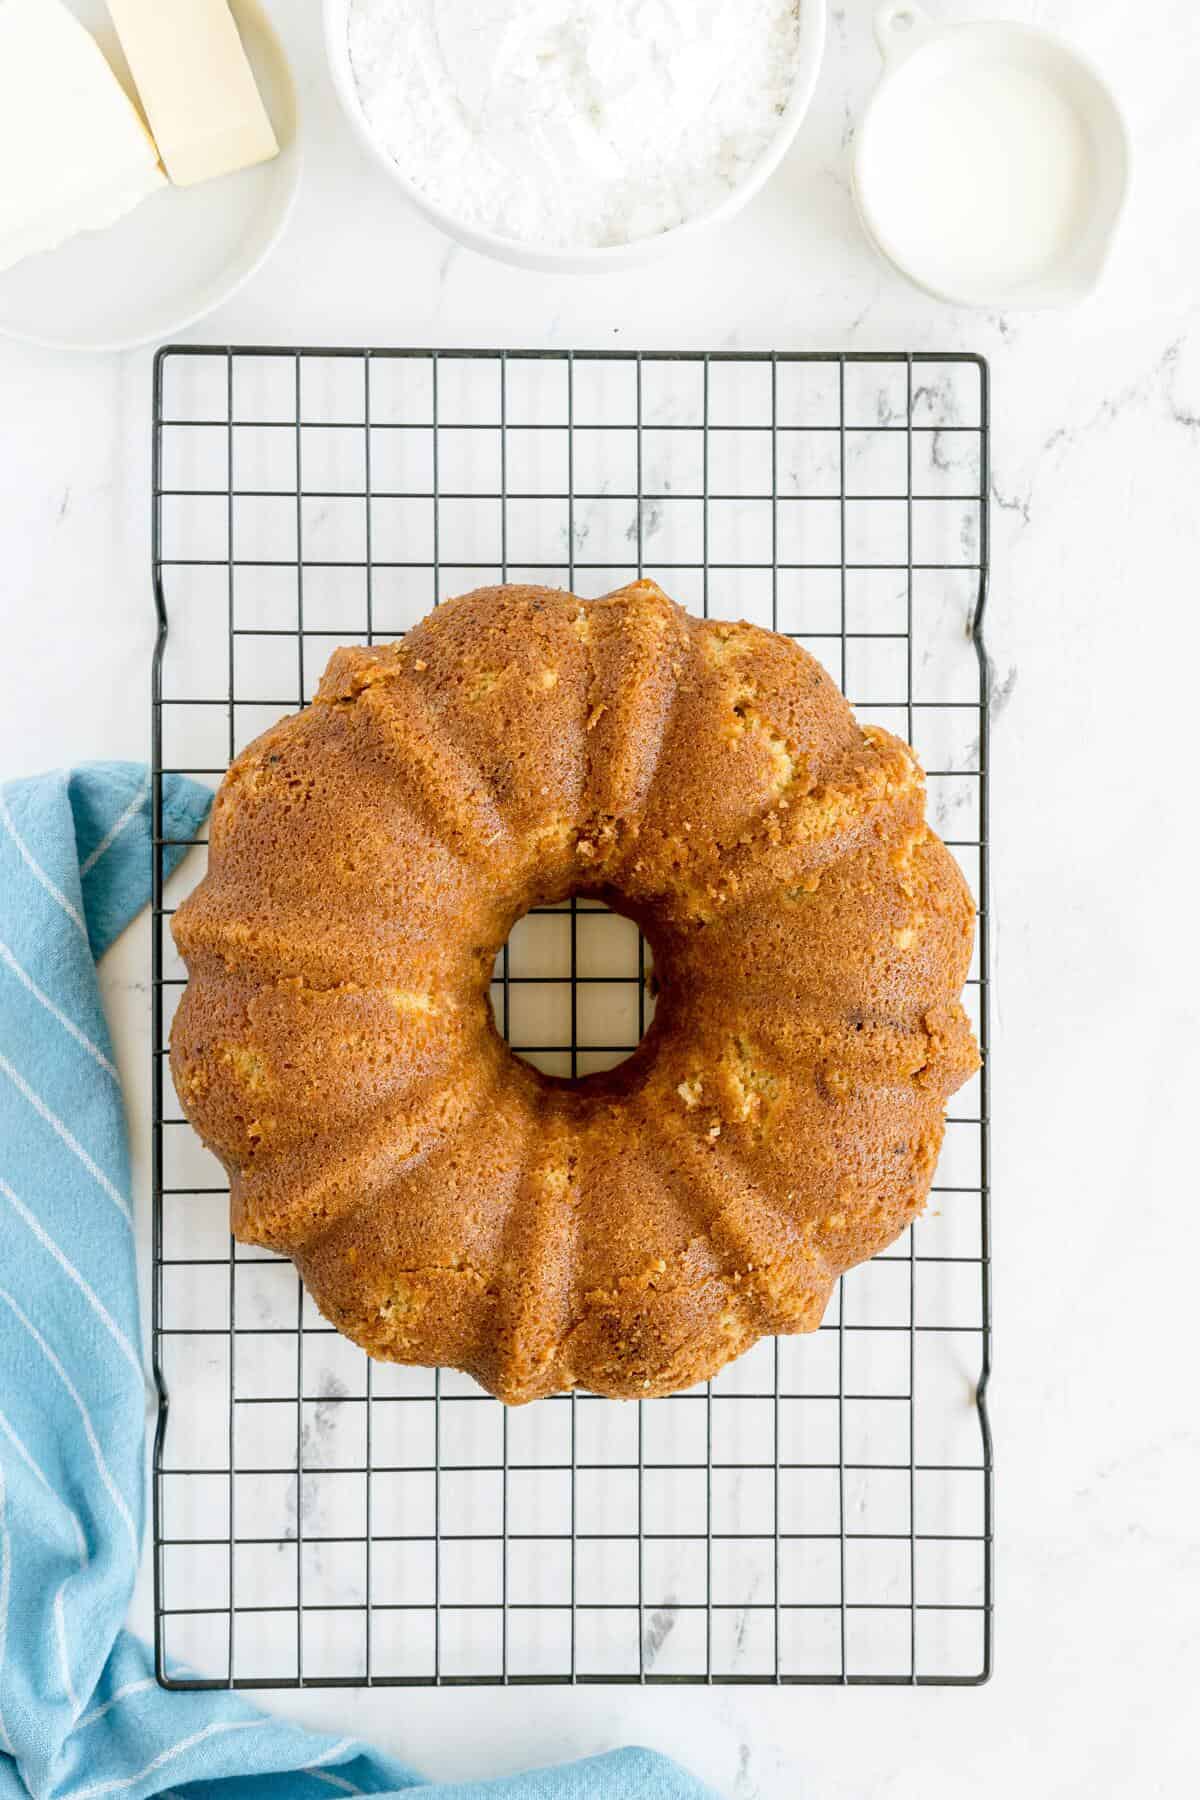
Fill the pan and bake. Pour the batter into your well-greased bundt pan and smooth it out. Give the pan a couple of taps on the counter to knock out any air bubbles, then bake at 350°F (175°C) for 50 to 55 minutes. The top should be golden and a toothpick inserted in the center should come out clean.
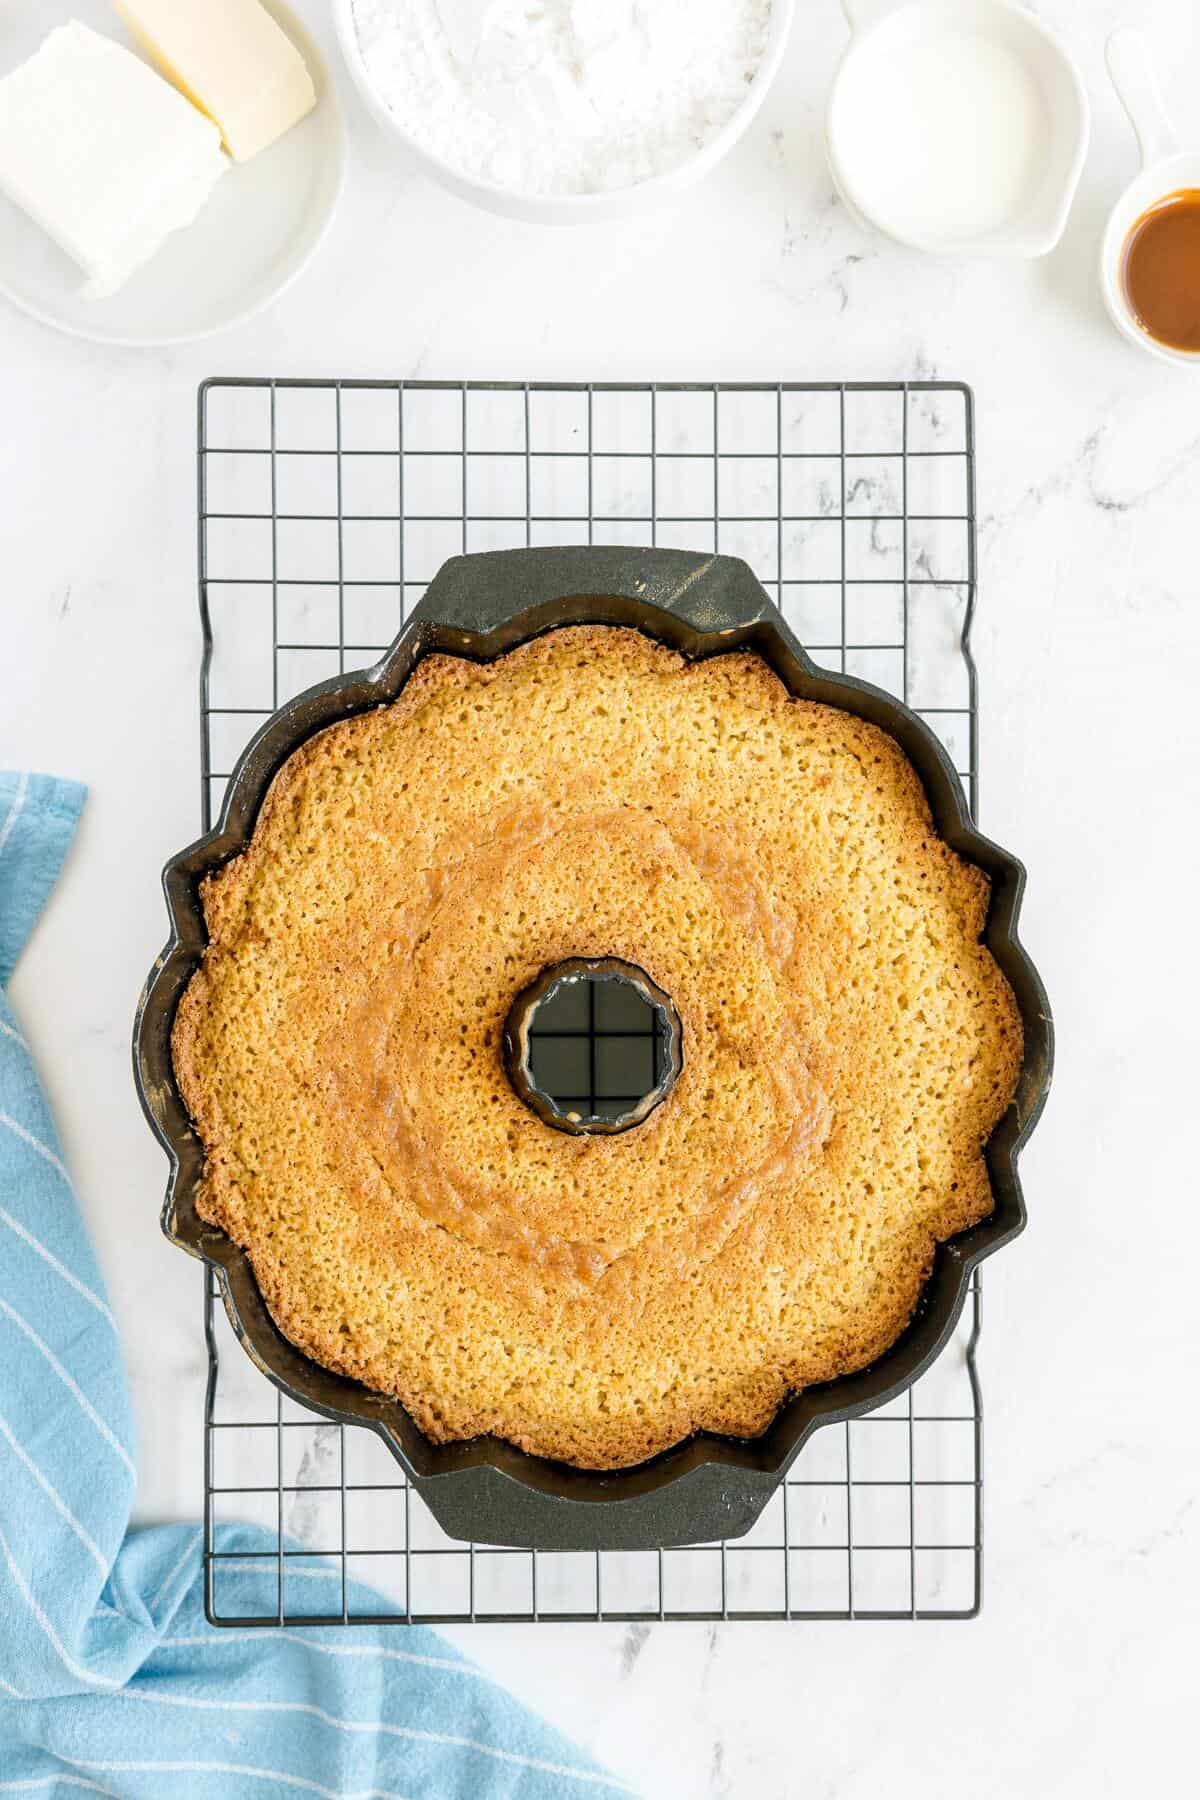
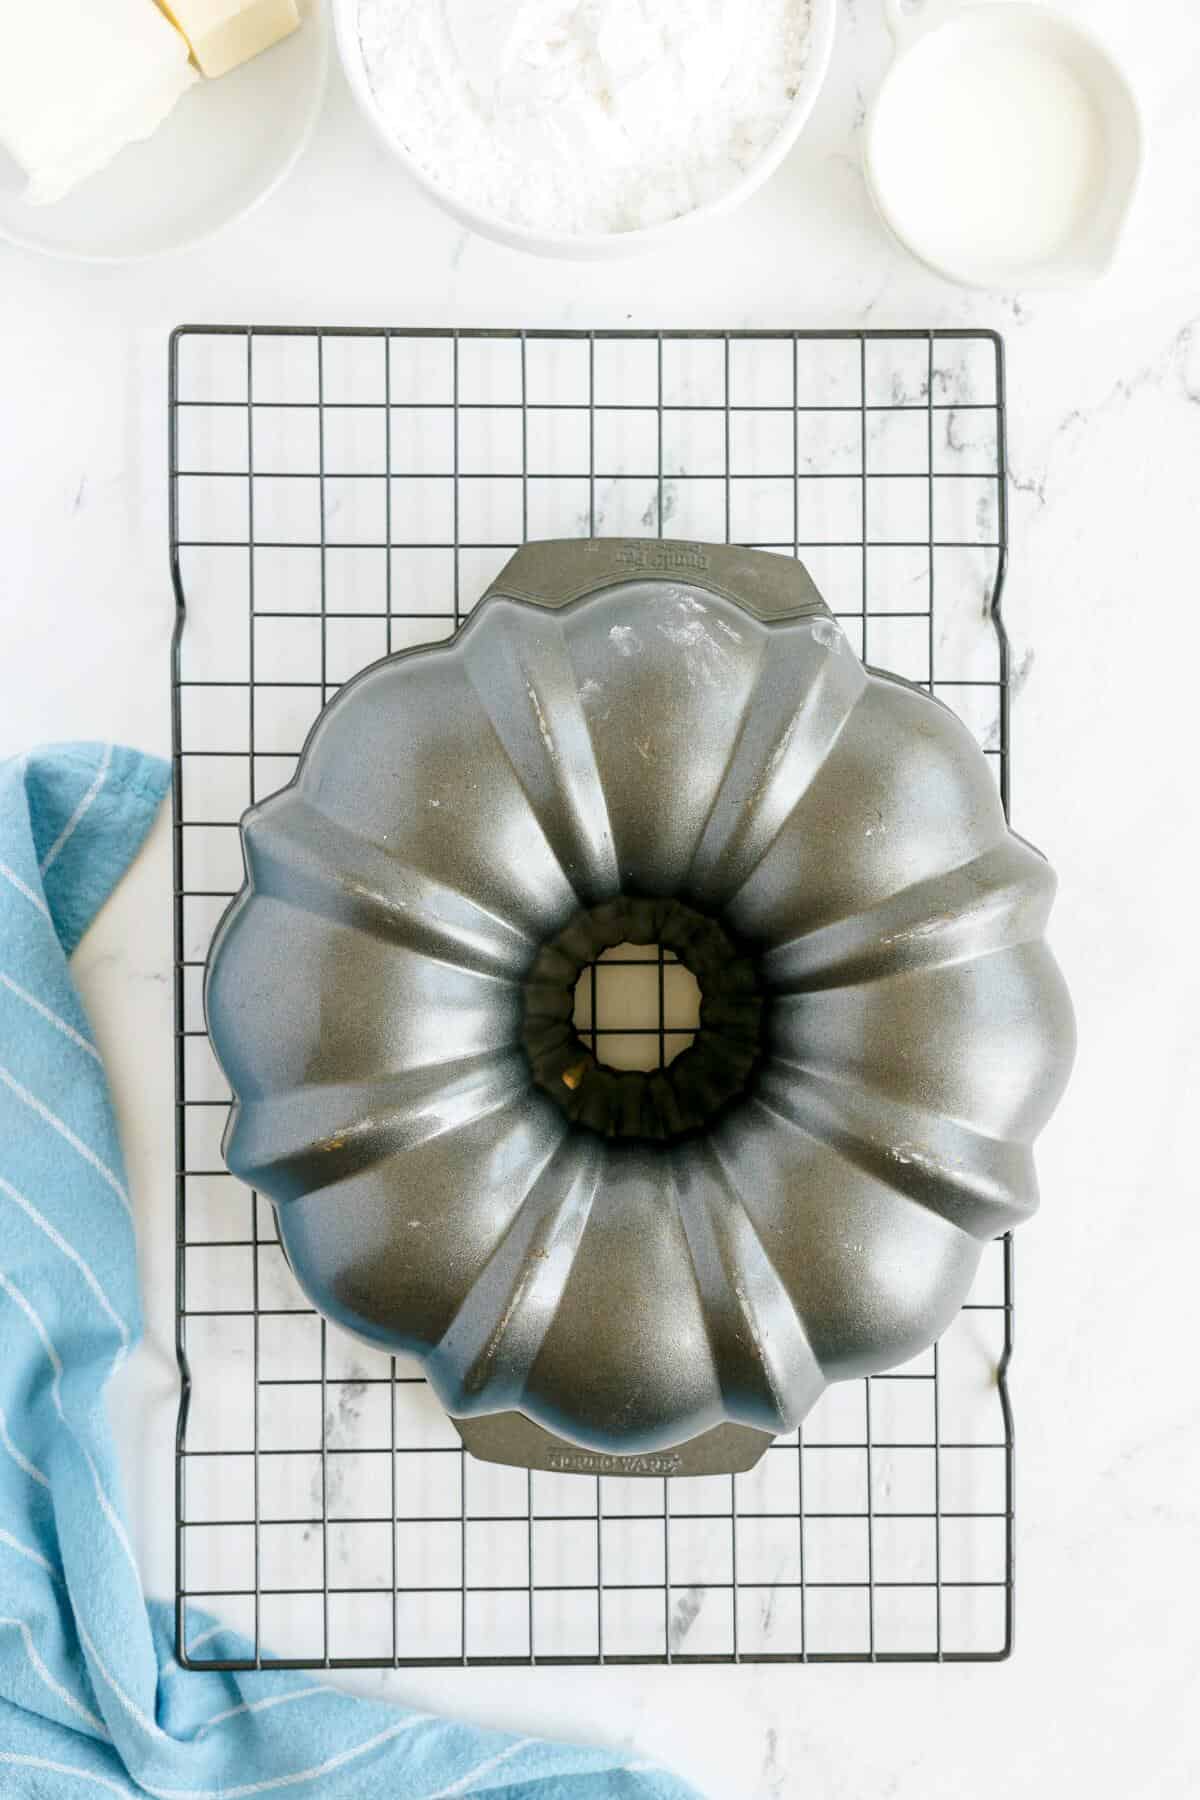
Invert the cake. Let the cake cool in the pan for 15 minutes, then place a wire rack over the top and flip it in one confident move. Give it time to cool completely before you even think about the glaze.
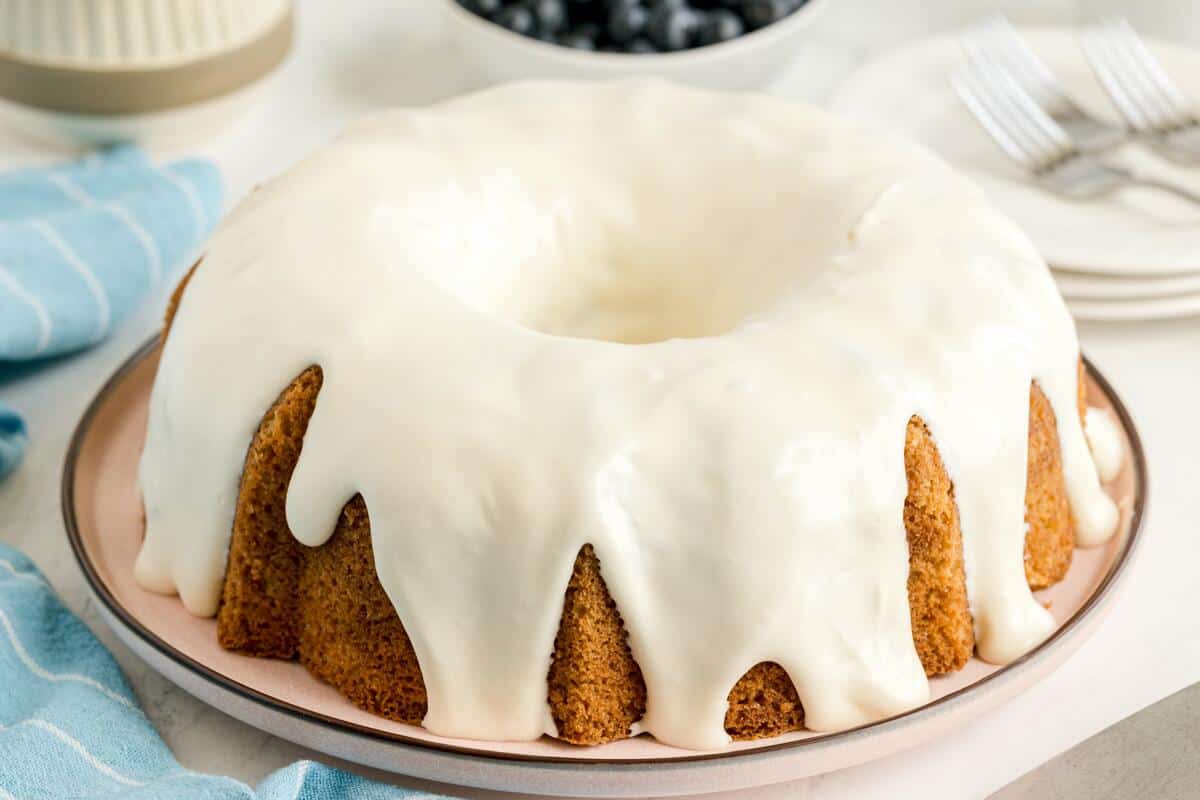
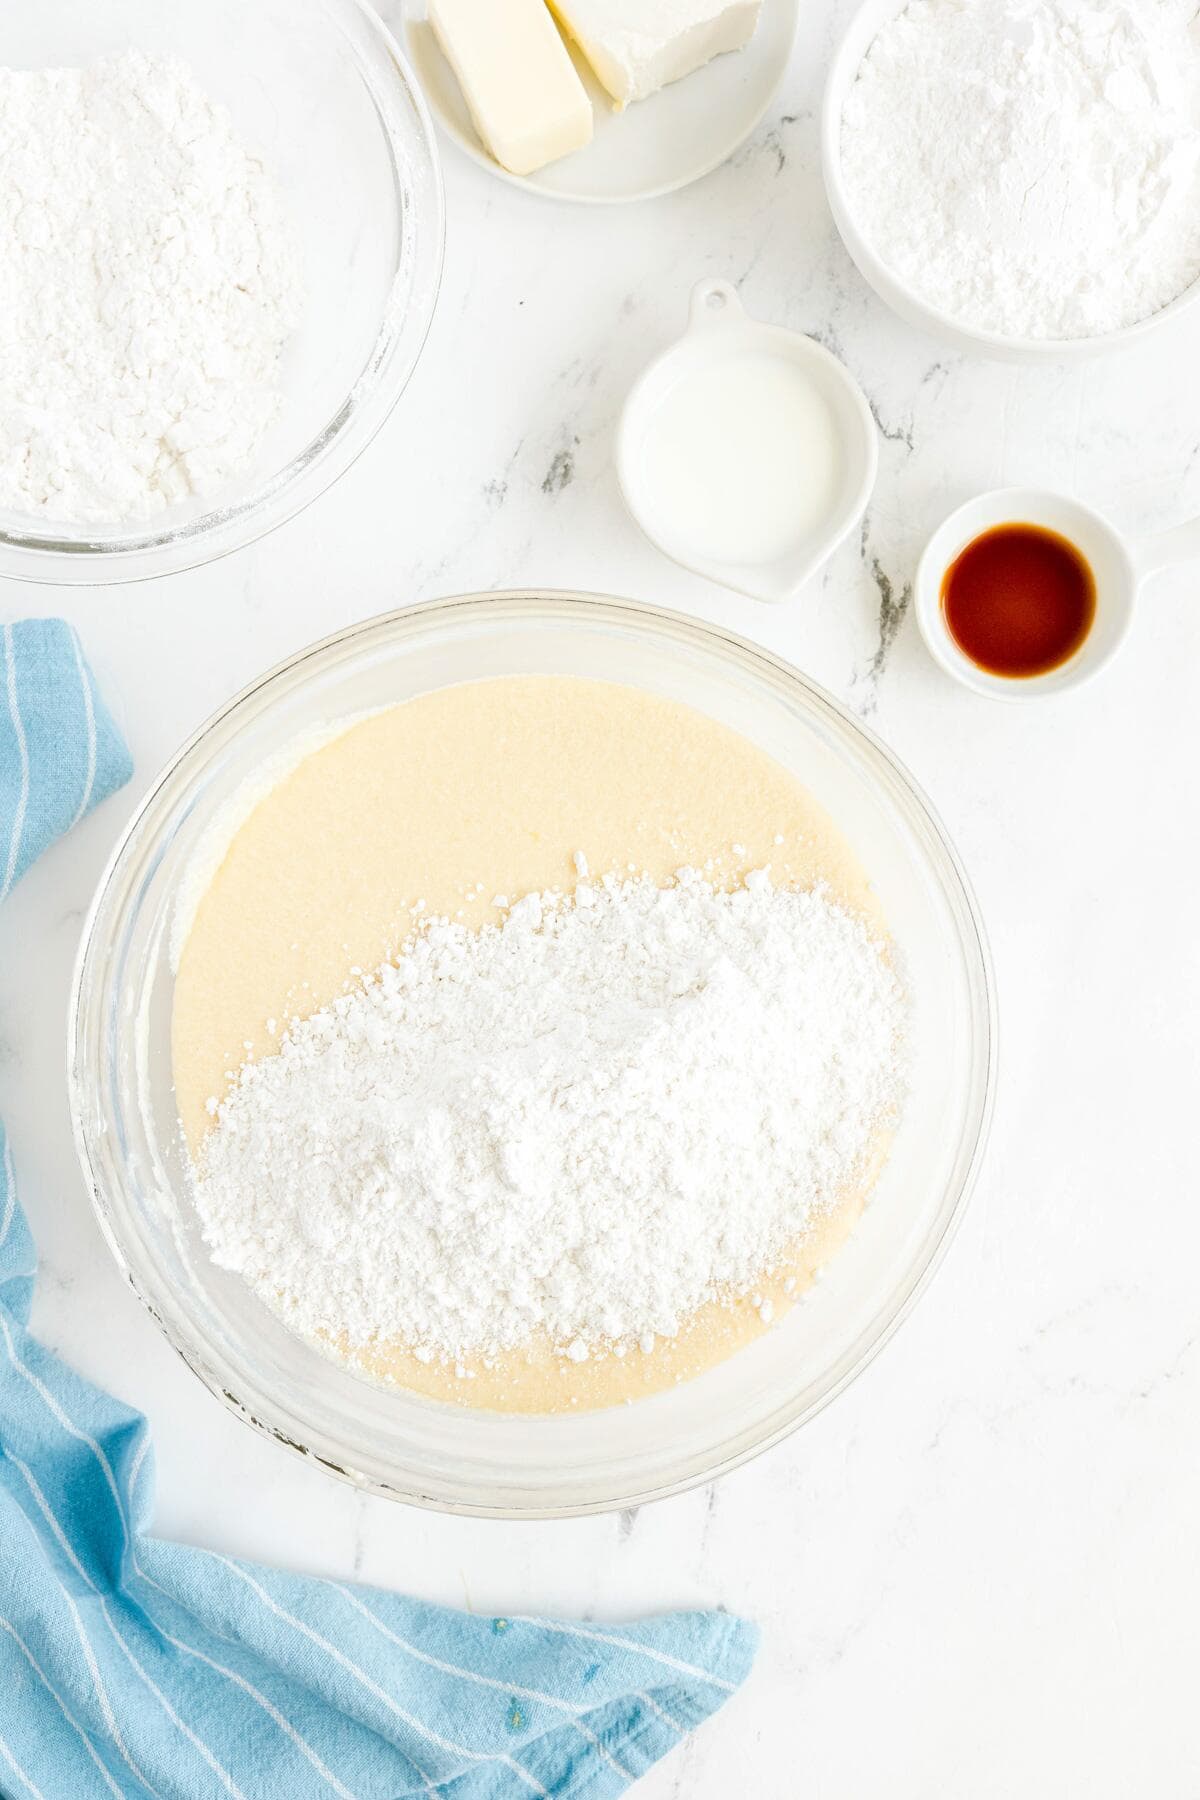
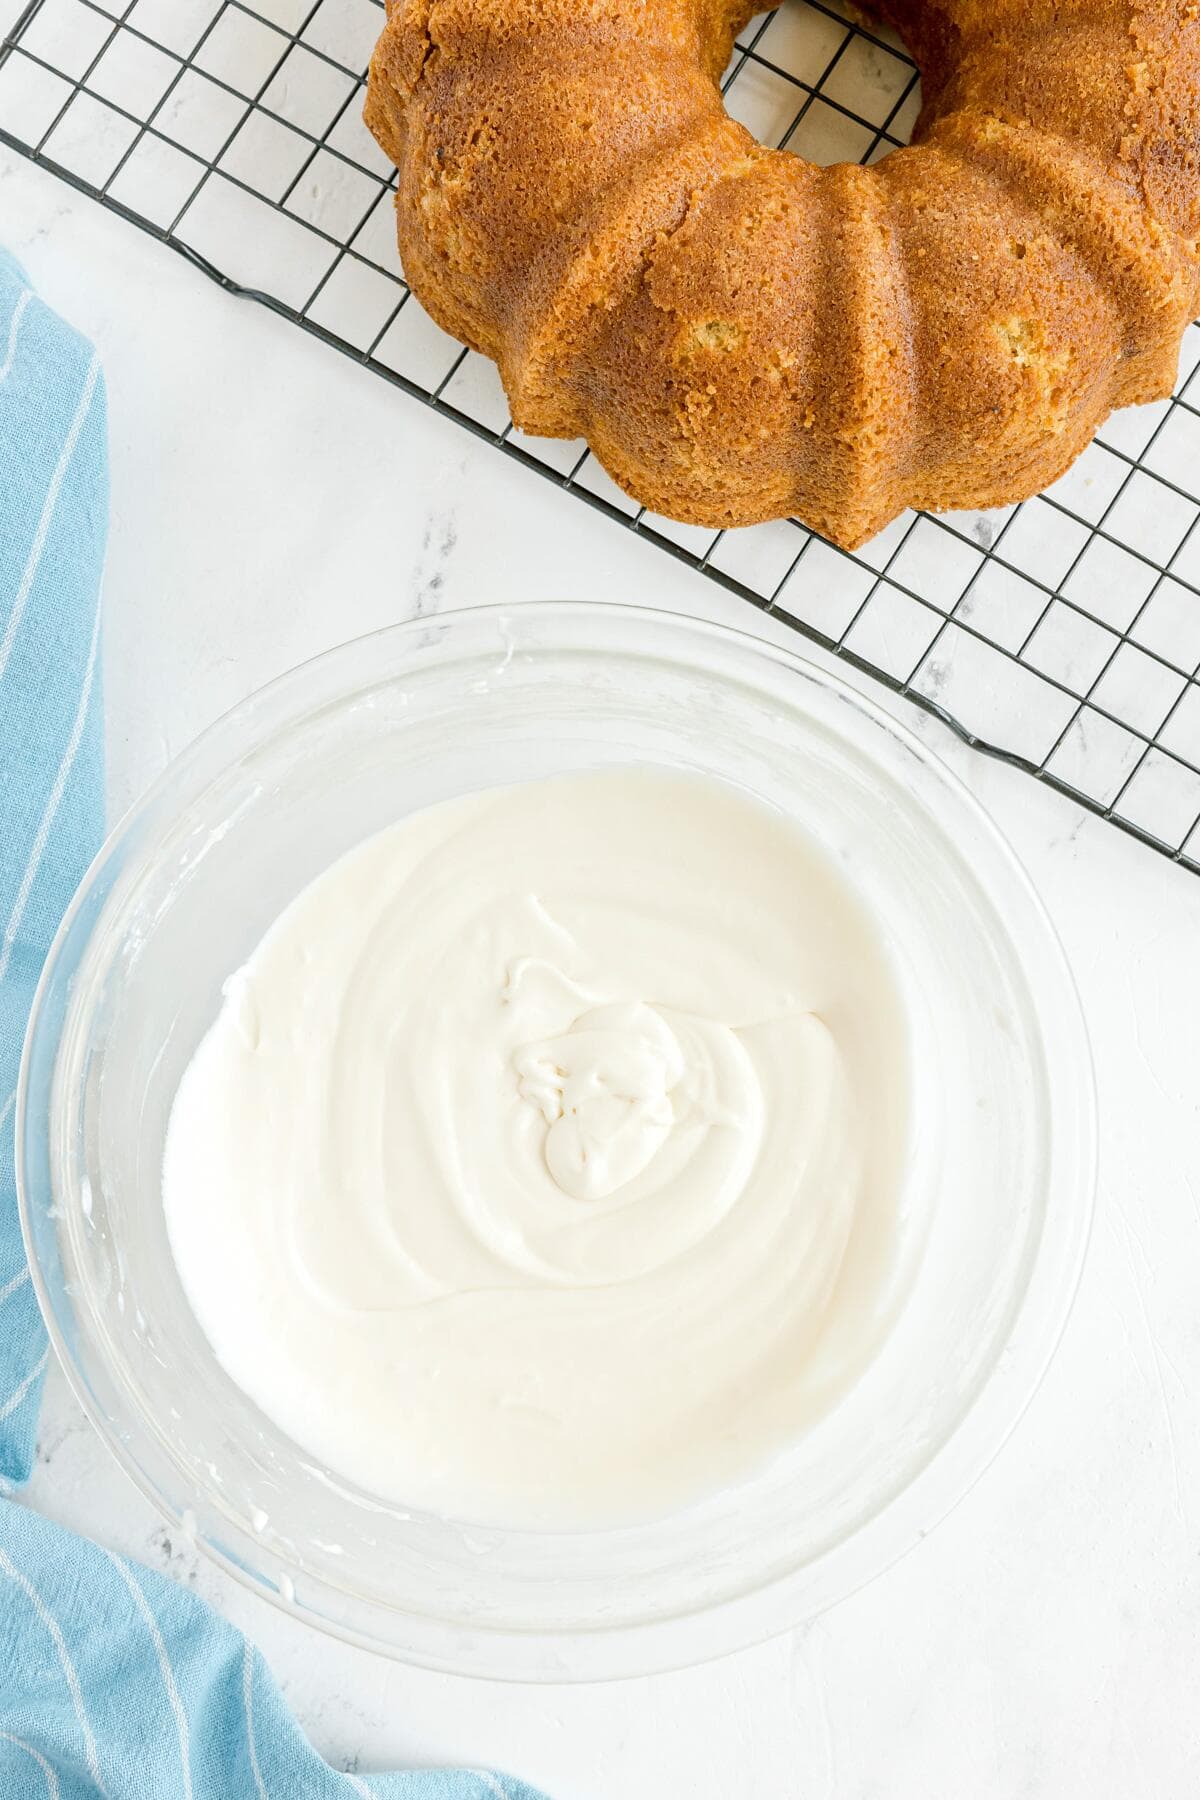
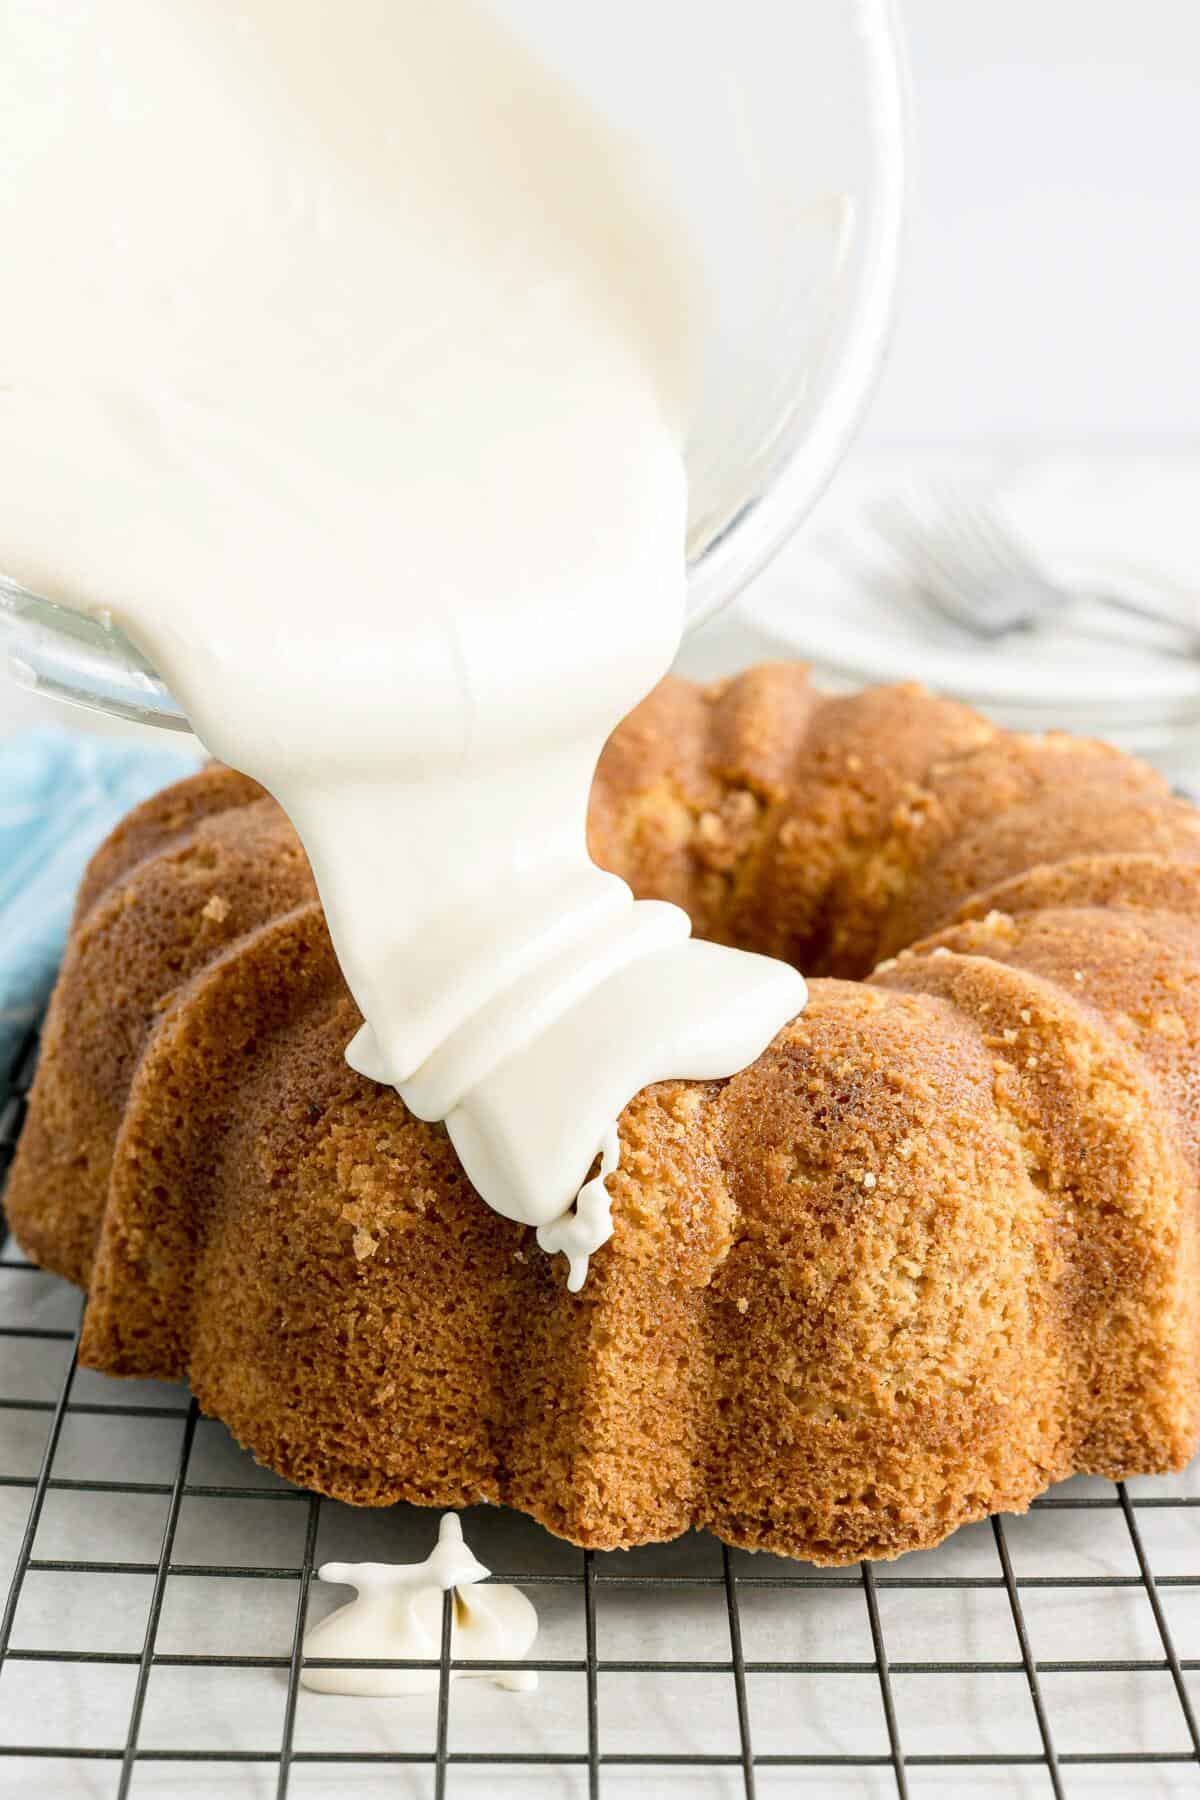
Make and pour the glaze. Beat the cream cheese and butter until smooth, add the powdered sugar, then loosen it with milk a splash at a time until it’s thick but pourable. You want it to drape over the cake and slowly run down the sides, not flood it. Pour slowly and let it do its thing.
Kylee’s Notes
- Room temperature eggs and sour cream mix in more smoothly and give you a more even crumb. Just set them out while you measure everything else.
- Once the flour goes in, switch to a spatula and fold gently. Overmixing is the fastest way to end up with a dense cake.
- Really grease the bundt pan. Get into every ridge and curve. Baking spray with flour works great here.
- Tap the pan on the counter before it goes in the oven. It takes two seconds and gets rid of air pockets that can cause uneven baking.
- The 15 to 20 minute cooling window matters. Too soon and the cake falls apart. Too long and it steams itself stuck.
- Make sure the cake is completely cool before you pour the glaze. A warm cake will just soak it straight up and you’ll be left wondering where it went.
- If you want to dress individual slices up a little, a drizzle of chocolate syrup over the top is really good and takes about 30 seconds.
How to store leftovers
Store in an airtight container for up to 4 days.
Freezing instructions
Wrap tightly without glaze and freeze for up to 3 months.
Recipe Tips & Troubleshooting
- Cake is dry. It probably went a little too long in the oven, or the flour got packed in when you measured it. Start checking at 50 minutes and spoon your flour into the cup instead of scooping straight from the bag.
- Cake stuck to the pan. This one is heartbreaking and it almost always comes down to not enough grease or waiting too long to flip it. Really get into every ridge and curve next time – baking spray with flour is your best friend here. And flip it at the 15 to 20 minute mark, not later.
- Cake sunk in the middle. Usually means it needed more time, or the oven door got opened too early. Let it go until the toothpick comes out clean and try to leave the oven door alone until at least the 50 minute mark.
- Cake is dense. Overmixing is almost always the culprit. Once the flour goes in, put the whisk down and switch to a spatula. Fold gently and stop as soon as you can’t see streaks.
- Top is browning too fast. Just loosely lay a piece of foil over the top and keep going. The inside still needs time even if the outside looks done.
- Glaze is too thick. Add milk a tiny splash at a time and stir. It loosens up faster than you think so go slow.
- Glaze is too thin. Stir in a little more powdered sugar until it comes back together.
FAQs
Nope. That’s actually one of the best things about this recipe. Melted butter means everything comes together with a whisk and a spatula. No mixer, no fuss.
A standard 10 to 12 cup bundt pan works best. If you don’t have one, you can divide the batter between two loaf pans instead – just start checking around 45 minutes since they’ll bake faster.
A toothpick inserted into the center should come out clean and the top should spring back lightly when you press it. Start checking at 50 minutes and go from there.
You can – it’s a great cake on its own. A dusting of powdered sugar is a nice easy alternative if you want something a little more finished without the extra step. You can also skip it entirely and serve slices with a spoonful of lemon curd on the side – it’s a really good combination. Or if you want something thicker and more traditional, vanilla frosting works great on a bundt too.
Definitely. Almond extract is really good in this, and lemon or orange zest both work well. You can add them alongside the vanilla or swap a little of it out depending on how strong you want the flavor.
Yes, full fat Greek yogurt works as a swap. The texture will be very similar – just make sure it’s full fat or you’ll lose some of that moisture.
More recipes to love
- Chocolate Bundt Cake. Rich, deeply chocolatey, and just as easy to pull off as this one.
- Lemon Bundt Cake. Bright, tangy, and finished with a simple lemon glaze that makes it look like you really tried.
- Snickerdoodle Bundt Cake. All the warm cinnamon sugar flavor of a snickerdoodle in bundt cake form.
- Red Velvet Bundt Cake. Stunning on a table and way easier than making a layered cake.
- Chocolate Chip Bundt Cake. Soft, buttery, and loaded with chocolate chips in every single bite.
Get free recipes in your inbox!
Find me on Pinterest, Facebook & Instagram.
If you make this recipe, please comment and let me know how it turned out and leave a star rating! ⭐⭐⭐⭐⭐
Vanilla Bundt Cake
Equipment
Ingredients
Vanilla bundt cake
- 3 cups flour
- 1 teaspoon baking powder
- 1 teaspoon baking soda
- 1 teaspoon salt add an extra ¼ teaspoon if you use unsalted butter
- 1 cup butter melted and slightly cooled.
- ¼ cup vegetable oil
- 1¾ cups sugar
- 4 large eggs
- 1 cup sour cream
- ½ cup milk
- 2 tablespoons vanilla extract
Cream cheese glaze
- 4 ounces cream cheese softened
- ¼ cup butter softened
- 2 cups powdered sugar
- 1 teaspoon vanilla extract
- 3 to 4 tablespoons milk
Instructions
- Get prepped. Preheat the oven to 350°F (175°C). Grease a bundt pan really well, getting into all the edges. Let the eggs, sour cream, and milk sit out so they are not cold. Melt the butter and let it cool slightly.
- Mix the dry ingredients. Whisk 3 cups flour, 1 teaspoon baking powder1 teaspoon baking soda, and 1 teaspoon saltin a medium bowl. Set aside.
- Mix the wet ingredients. In a large bowl, whisk the melted 1 cup butter, ¼ cup vegetable oil, and 1¾ cups sugar until smooth. Add 4 large eggs one at a time, whisking well after each. Stir in 1 cup sour cream, ½ cup milk, and 2 tablespoons vanilla extract until fully combined.
- Combine. Add the dry ingredients to the wet ingredients in two additions, folding gently with a spatula just until no streaks of flour remain. Do not overmix.
- Fill the pan. Spoon the batter into the prepared bundt pan and smooth the top. Tap the pan lightly on the counter to release air bubbles.
- Bake. Bake for 50 to 55 minutes, until a toothpick inserted into the center comes out clean and the top is lightly golden. If the top is browning too quickly, loosely cover with foil toward the end.
- Cool. Let the cake cool in the pan for 15 minutes, then turn it out onto a wire rack and cool completely.
- Make the glaze. Beat 4 ounces cream cheese and ¼ cup butter until smooth. Add 2 cups powdered sugar and mix until combined. Stir in 1 teaspoon vanilla extract, then add milk a little at a time until the glaze is thick but pourable.
Notes
- Take eggs and sour cream out of the fridge before you start.
- Do not overmix once the flour is added.
- Grease the bundt pan really well, especially the ridges.
- Let the cake cool 15 to 20 minutes before inverting.
- Cool completely before glazing or it will slide right off.
Would you like to save this recipe?
Nutrition
Nutritional information is an estimate and provided to you as a courtesy. You should calculate the nutritional information with the actual ingredients used in your recipe using your preferred nutrition calculator.
Did you make this recipe?
Make sure to follow @kyleecooks on Instagram for more and tag me #kyleecooks so I can see!
About Kylee Ayotte
I am a born and raised New Zealander (a Kiwi), now living in Phoenix, Arizona. I’m happily married to the love of my life – a hot American boy I met while traveling the world. I’m a mama to 2 awesome little boys and love red things, rugby, cheesecake, and bacon. Mmmmm. Bacon. Meet Kylee