How to make French Onion Dip (from scratch)
This post may contain affiliate links. See our affiliate policy here.
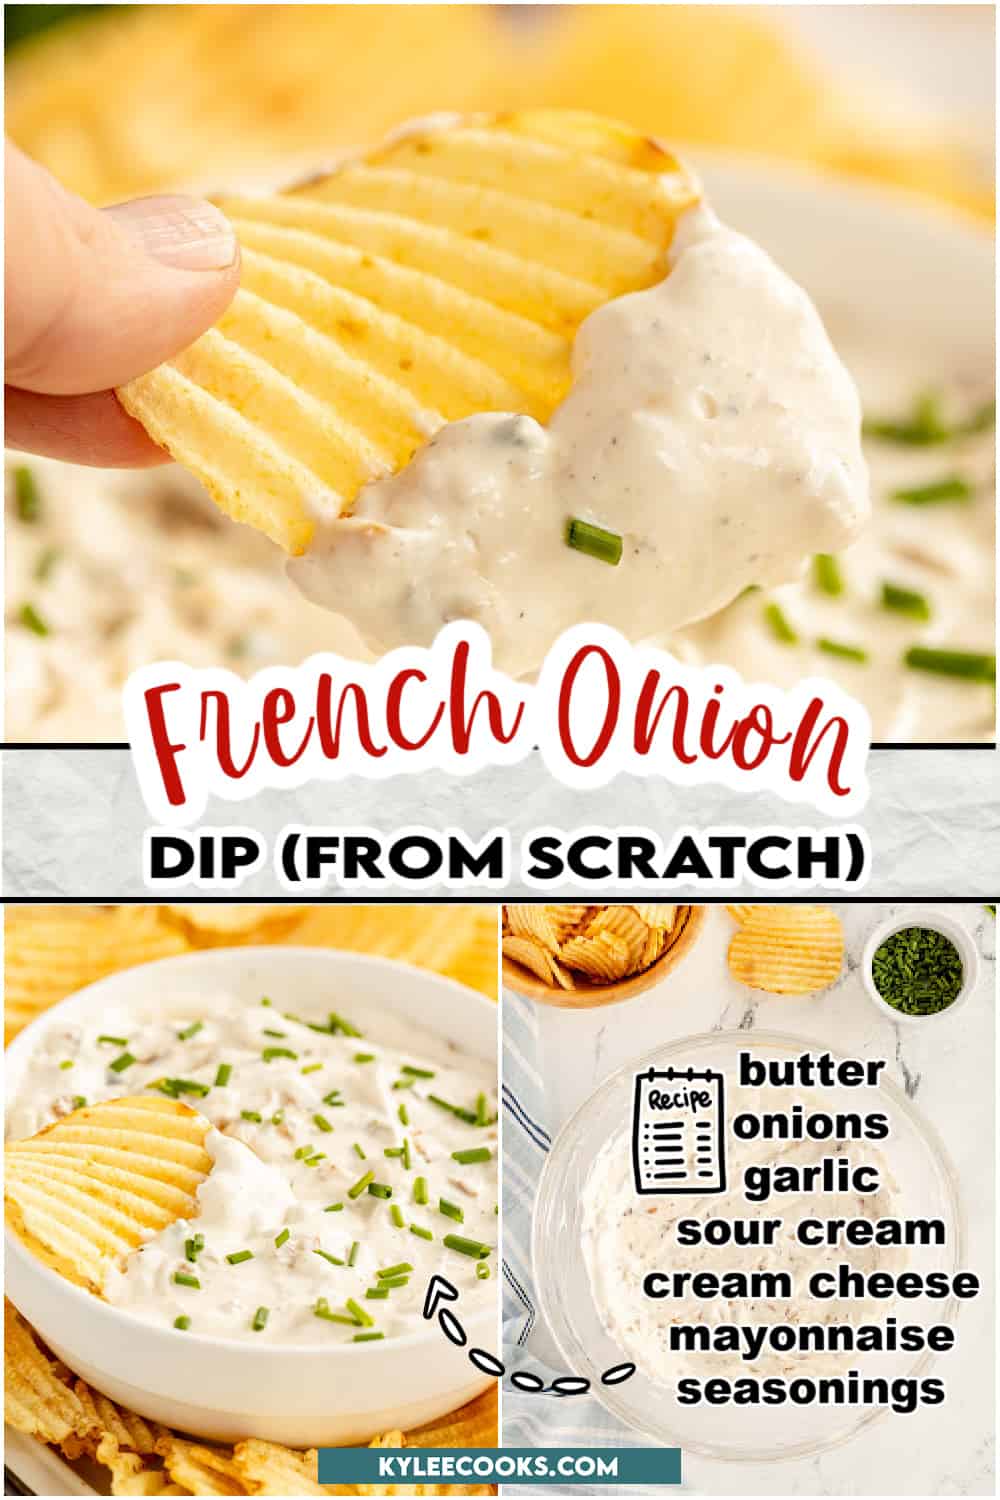


Rich and creamy, this homemade French Onion Dip recipe will be your go-to for gatherings! Super easy to make, with real ingredients, you’ll love it!
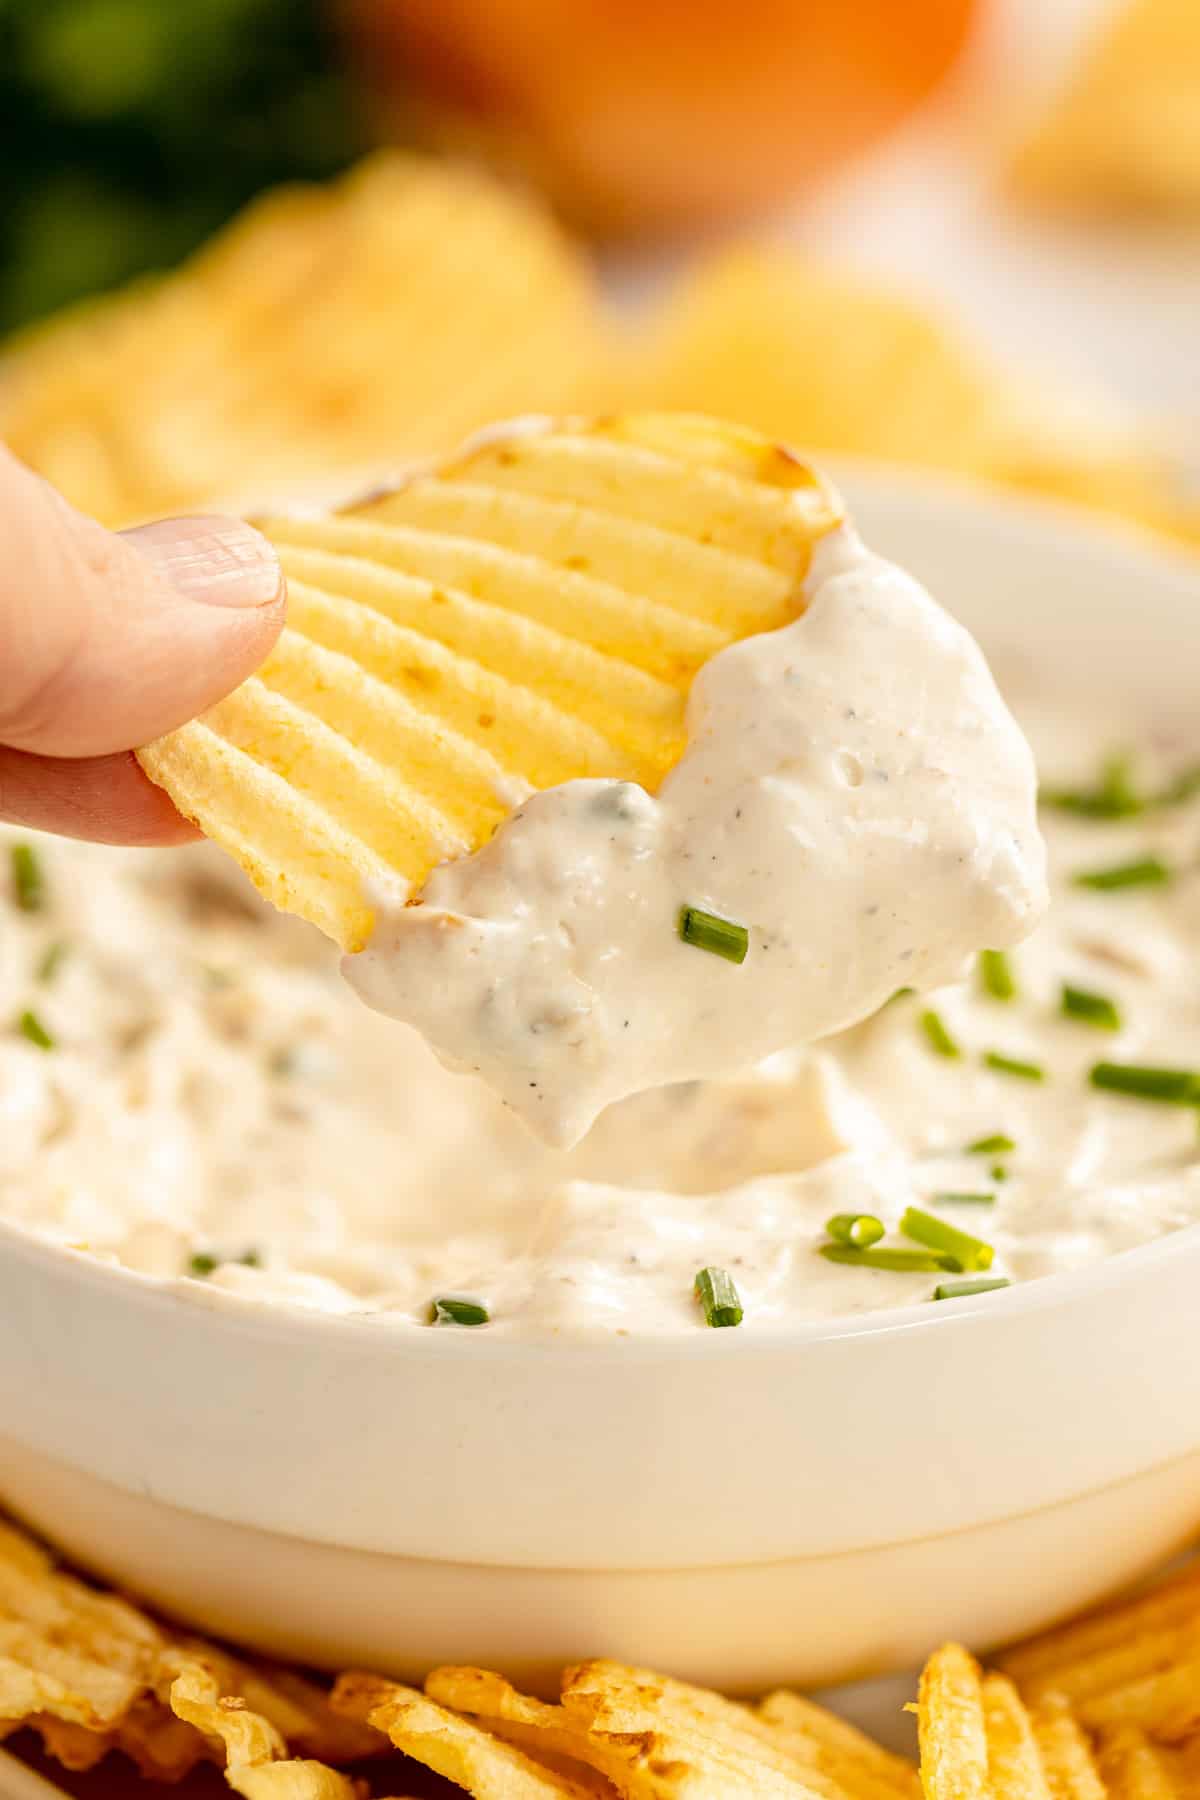
It is creamy, tangy, and full of flavor, making it the perfect chip dip or use with crackers, or veggies.
Love dip? Me too! Try my easy Whipped Ricotta Dip or my Queso Dip too!
This mouth-watering creamy dip is a perfect blend of sweet caramelized onions, and three kinds of tangy creamy goodness. It’s simple to make and will be a crowd-pleaser at any event, party, gathering or get together!
Instead of reaching for a packet of French onion soup mix and sour cream kind or the premade store bought stuff, why not elevate an old favorite, and make your own French onion dip?
Step-by-step photos and instructions are below. Jump to the recipe card if you wish!
Why you’ll love this
- First of all, it tastes amazing. Which should be your highest priority!
- A handful of ingredients. You can pronounce all of them, and they can be found at your local grocery store.
- Third, it’s super easy to make.
What to serve with French Onion Dip
Serve with a variety of different snacks, including crackers, your favorite chips (I like plain potato chips, crinkle cut potato chips, kettle fried chips or pretzel thins), veggies, or even as a spread for sandwiches or burgers.
Try bagel chips or pita chips too! It can also be used as a topping for baked potatoes or sweet potatoes.
Step-by-step photos and tips and tricks are below. Jump to the full recipe card instead
Step-by-step photos and tips and tricks are below. Jump to the full recipe card instead
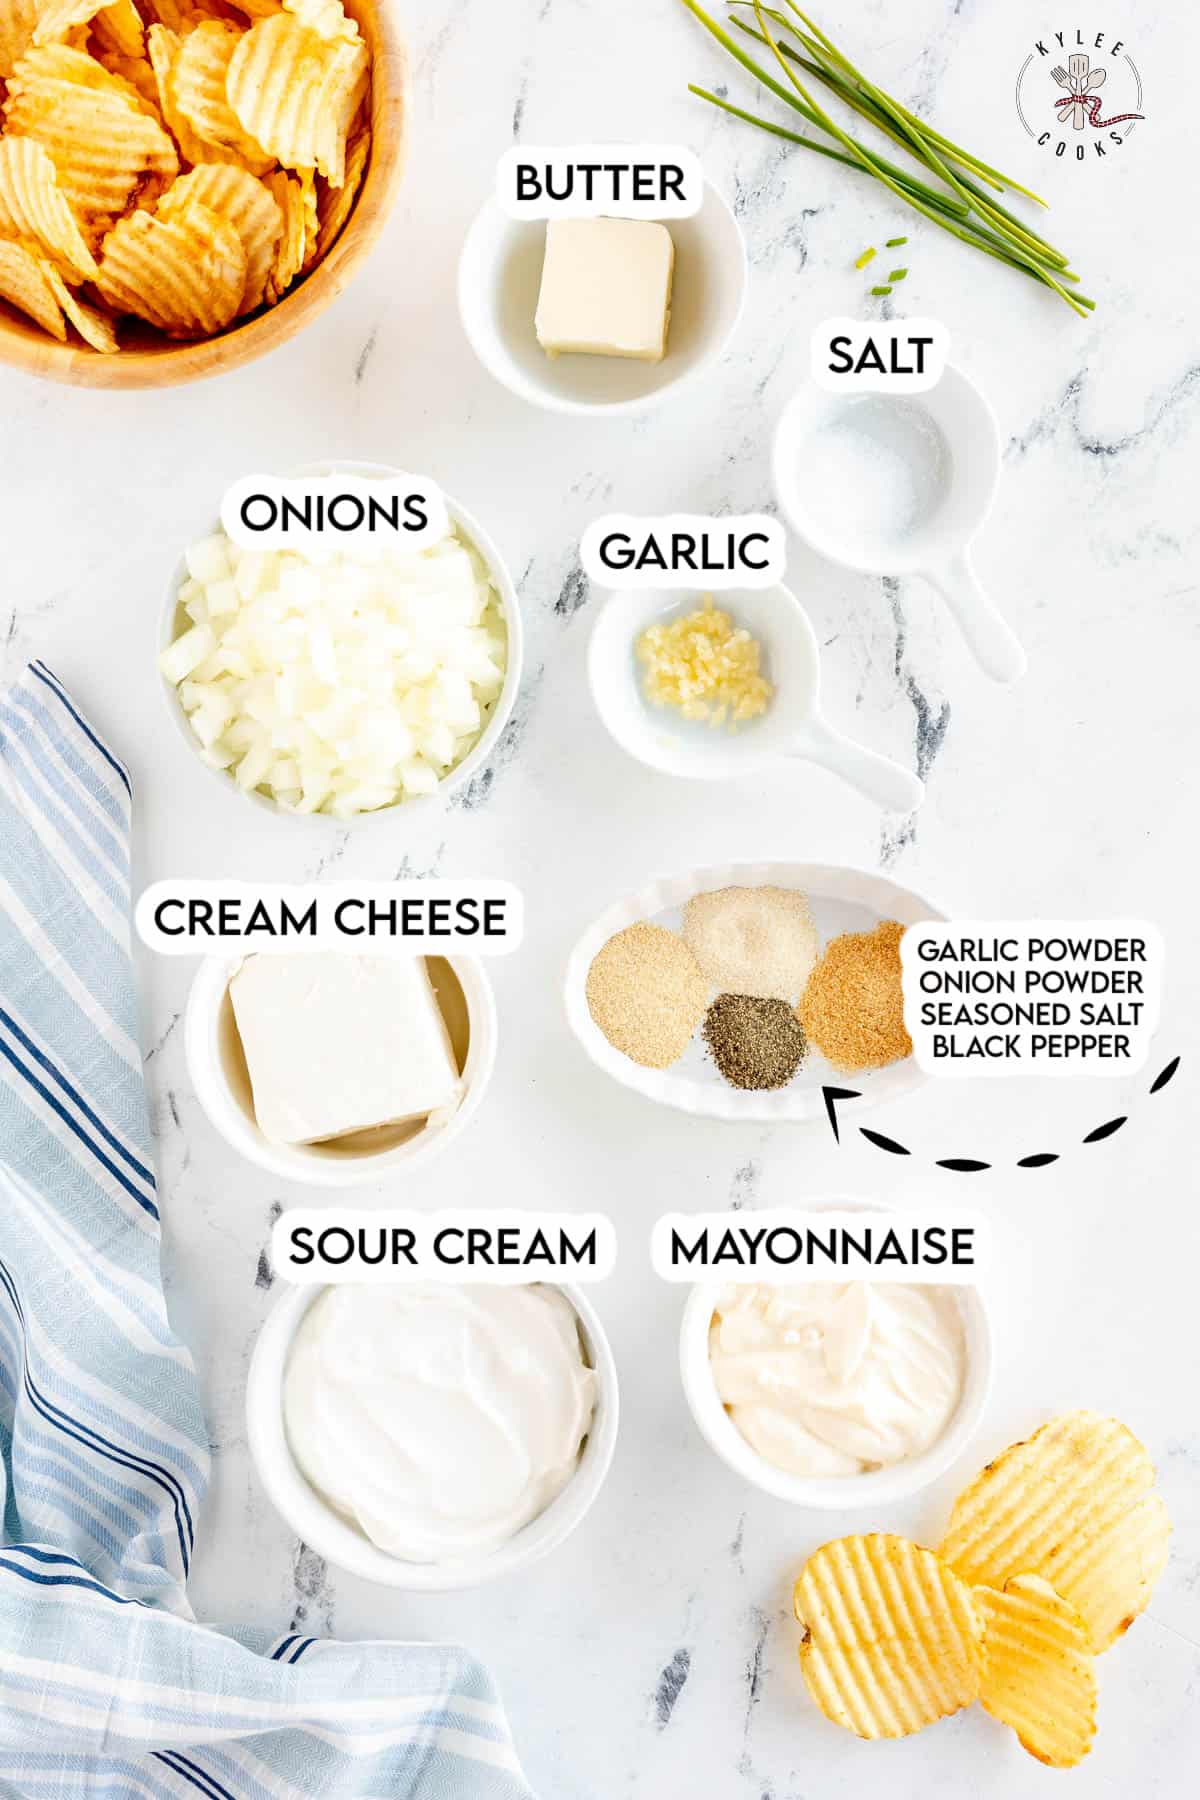
Key Recipe Ingredients
Note: This highlights some ingredients. Full list is in the recipe card.
- Butter. I use salted butter.
- Onions. This is a yellow onion. You can use Vidalia onions, white onions, red or brown onions. See the FAQs for details.
- Garlic. Fresh garlic, minced. We do use garlic powder too, but I like the hit of the fresh onion flavor in this dip.
- Sour cream. Full fat or low fat, you choose! Greek yogurt can also be used.
- Cream cheese. You can use full fat or lower fat cream cheese if you prefer.
- Mayonnaise. Use your favorite brand. Mine is Best Foods Mayo, but if your favorite is Miracle Whip, and that’s what you have… so be it.
- Seasonings. I use garlic powder, onion powder, seasoned salt and black pepper. Worcestershire sauce is often used, add a dash if you’d like, but go easy on the seasoned salt if you do. You can also use kosher salt in place of the seasoned salt.
- Optional fresh herbs garnish: Fresh chives or green onions go great here.
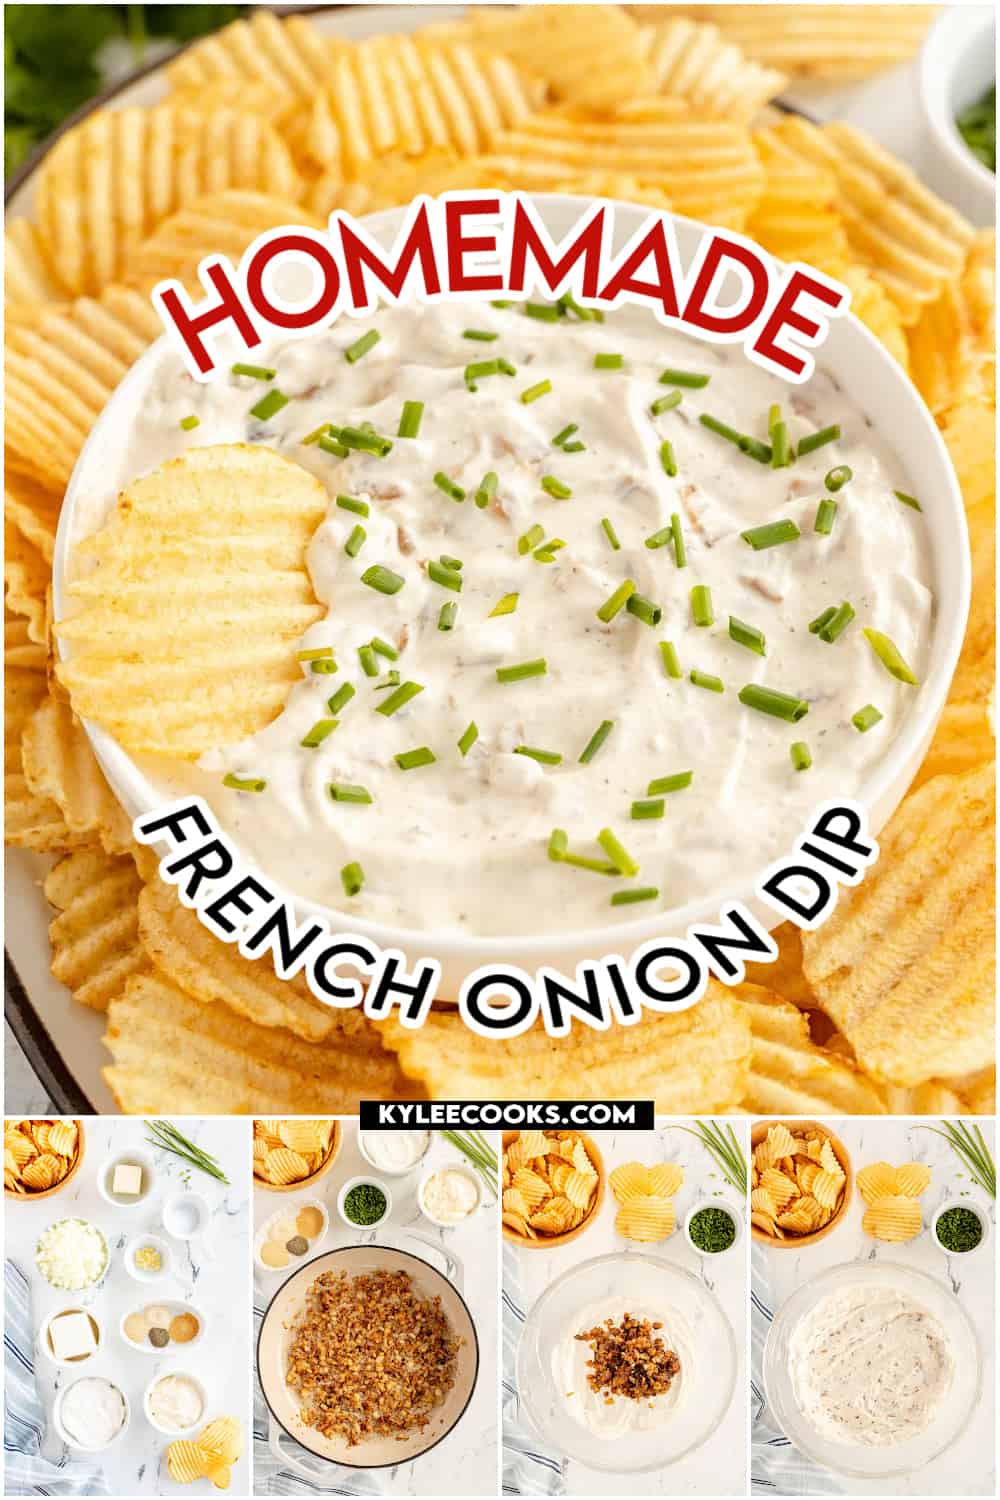
How to make this recipe
This is a step-by-step photo guide. Full ingredients and instructions are in the printable recipe card below.
JumpWould you like to save this recipe?
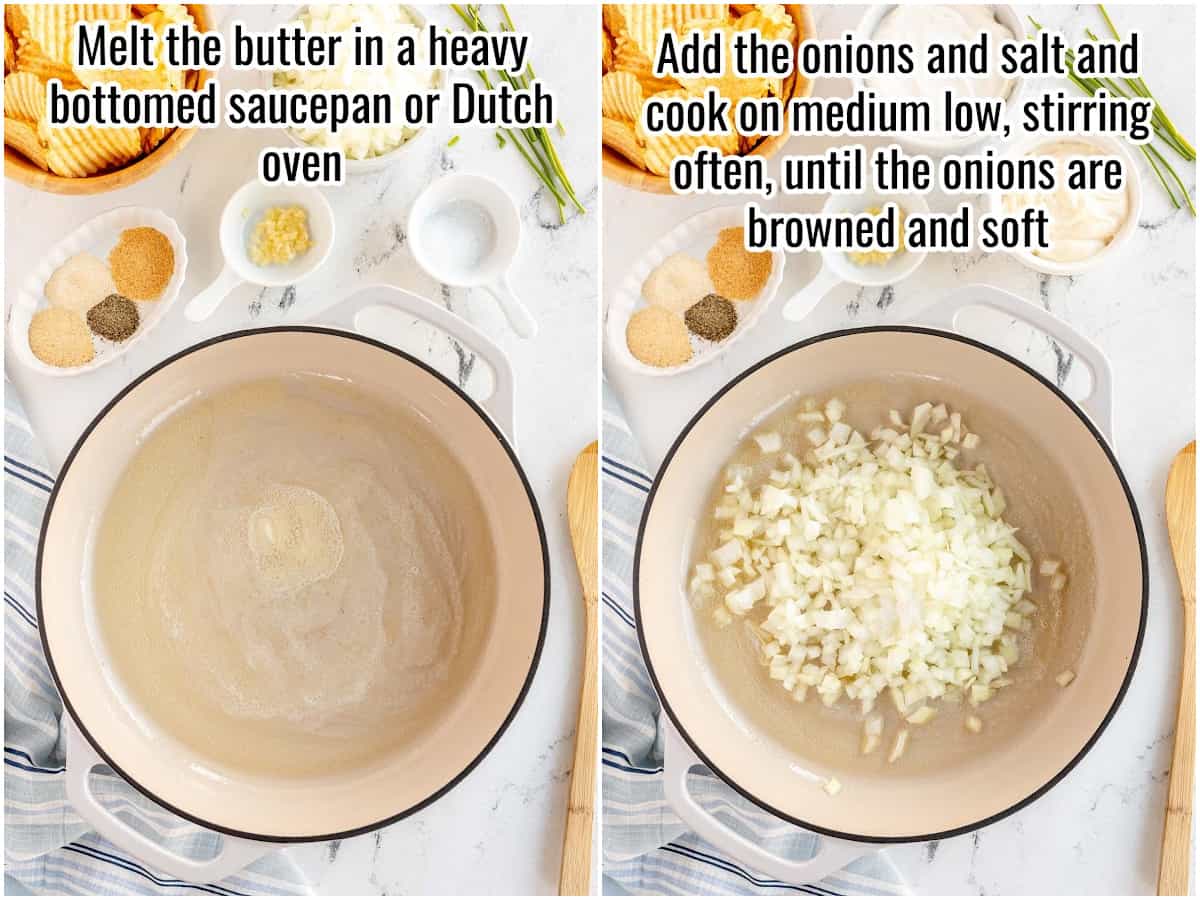
Cook the onions. Melt the butter in a heavy bottomed saucepan or Dutch oven over medium heat. Add the onions and salt and cook on medium low, stirring often, until the onions are a deep golden brown and soft. This should take about 15 minutes.
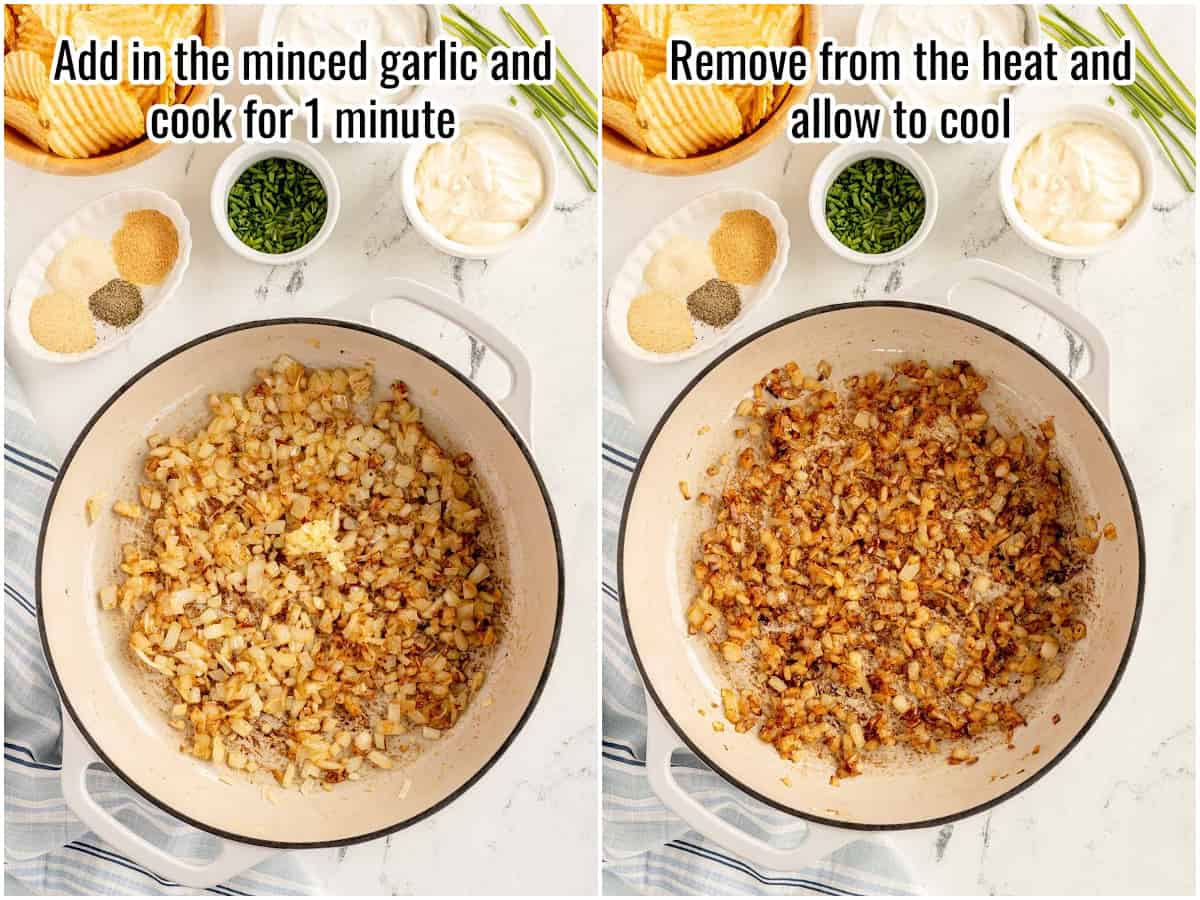
Add in the minced garlic and cook for 1 minute.
Make the creamy base. Remove from the heat and allow to cool.
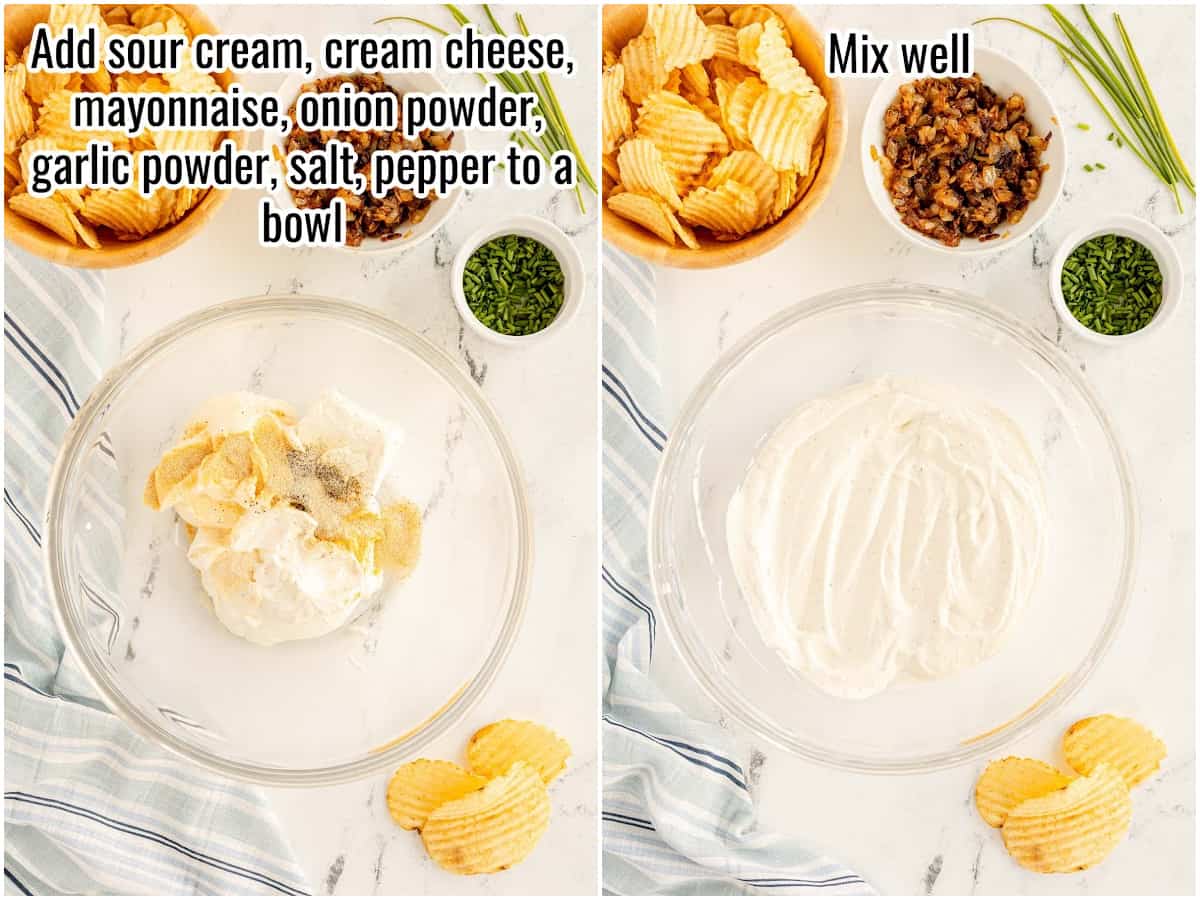
Add sour cream, cream cheese, mayonnaise, onion powder, garlic powder, salt, pepper to a large bowl. Mix well.
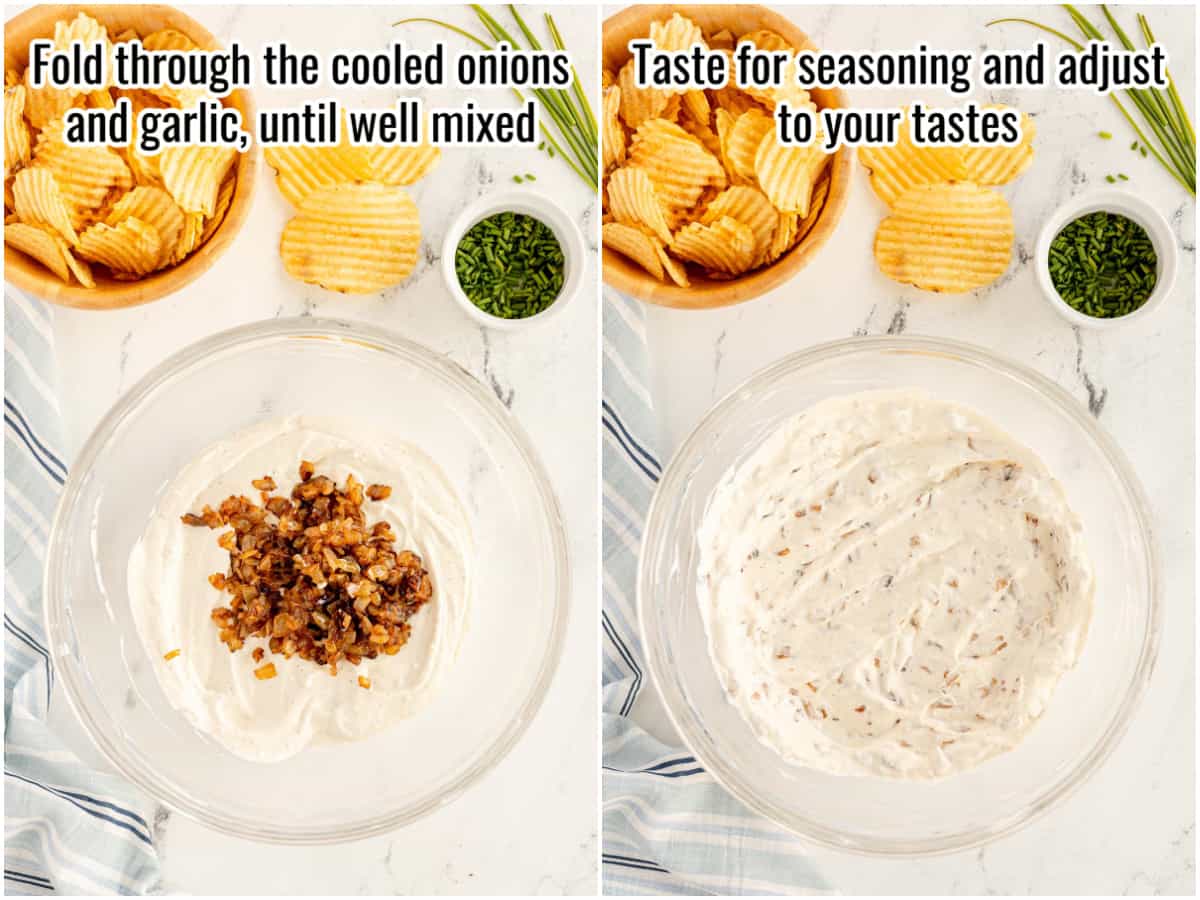
Assemble. Fold through the cooled caramelized onions and garlic, until well mixed. Taste for seasoning and adjust to your tastes.
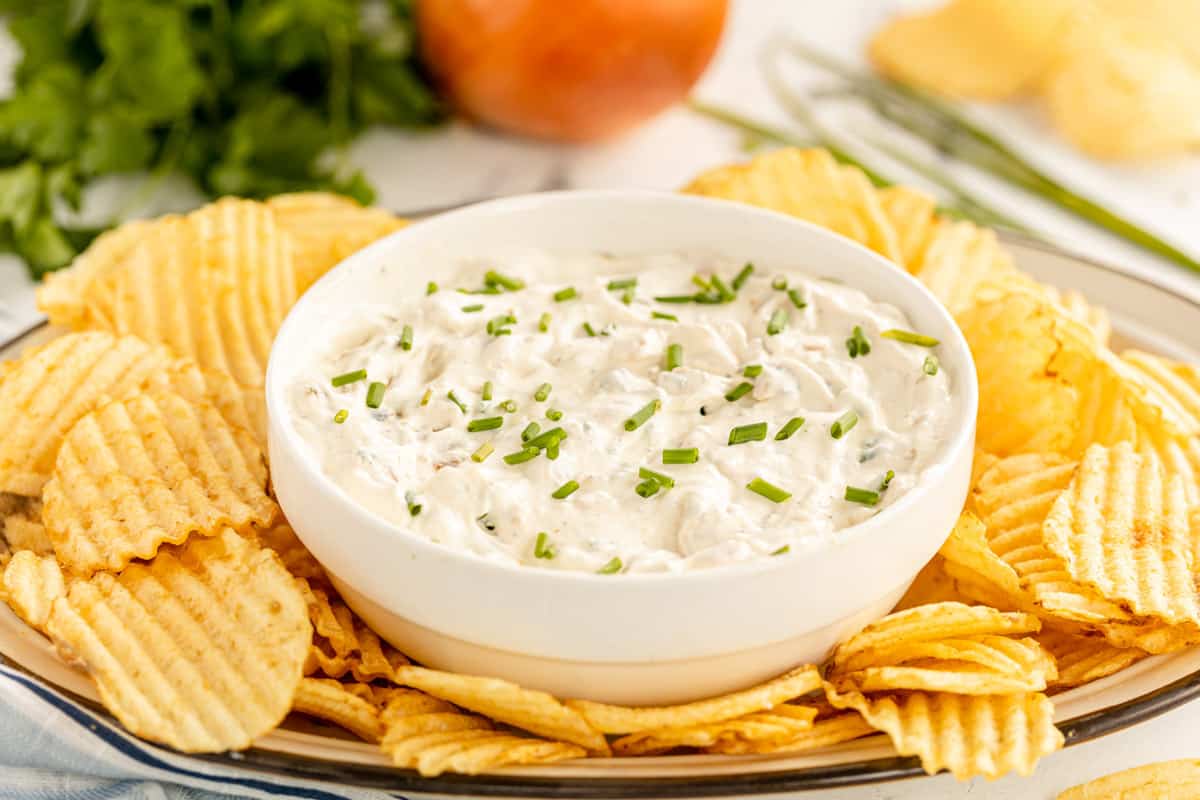
Chill (the dip AND you). Scoop the dip into a serving bowl, chill for 2 hours before serving to allow flavors to develop fully.
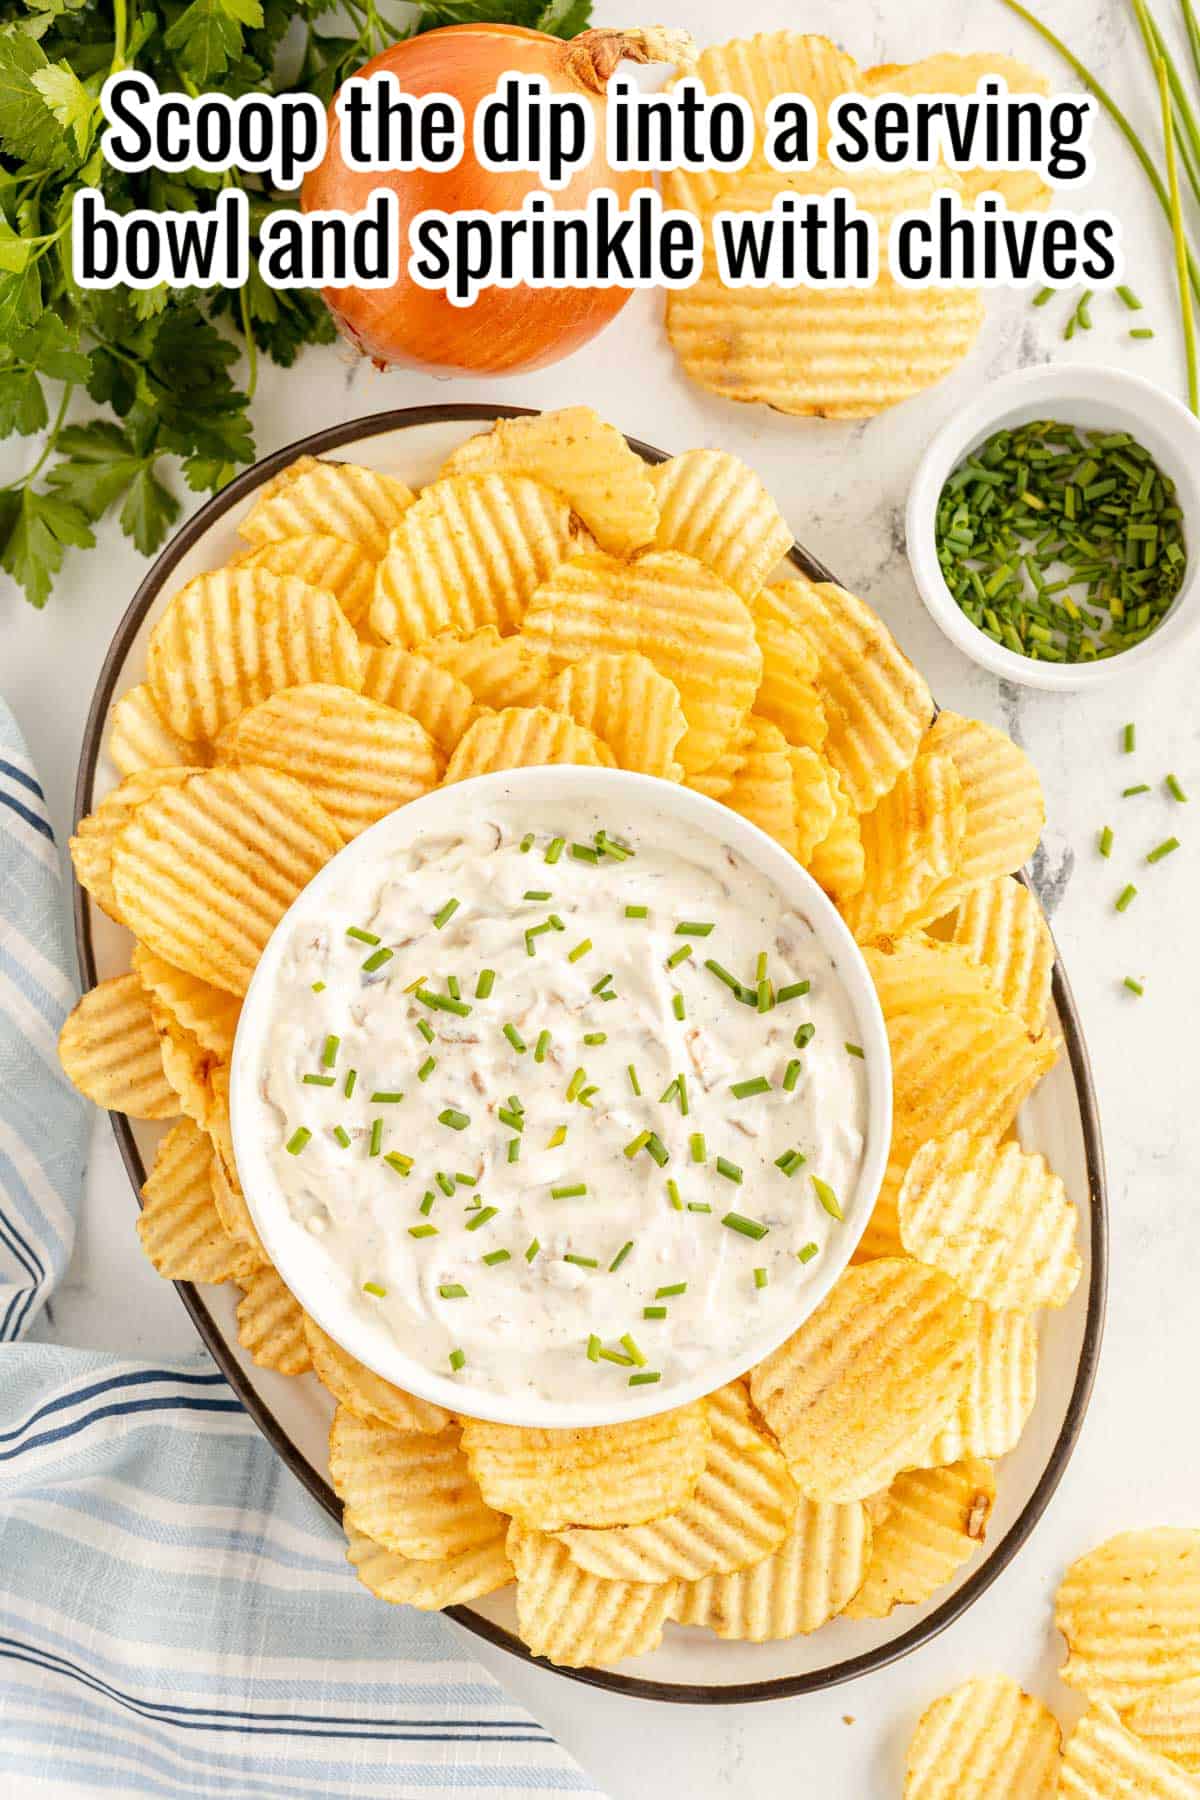
Serve. Sprinkle with finely chopped chives, and serve with potato chips, crackers, veggies, or even as a spread for sandwiches or burgers.
Kylee’s Notes
Don’t be tempted to use a high heat. We are looking for soft, golden brown onions, not crispy onions.
Make ahead
You can make it a day in advance and store it in an airtight container in the refrigerator until ready to serve.
Substitutions/additions
Greek yogurt can be used in place of sour cream.
Add some Worcestershire sauce for a subtle, umami flavor.
FAQs
French Onion Dip is a classic party snack that is made from a combination of caramelised onions, sour cream, cream cheese, mayonnaise and spices. It has a creamy texture and pronounced onion flavor.
Yes, you can use other types of onions besides yellow onions for French Onion Dip. Some popular options include red onions or sweet onions. However, yellow onions are the most commonly used and provide the best flavor for this dish.
Yes, Homemade French Onion Dip is naturally gluten-free as long as you check your spices (garlic powder, onion powder and seasoned salt, some brands are not gluten free)
No, we do not recommend freezing French Onion Dip. The texture of the dip may become watery and less enjoyable after being frozen and thawed. It’s best to store the dip in an airtight container in the refrigerator for up to 5 days.
Yes, Homemade French Onion Dip can be made ahead of time. In fact, it’s recommended to chill the dip in the refrigerator for at least 2 hours before serving to allow the flavors to meld together. You can make it a day in advance and store it in an airtight container in the refrigerator until ready to serve.
More recipes to love
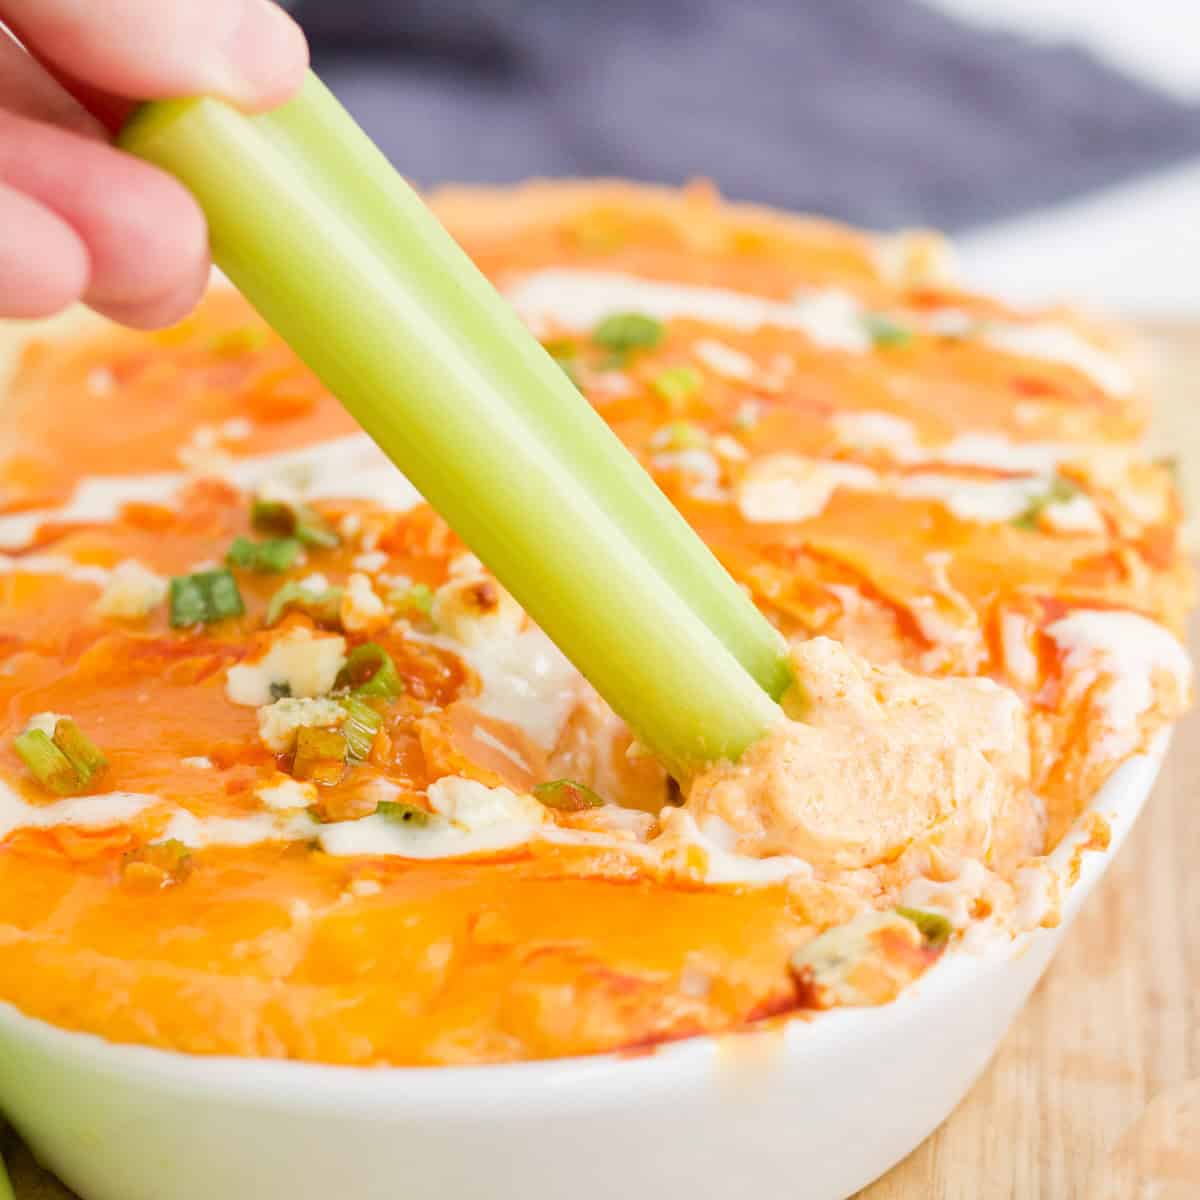
- Buffalo Chicken Dip. Super easy to make, and always the first to be devoured, this Buffalo Chicken Dip is a great appetizer recipe for parties and gatherings!
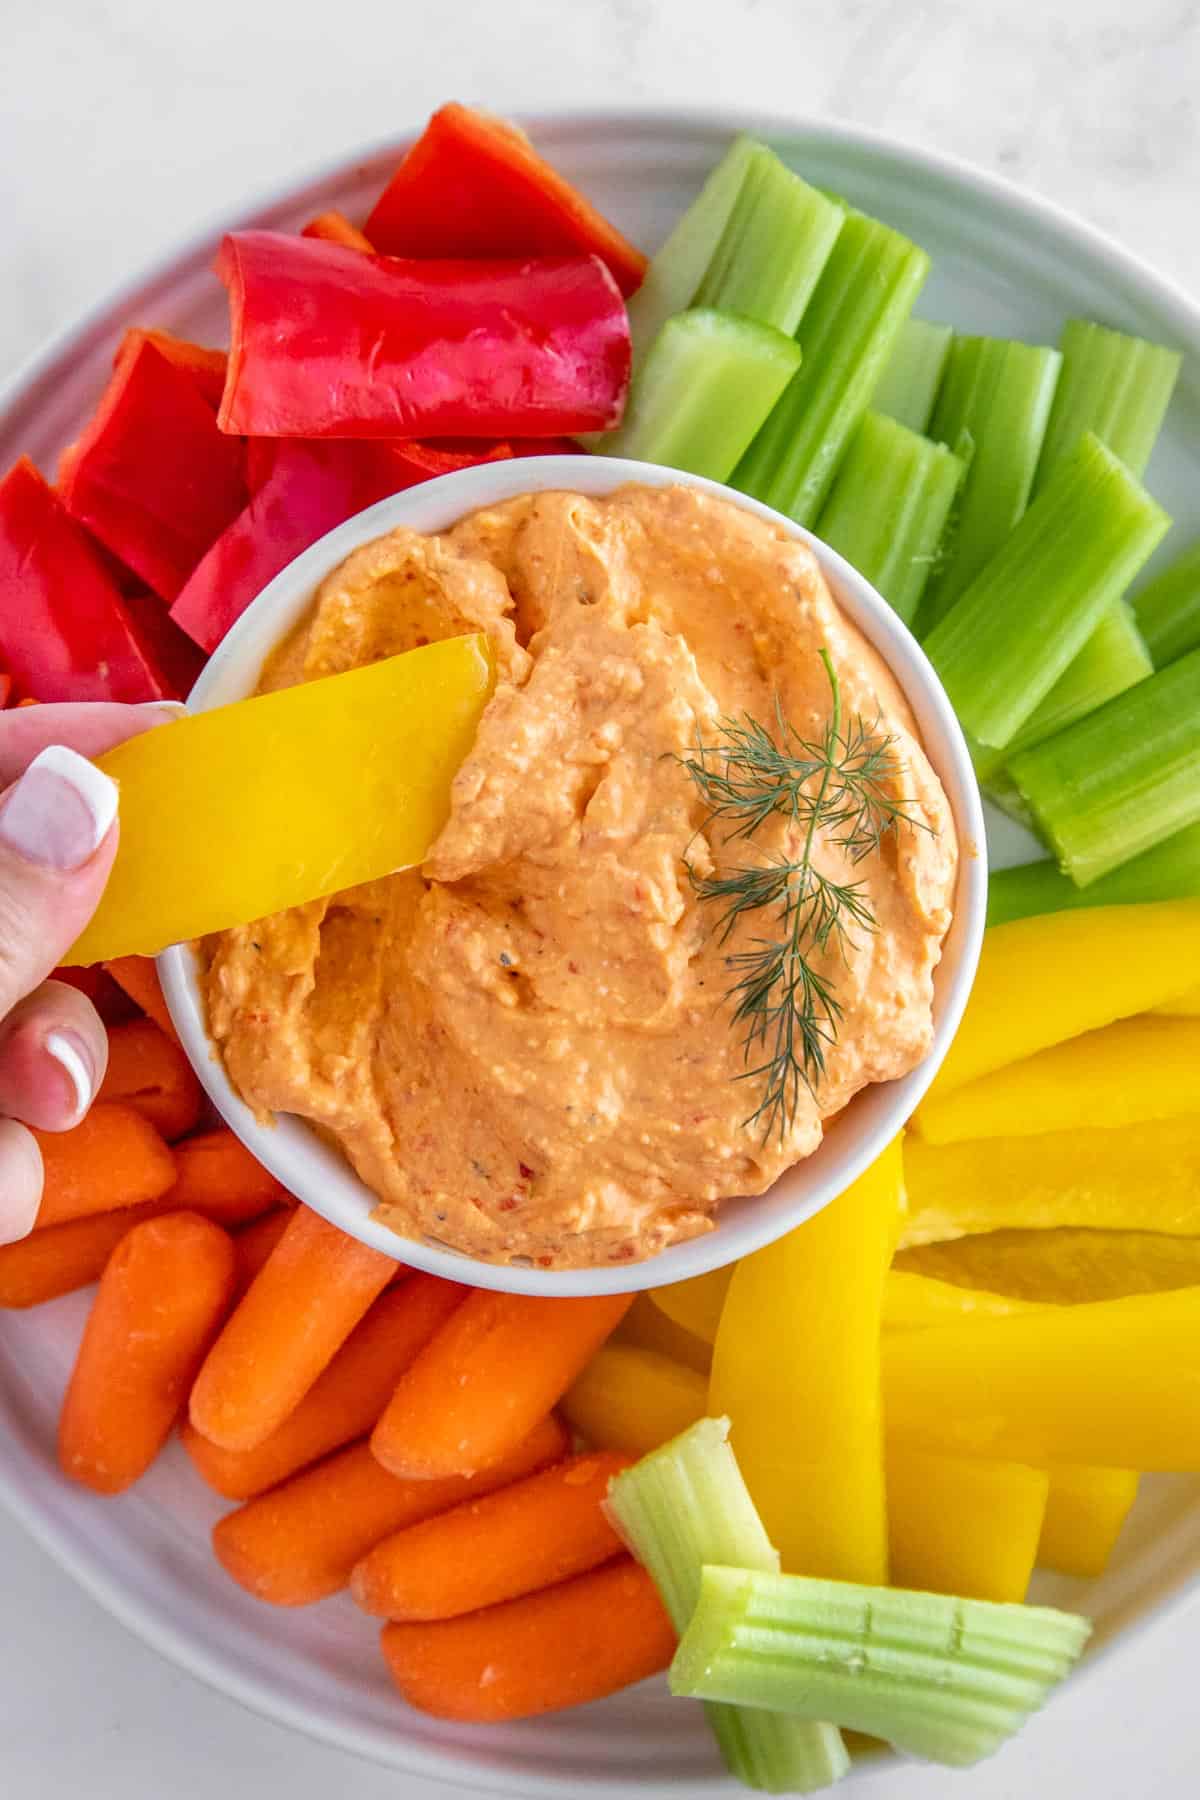
- Whipped Feta Dip. A deliciously creamy, yet low fat, dip – this Feta, Roasted Red Pepper and Dill Dip will be a hit! Make ahead, and serve with veggie dippers, or chips!
- Spinach Artichoke Dip. Just 4 minutes in the instant pot, and this dreamy, cheesy Spinach & Artichoke Dip is all yours! This is perfect for holidays and parties!
- Greek Tzatziki Dip. Tzatziki is easy to make, and SO delicious! This tasty dip is made from yogurt, cucumber, garlic and lemon juice with fresh dill.
Fresh flavors and a simple recipe? Sold! - Queso dip – melty, creamy, and packed with cheesy goodness, this warm dip is always the first to disappear at parties.
Get free recipes in your inbox!
Find me on Pinterest, Facebook & Instagram.
If you make this recipe, please comment and let me know how it turned out and leave a star rating! ⭐⭐⭐⭐⭐
Homemade French Onion Dip Recipe (from scratch)
Equipment
- Dutch Oven or heavy bottom saucepan
Ingredients
- 2 tablespoons butter
- 1 large onion diced finely
- ½ teaspoon kosher salt
- 3 cloves garlic minced
- 1 cup sour cream
- 4 ounces cream cheese softened
- ½ cup mayonnaise
- ½ teaspoon garlic powder
- ½ teaspoon onion powder
- ½ teaspoon seasoned salt
- ¼ teaspoon black pepper
Optional
- 1 tablespoon chives chopped
Instructions
Cook the onions
- Melt 2 tablespoons butter in a heavy bottomed saucepan or Dutch oven.
- Add 1 large onion (diced finely) and ½ teaspoon kosher salt and cook on medium low, stirring often, until the onions are browned and soft. This should take about 15 minutes.
- Add in the 3 cloves garlic (minced) and cook for 1 minute.
- Remove from the heat and allow to cool.
Make the dip
- Add 1 cup sour cream, 4 ounces cream cheese, ½ cup mayonnaise, ½ teaspoon garlic powder, ½ teaspoon onion powder, ½ teaspoon seasoned salt, and ¼ teaspoon black pepper to a bowl.
- Mix well.
Assemble
- Fold through the cooled onions and garlic, until well mixed.
- Taste for seasoning and adjust to your tastes.
Chill (the dip AND you)
- Chill for 2 hours before serving to allow flavors to develop fully.
Serve
- Scoop the dip into a serving bowl and sprinkle with 1 tablespoon chives.
- Serve with potato chips, crackers, veggies, or even as a spread for sandwiches or burgers.
Video
Notes
Would you like to save this recipe?
Nutrition
Nutritional information is an estimate and provided to you as a courtesy. You should calculate the nutritional information with the actual ingredients used in your recipe using your preferred nutrition calculator.
Did you make this recipe?
Make sure to follow @kyleecooks on Instagram for more and tag me #kyleecooks so I can see!
About Kylee Ayotte
I am a born and raised New Zealander (a Kiwi), now living in Phoenix, Arizona. I’m happily married to the love of my life – a hot American boy I met while traveling the world. I’m a mama to 2 awesome little boys and love red things, rugby, cheesecake, and bacon. Mmmmm. Bacon. Meet Kylee


