Classic Chocolate Cake (Easy Two Layer Recipe)
This post may contain affiliate links. See our affiliate policy here.
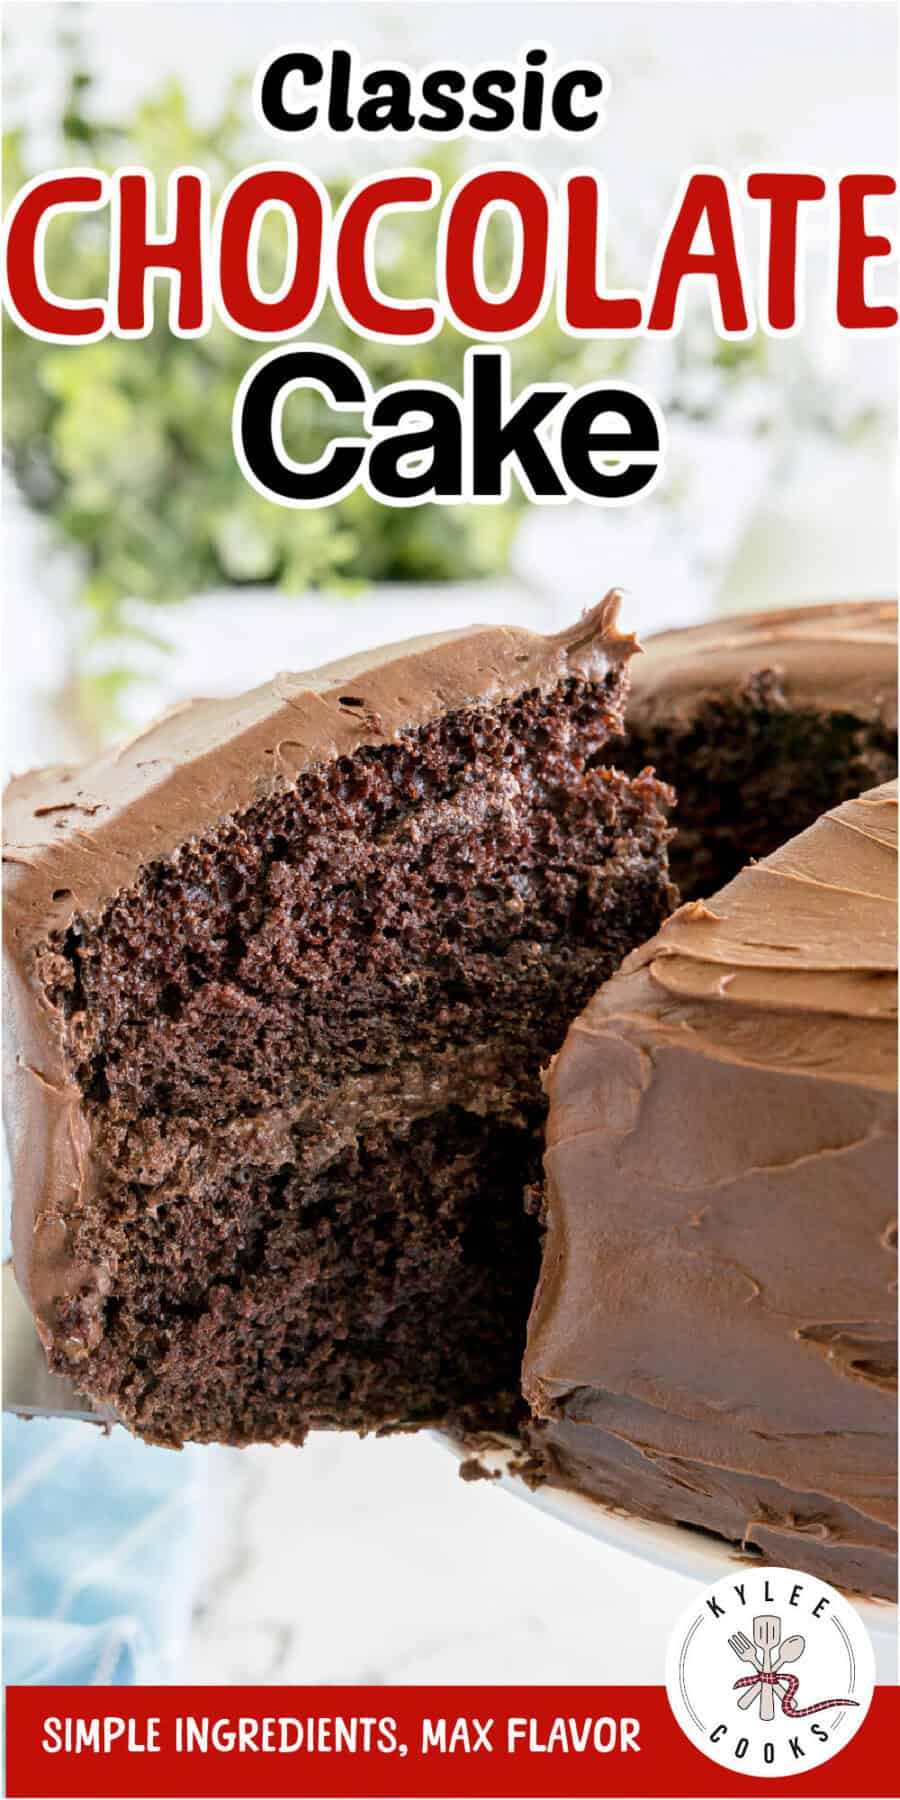
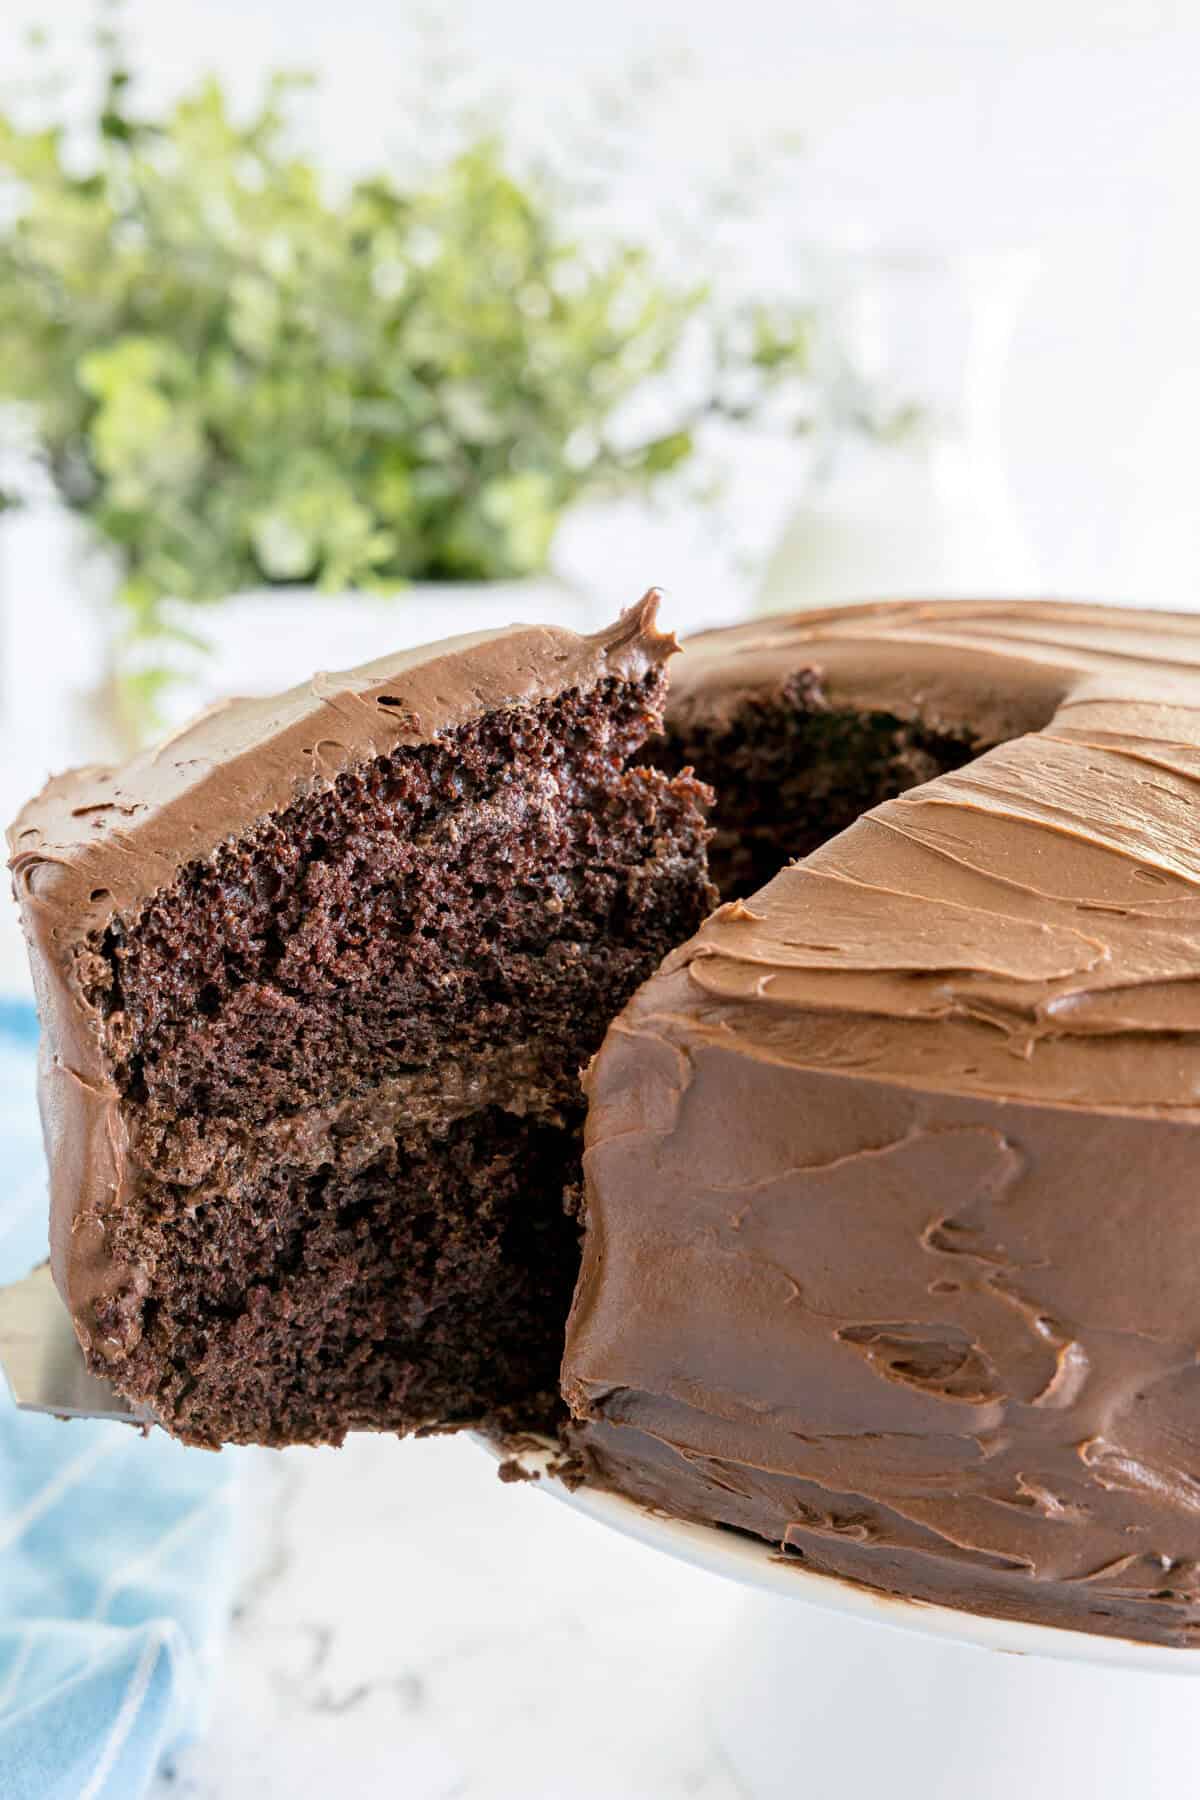
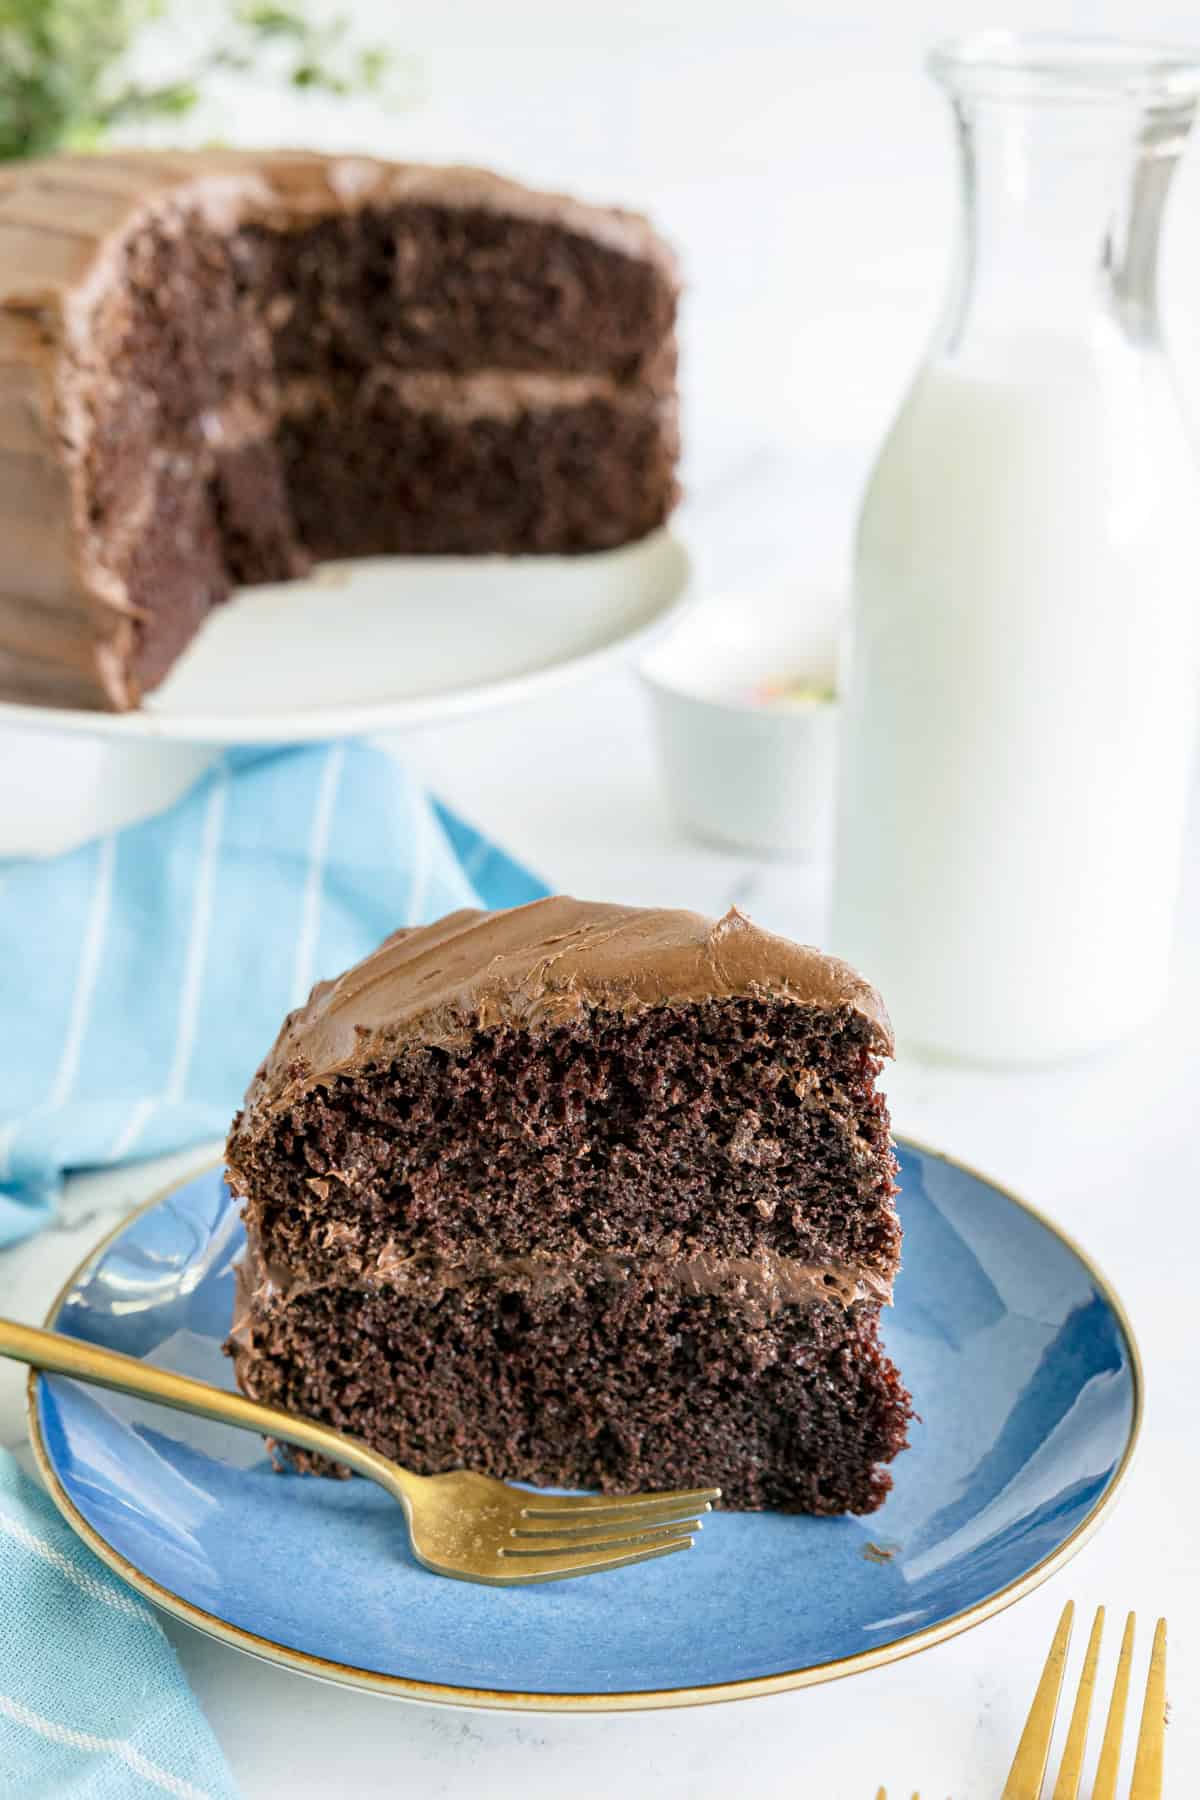
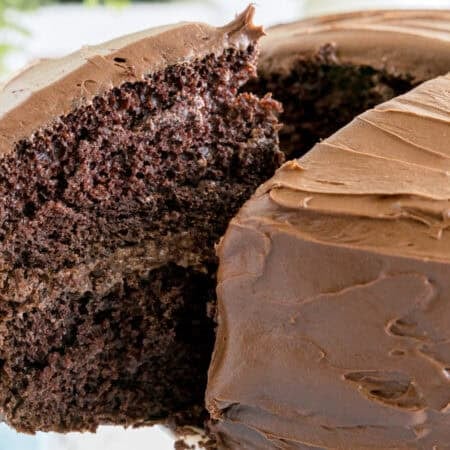
This easy chocolate cake is the one I make when I need something that actually works. Two layers, deeply chocolatey, and the kind of crumb that holds together when you slice it instead of crumbling everywhere. The secret is a teaspoon of espresso powder – it doesn’t make the cake taste like coffee, it just makes the chocolate taste more like chocolate.
One bowl, no special techniques, and a hand mixer works fine. Bake the layers, let them cool, frost them. That’s it. It feeds a crowd, it works for birthdays, and it will absolutely hold up a toy digger if the occasion calls for it. (see below the recipe card for what I mean).
I have been making this cake for years. I originally published this recipe in 2014 – and it’s the one I keep making!
Step-by-step photos and instructions are below. Jump to the recipe card if you wish!
Why you’ll love this
This cake works because the method is simple and the ingredients do the heavy lifting. The boiling water at the end loosens the batter and gives you a tender, moist crumb without any fussing. The espresso powder is quiet but important – one teaspoon is all it takes to make the chocolate flavor hit harder.
- One bowl, minimal cleanup.
- A hand mixer is all you need.
- Deep chocolate flavor without being fussy.
- Works for birthdays, potlucks, or a random Tuesday.
- Feeds 12 comfortably.
Can I make this ahead?
Yes. The cake layers can be baked up to 2 days in advance. Let them cool completely, wrap each layer tightly in plastic wrap, and store at room temperature. Frost the day you’re serving it for the best result.
You can also freeze the unfrosted layers for up to 2 months. Wrap in plastic, then foil, and thaw overnight at room temperature before frosting.
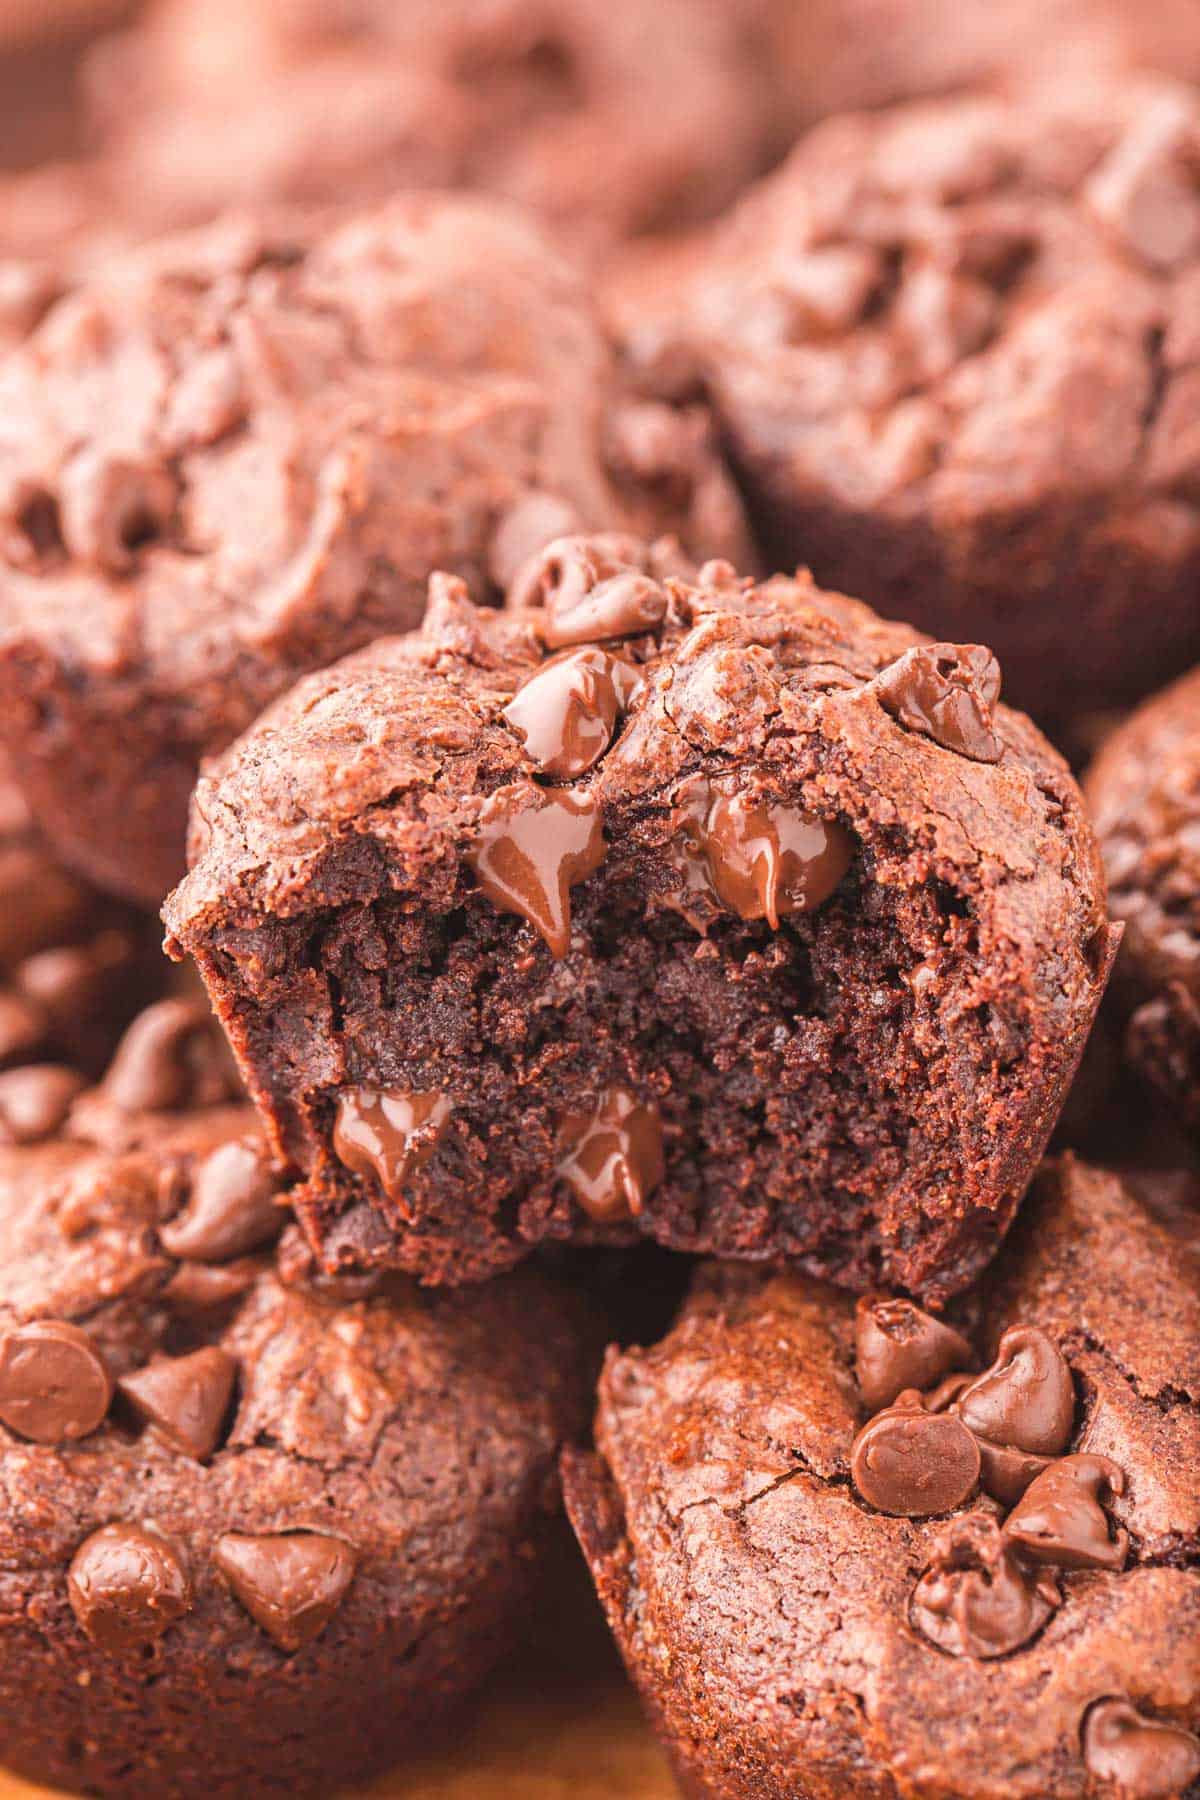
Can I make this as cupcakes?
Yes. Use the same batter and divide it between lined muffin tins, filling each about two-thirds full. Bake at 350°F (175°C) for 18 to 22 minutes, until a toothpick inserted in the center comes out clean.
This recipe makes approximately 24 cupcakes. Frost once completely cool.
More recipes to make for a celebration
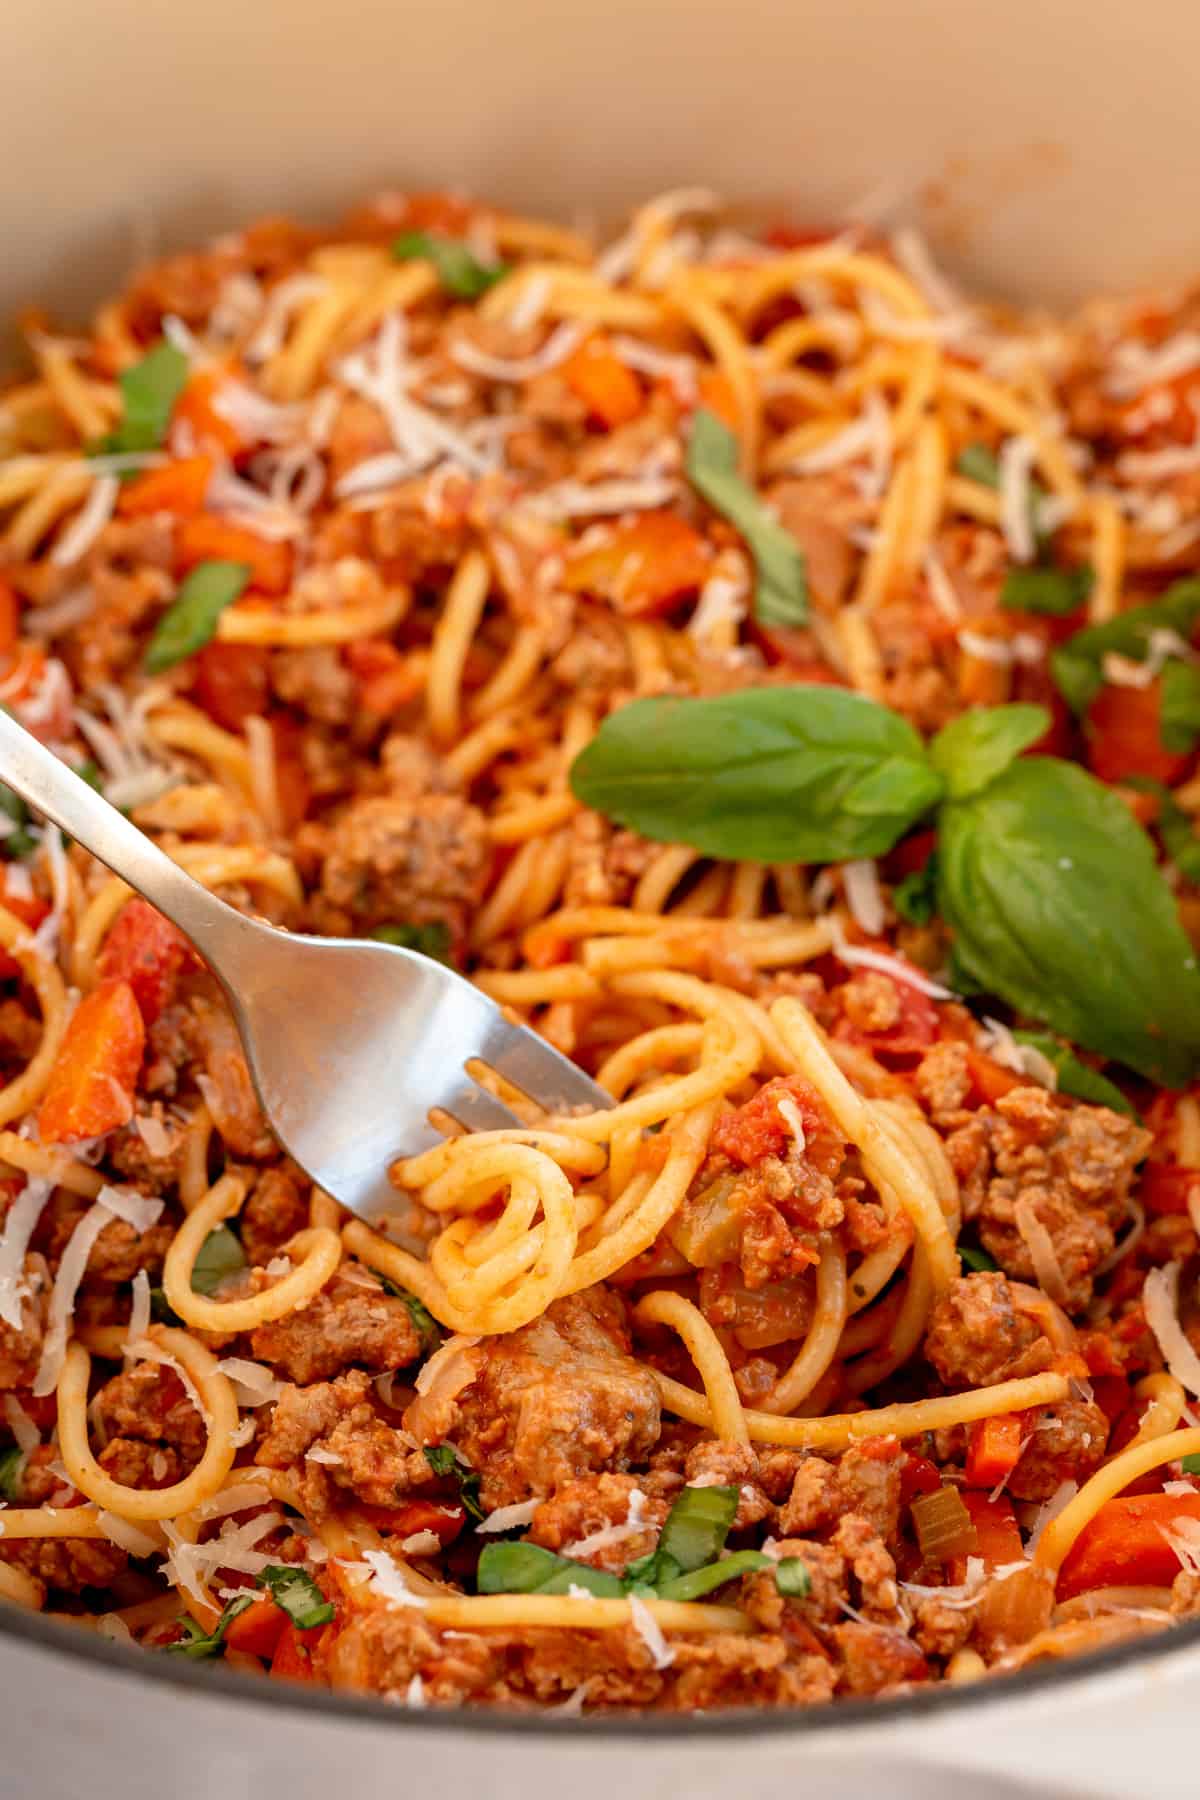
If you’re making this cake for a birthday party, you’ll want some easy food to put out alongside it. Bacon Crackers are three ingredients and made ahead, which means one less thing to think about on the day. Deviled Eggs are always the first thing to go. French Onion Dip with chips takes about 10 minutes and tastes nothing like the tub from the store. And Meatball Sliders if you want something more substantial on the table.
Step-by-step photos and tips and tricks are below. Jump to the full recipe card instead
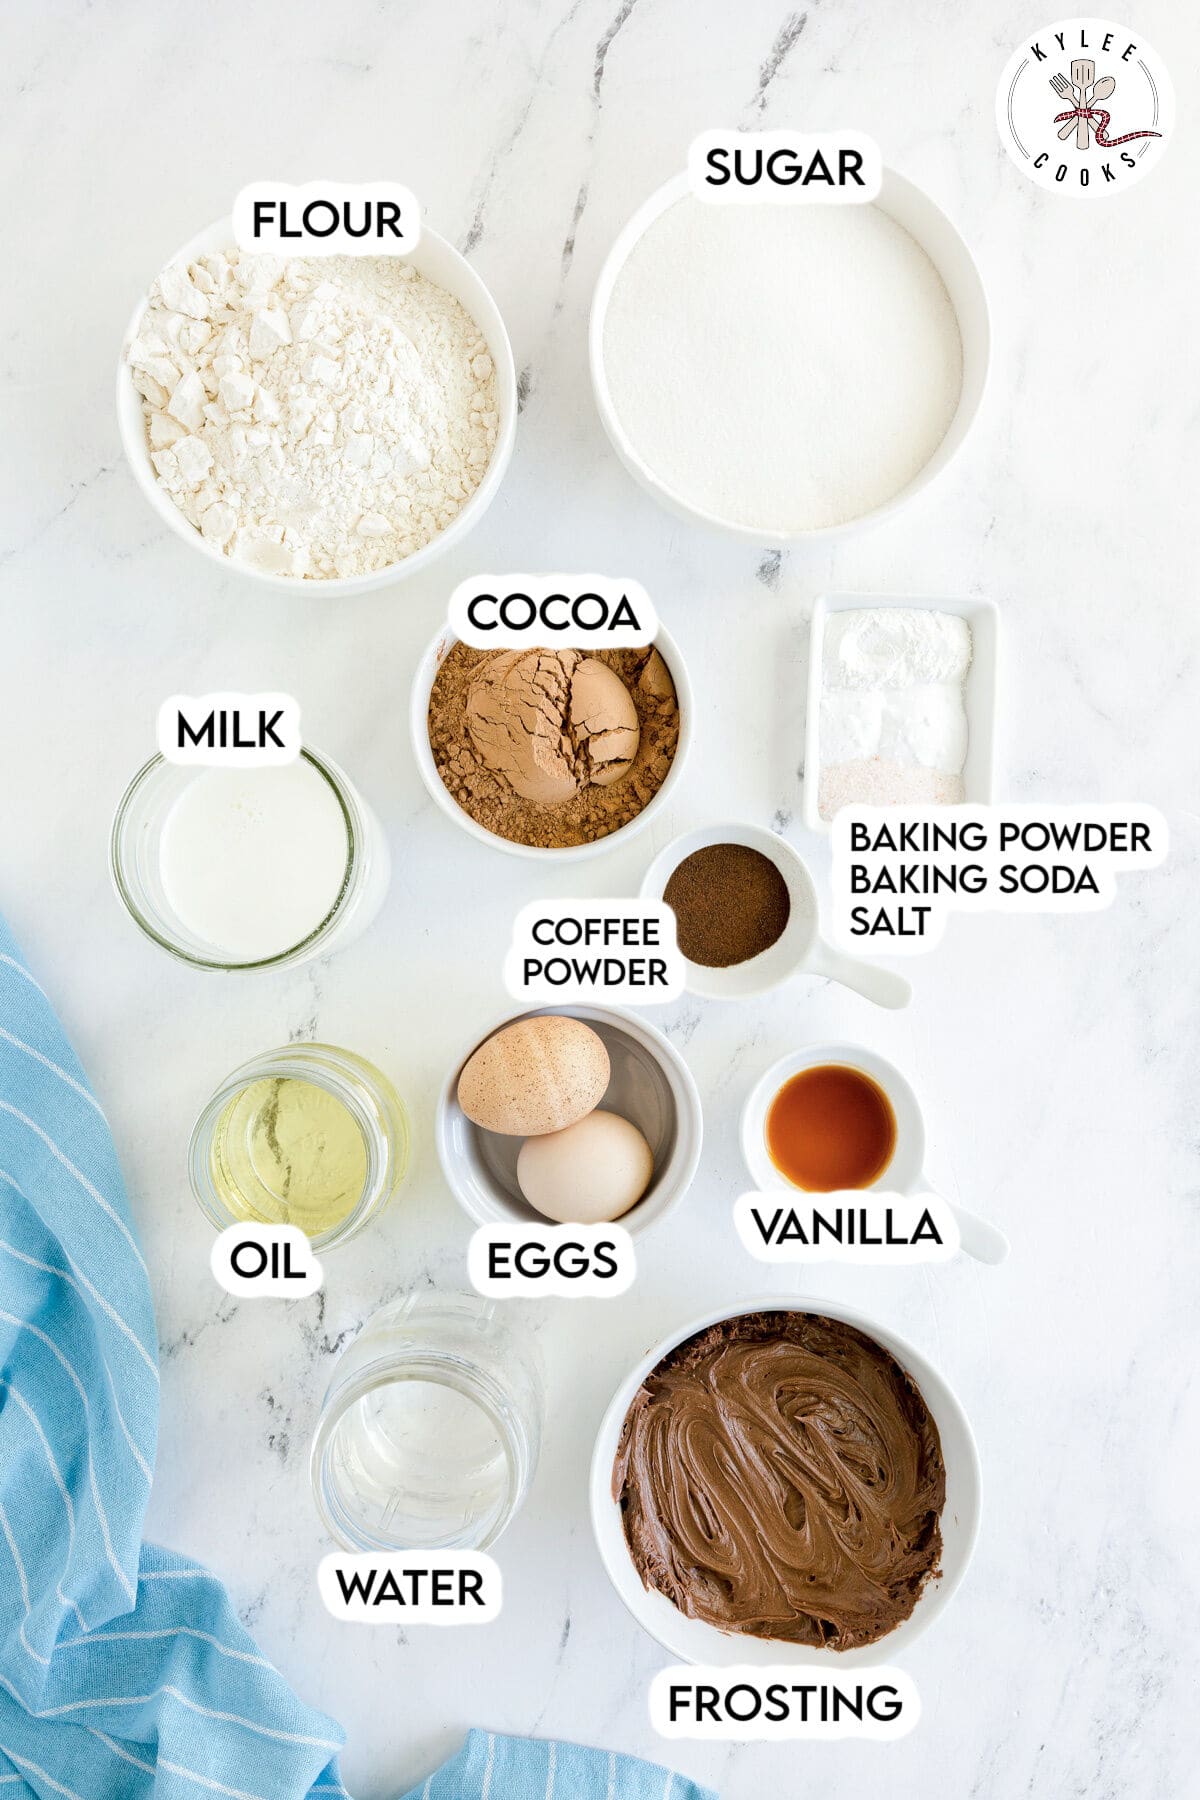
Key Recipe Ingredients
Note: This highlights some ingredients. Full list is in the recipe card.
- Cocoa powder. Use natural unsweetened, not Dutch process. Dutch process is alkalized and won’t react properly with the baking soda – your cake won’t rise right.
- Espresso powder. Don’t skip it. One teaspoon won’t make the cake taste like coffee – it just makes the chocolate deeper and more intense. Instant espresso, also known as instant coffee, not ground espresso beans.
- Vegetable oil. Oil keeps the crumb moist longer than butter would. Don’t swap it out.
- Boiling water. Added at the end and it will look like the batter is too thin. That’s correct. It loosens the batter and gives you a tender crumb.
- Eggs. Room temperature. They mix in more evenly and give you a better rise.
- Chocolate frosting. Use my homemade chocolate frosting or storebought – both work fine here.
Would you like to save this recipe?
How to make this recipe
This is a step-by-step photo guide. Full ingredients and instructions are in the printable recipe card below.
JumpGet prepped. Grease two 9-inch cake pans with butter and dust with flour. Preheat the oven to 350°F (175°C).
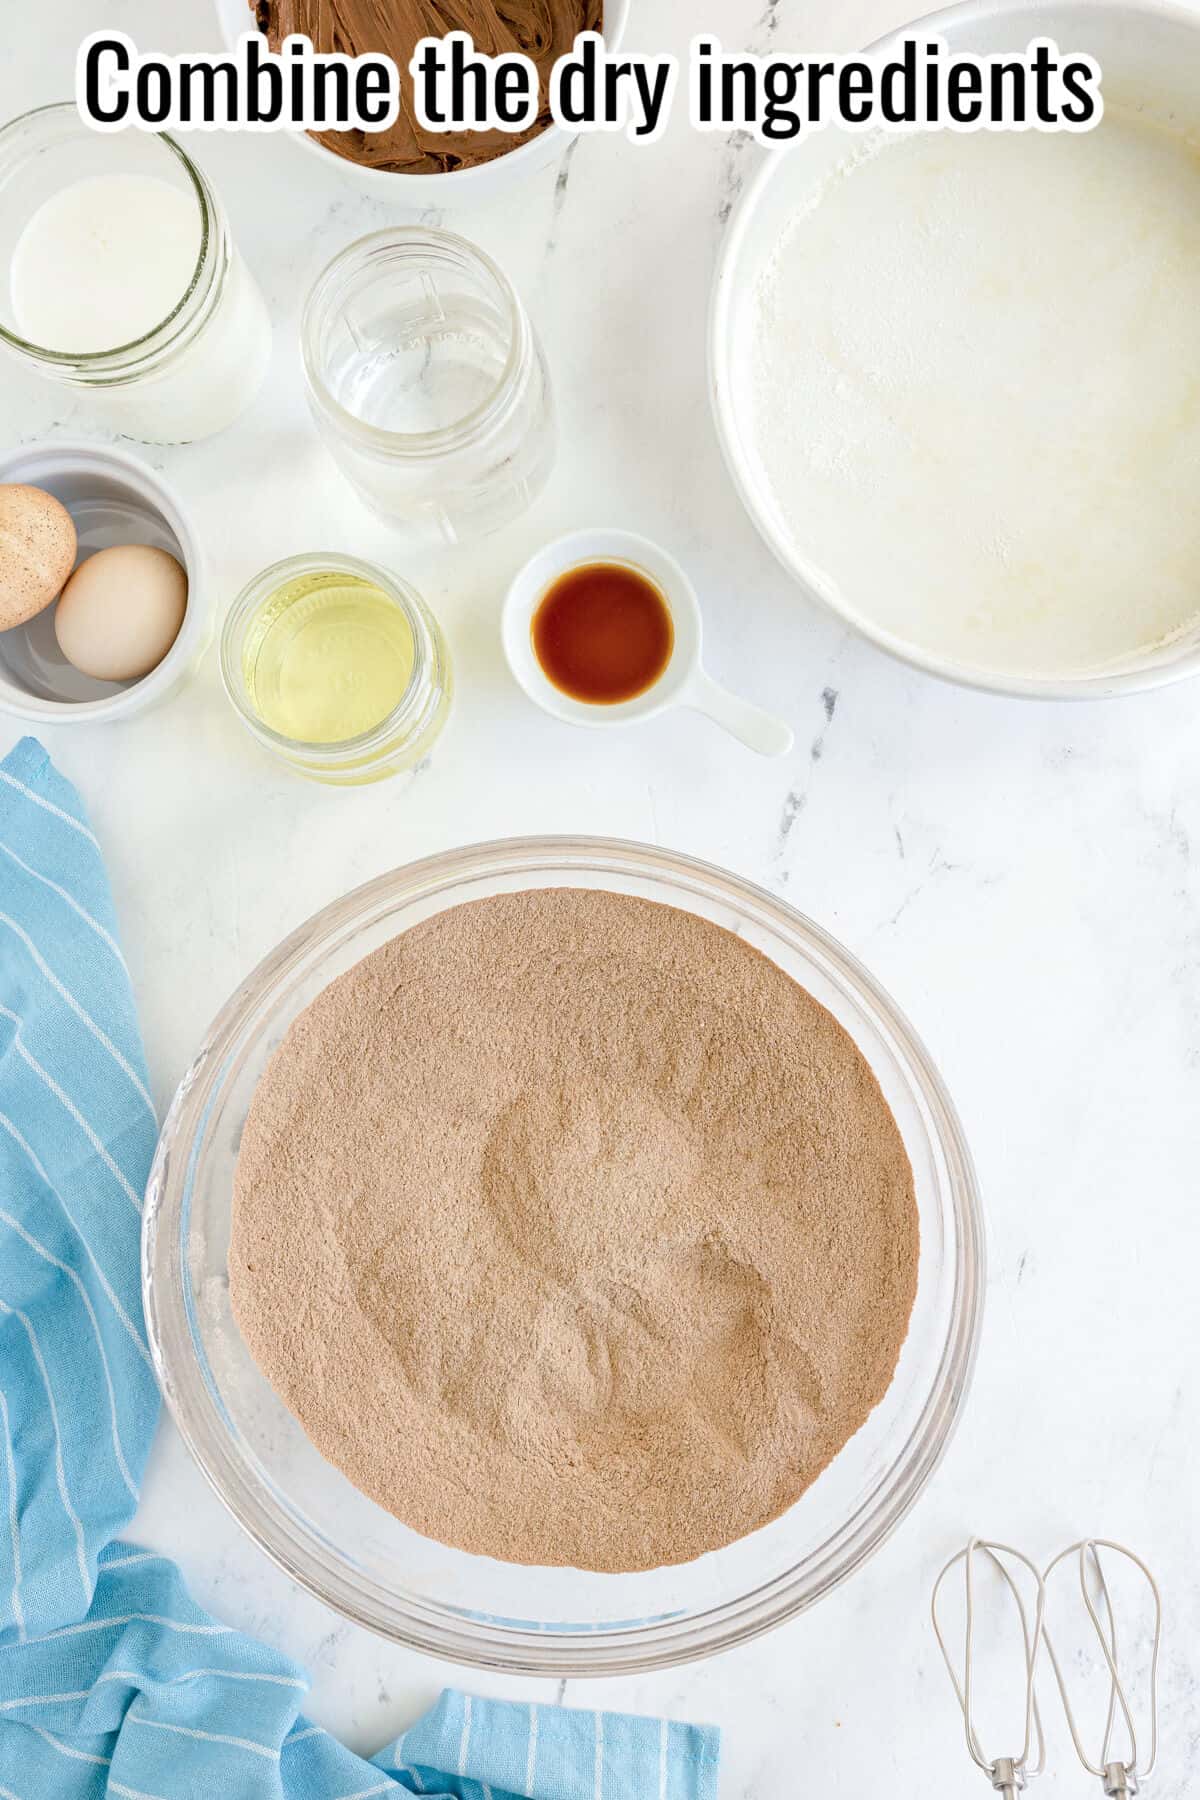
Mix the dry ingredients. Combine flour, sugar, cocoa powder, baking powder, baking soda, salt, and espresso powder in a large bowl and mix until combined.
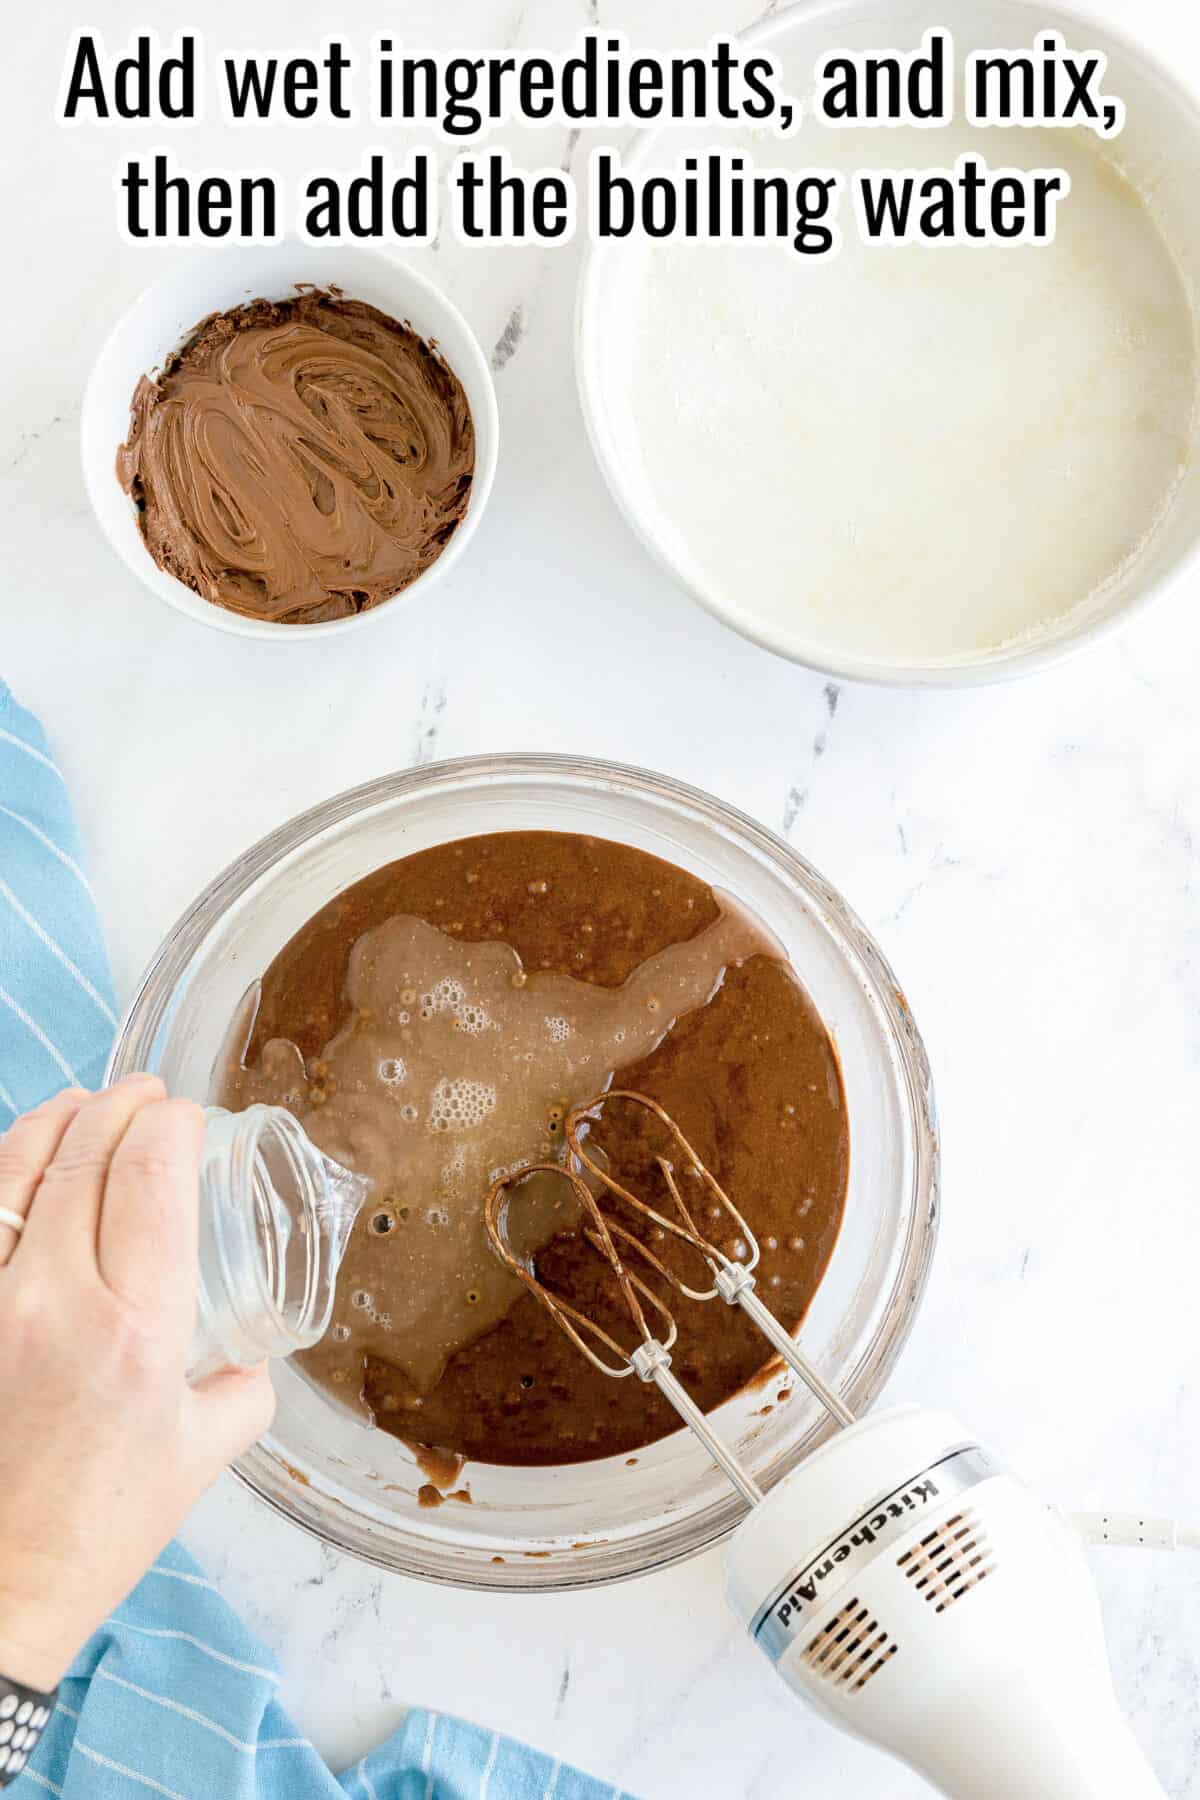
Add the wet ingredients. Add the milk, oil, eggs, and vanilla and mix on medium speed until well combined. Then carefully pour in the boiling water and beat for about 1 minute. The batter will be thin – that’s right.
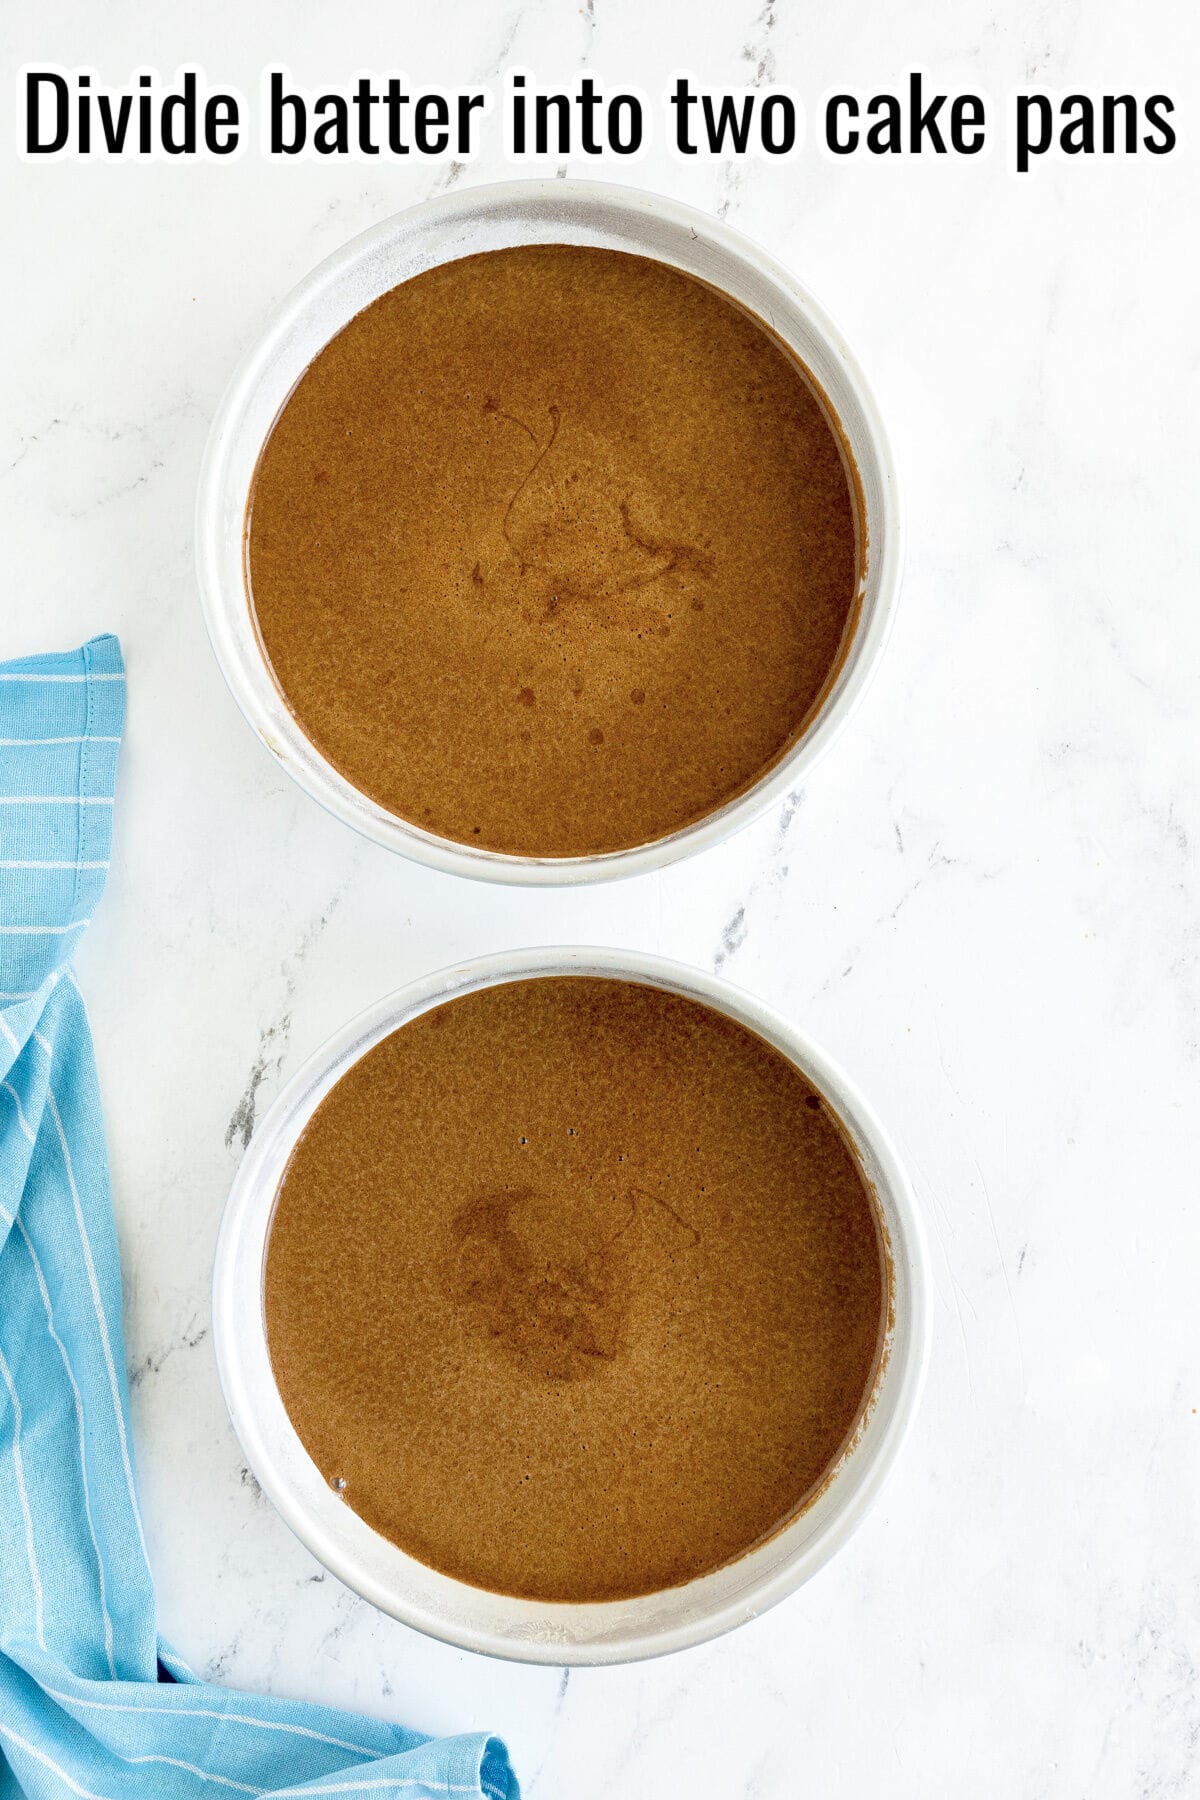
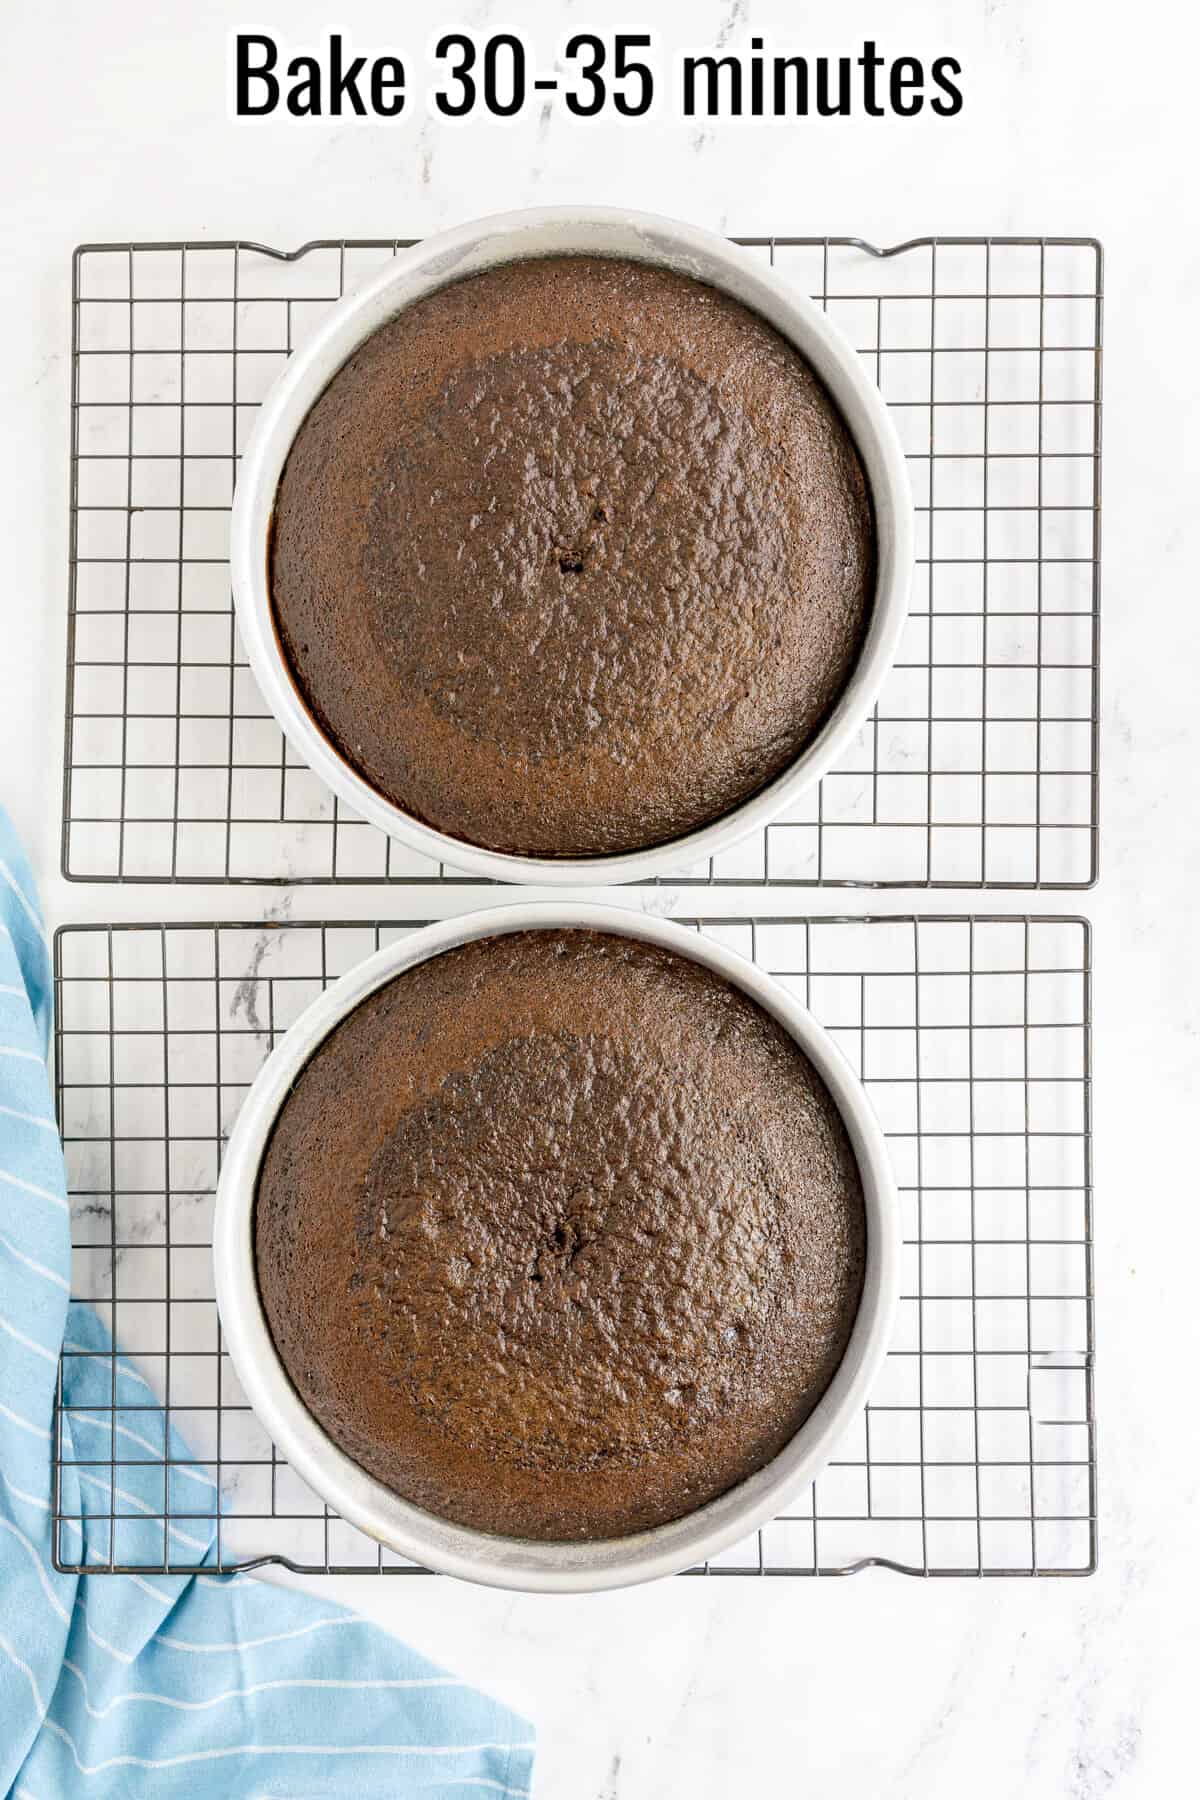
Bake. Divide the batter evenly between the two prepared pans and bake for 30 to 35 minutes, until a toothpick inserted in the center comes out clean.
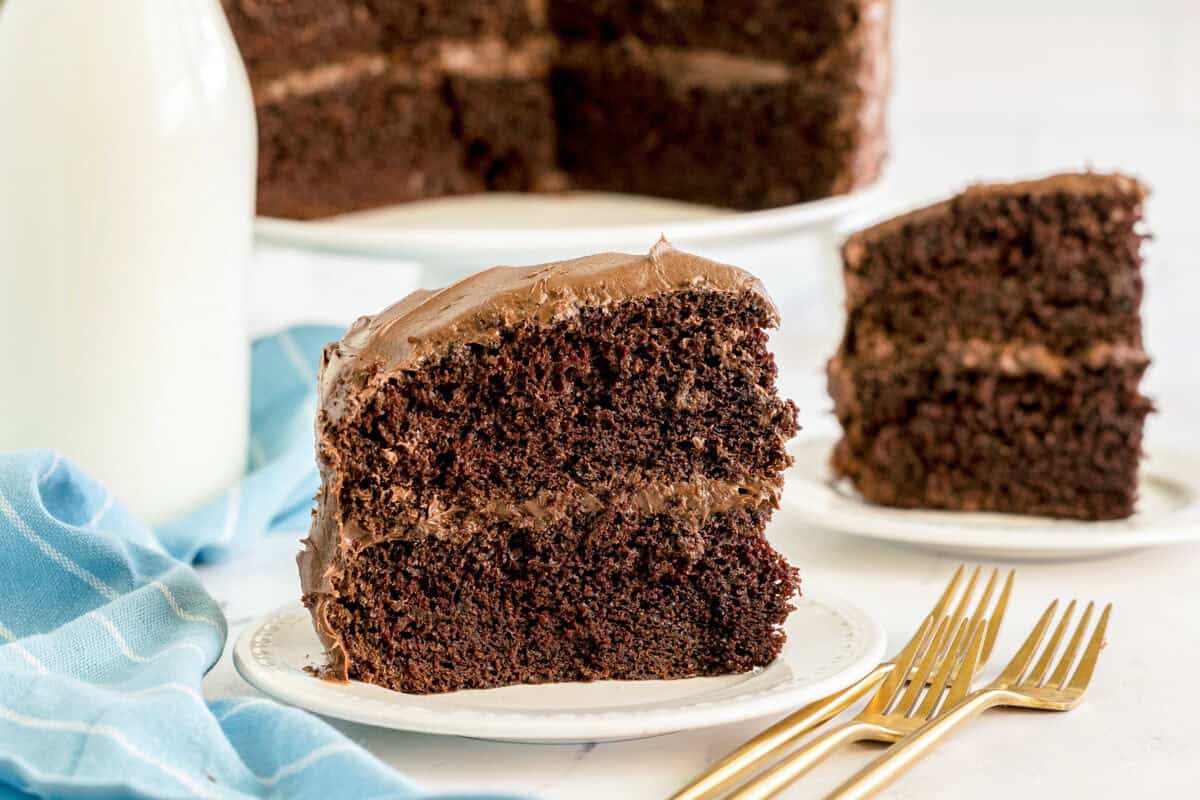
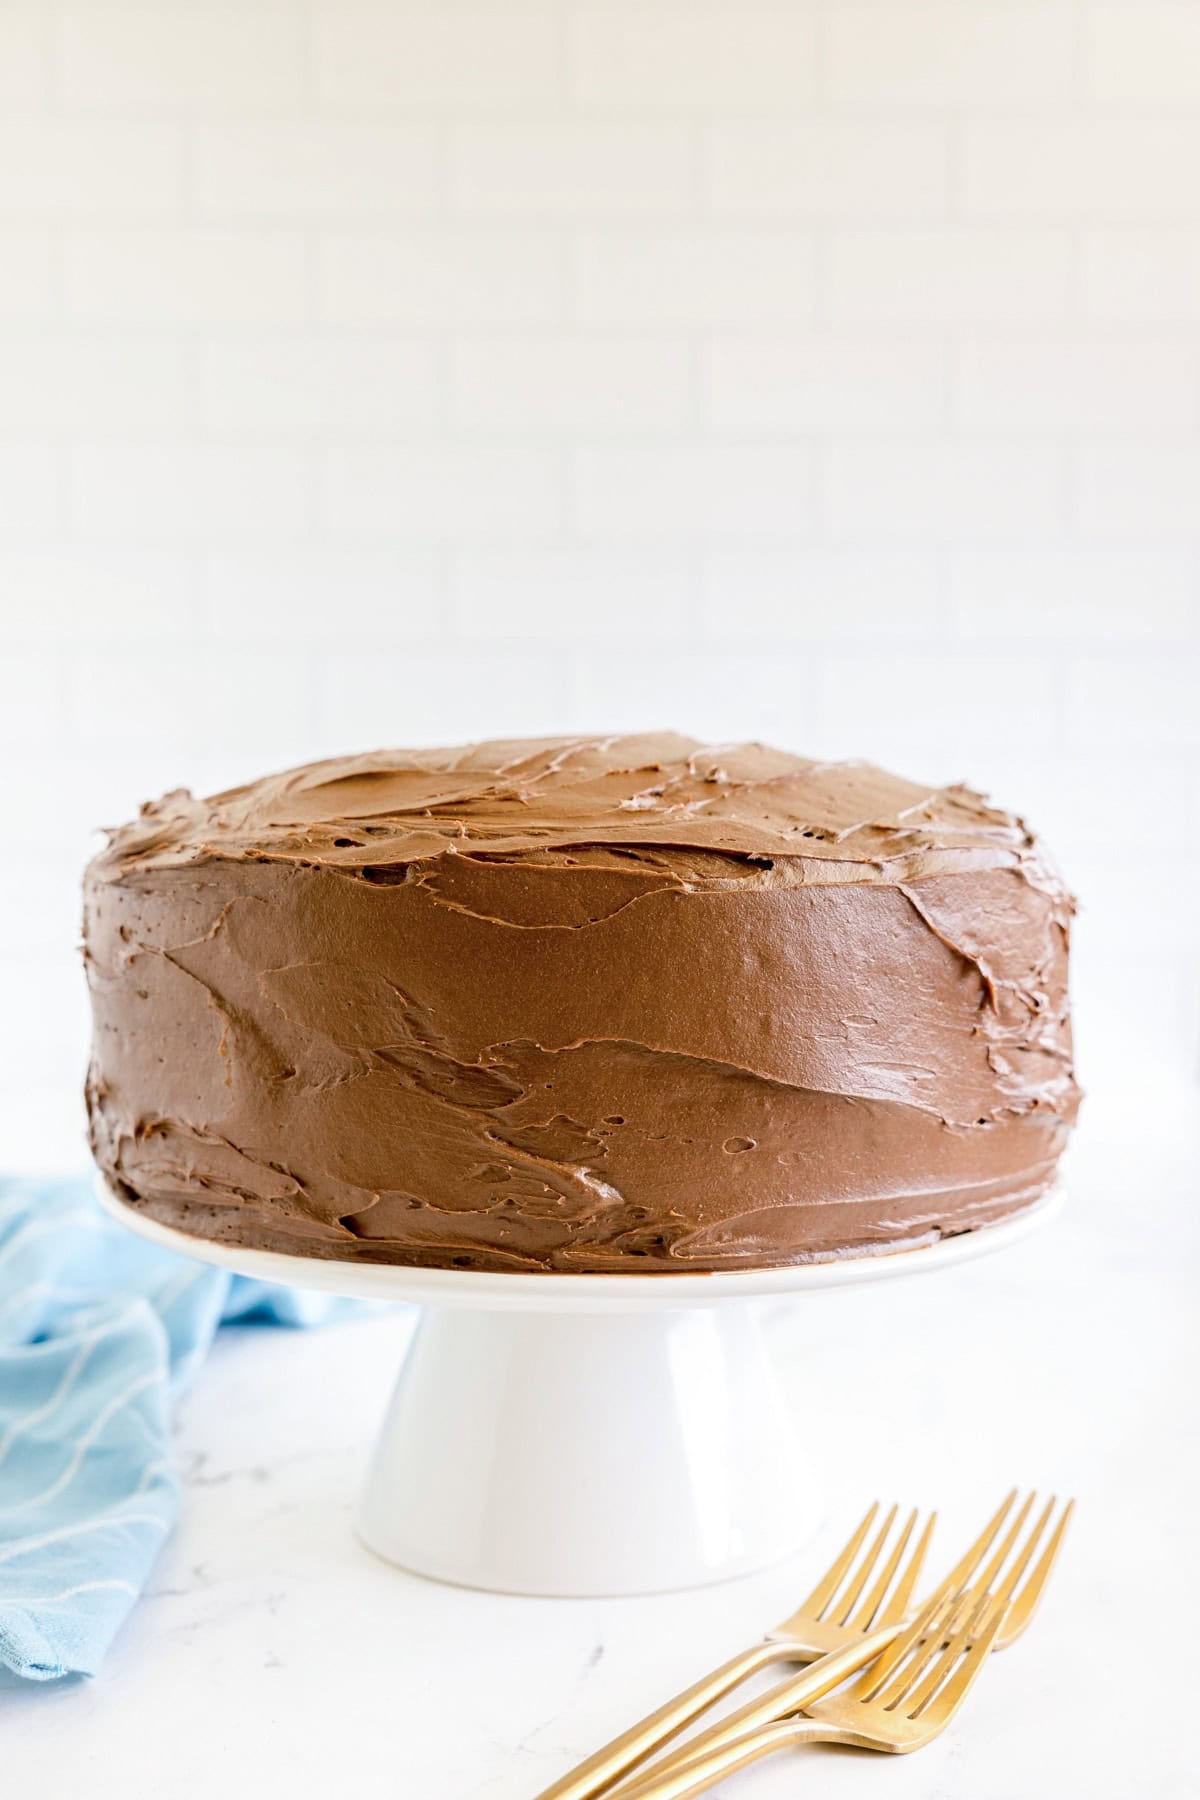
Cool and frost. Let the cakes cool in the pans for 10 minutes, then turn out onto a wire rack and cool completely before frosting.
Kylee’s Notes
- Don’t skip greasing and flouring the pans. Butter alone isn’t enough for this batter – it will stick.
- The batter will look very thin after the boiling water goes in. That’s correct. Don’t add more flour.
- Cool the layers completely before frosting. Completely. Even slightly warm cake will melt the frosting and slide.
- If your layers domed in the oven, use a serrated knife to level them before stacking. Worth the 2 minutes.
- This cake gets better the next day once the layers have settled and the frosting has set.
How to store leftovers
Refrigerator Store frosted cake covered in the fridge for up to 5 days. Bring to room temperature before serving – cold cake is denser and less chocolatey tasting.
Freezing instructions
Freeze unfrosted layers wrapped tightly in plastic wrap, then foil, for up to 2 months. Thaw overnight at room temperature before frosting. Frosted cake can also be frozen – freeze uncovered until firm, then wrap and store for up to 2 months.
Troubleshooting
- Cake stuck to the pan. The pans weren’t greased and floured thoroughly enough. Butter every surface including the sides, then dust with flour and tap out the excess. Baking spray with flour is the easiest option.
- Layers domed in the middle. Normal for this batter. Level them with a serrated knife before stacking so the cake doesn’t slide.
- Cake is dry. It overbaked. Start checking at 28 minutes – a toothpick should come out with a few moist crumbs, not completely clean.
- Frosting is sliding off. The layers weren’t cool enough. Even slightly warm cake will melt the frosting. Give them at least an hour on the wire rack.
- Batter looks too thin. It is thin – the boiling water does that. Don’t add more flour.
- Cake didn’t rise. Probably old baking powder or baking soda. Check the dates on both before you start.
FAQs
Yes. Pour the batter into a greased 9×13 inch pan and bake at 350°F (175°C) for 35 to 40 minutes.
You can, but the crumb won’t stay as moist. Oil is the better choice here.
Yes. Cream cheese frosting (find my recipe on my Cinnamon Rolls recipe)or vanilla frosting both work well with this cake.
No, but the chocolate flavor will be less intense without it. It’s worth using.
More recipes to love
- Chocolate Bundt Cake. Same deep chocolate flavor, different format – great when you want something impressive without the layering.
- Vanilla Bundt Cake. For the person at the party who claims they don’t like chocolate.
- Oreo Cupcakes. If you’re making this for a kid’s birthday, these are the move for the next one.
- Chocolate Chip Bundt Cake. Another easy celebration cake with almost no decorating required.
Get free recipes in your inbox!
Find me on Pinterest, Facebook & Instagram.
If you make this recipe, please comment and let me know how it turned out and leave a star rating! ⭐⭐⭐⭐⭐
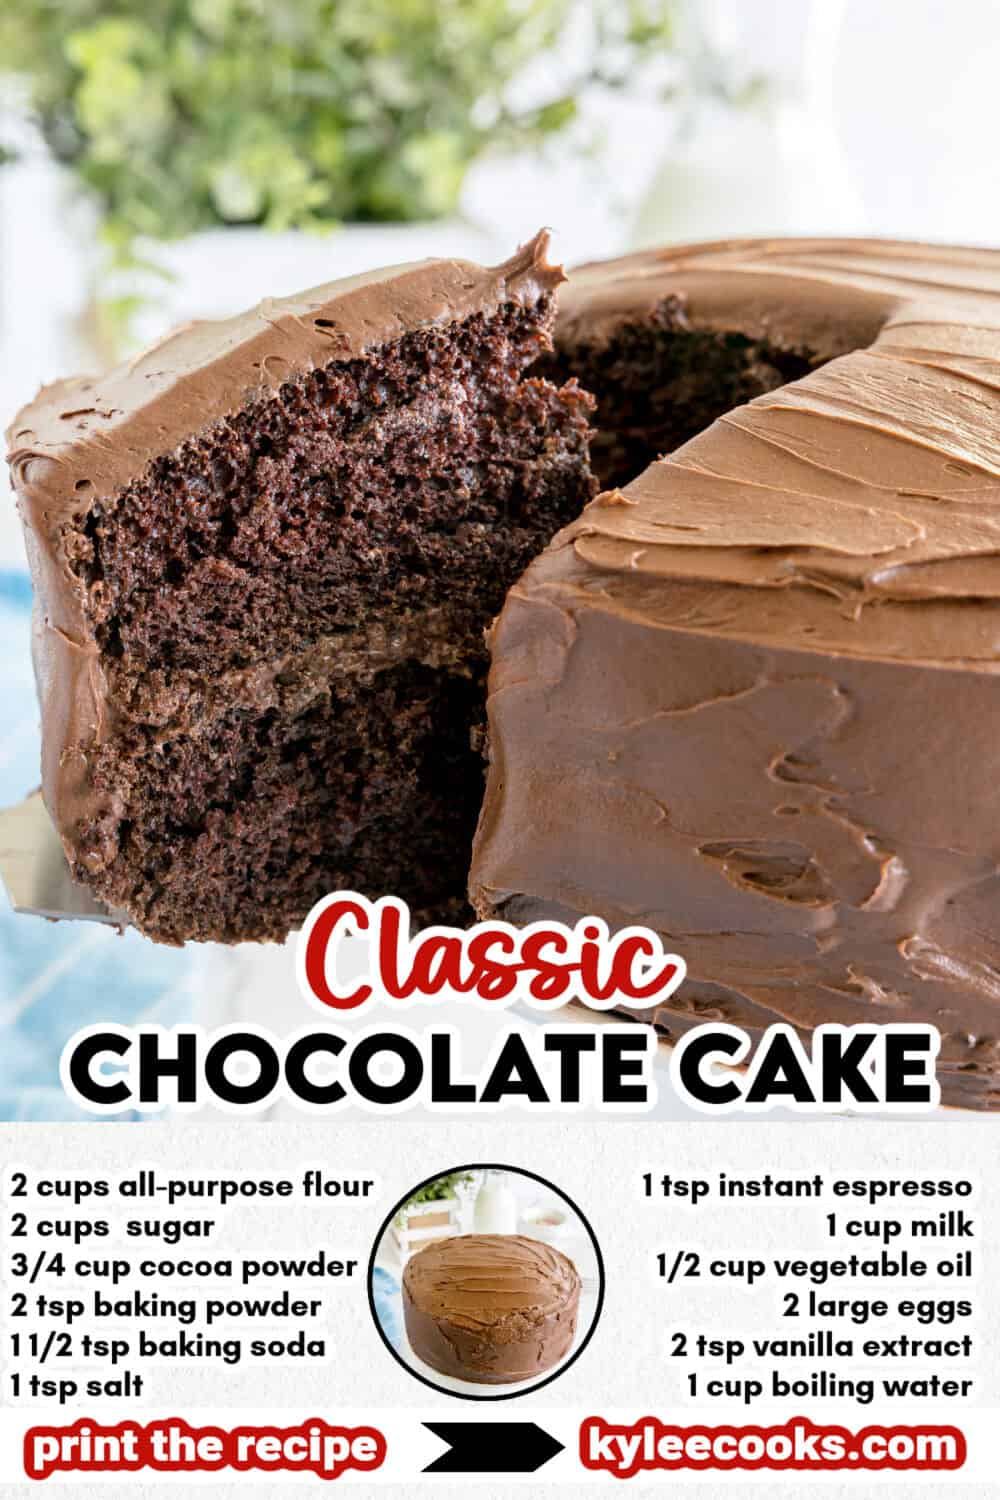
Classic Chocolate Cake
Ingredients
- 2 cups all-purpose flour
- 2 cups white sugar
- 3/4 cup unsweetened cocoa powder
- 2 teaspoons baking powder
- 1 1/2 teaspoon baking soda
- 1 teaspoon salt
- 1 teaspoon instant espresso powder aka instant coffee
- 1 cup milk
- 1/2 cup vegetable oil
- 2 large eggs
- 2 teaspoons vanilla extract
- 1 cup boiling water
- Chocolate frosting (make your own or use storebought – I’m not judging)
Instructions
- Get prepped. Preheat the oven to 350°F (175°C). Grease two 9-inch cake pans with butter and dust with flour.
- Mix the dry ingredients. Combine the flour, sugar, cocoa powder, baking powder, baking soda, salt, and espresso powder in a large bowl. Mix on low until combined.2 cups all-purpose flour, 2 cups white sugar, 3/4 cup unsweetened cocoa powder, 2 teaspoons baking powder, 1 1/2 teaspoon baking soda, 1 teaspoon salt, 1 teaspoon instant espresso powder
- Add the wet ingredients. Add the milk, oil, eggs, and vanilla and mix on medium speed until well combined, about 1 minute.1 cup milk, 1/2 cup vegetable oil, 2 large eggs, 2 teaspoons vanilla extract
- Add the boiling water. Carefully pour in the boiling water and beat on medium-high for 1 minute. The batter will be thin – that's correct.1 cup boiling water
- Bake. Divide the batter evenly between the two prepared pans. Bake for 30 to 35 minutes, until a toothpick inserted in the center comes out clean.
- Cool and frost. Cool in the pans for 10 minutes, then turn out onto a wire rack and cool completely before frosting.Chocolate frosting
Notes
- Nutritional info includes the cake only, the frosting will need to be calculated separately based on what you use.
- Don’t skip greasing and flouring the pans – butter alone isn’t enough.
- The batter will look very thin after the boiling water goes in. That’s correct.
- Cool the layers completely before frosting or the frosting will melt.
- If your layers domed, level them with a serrated knife before stacking.
Would you like to save this recipe?
Nutrition
Nutritional information is an estimate and provided to you as a courtesy. You should calculate the nutritional information with the actual ingredients used in your recipe using your preferred nutrition calculator.
Did you make this recipe?
Make sure to follow @kyleecooks on Instagram for more and tag me #kyleecooks so I can see!Update: This recipe was originally published in November of 2014. It was updated and republished in June of 2026.
I feel it’s necessary to explain the background and show you pics of what you can do with this cake!!
To make this particular cake, you just have to make a two-layered chocolate cake (see below). Once it is cooled completely and frosted – go ahead and destroy it. Haha. Cut out a small slice of cake, half way down, lifting, and flipping it over on top of the cake so it looks like an excavator dug a hole. Smush it up a little.. Sprinkle crushed Oreos over the hole and over the mound of cake you flipped onto the cake to make it look like a pile of dirt. Add a small digger toy, and you will have the delight of any little boy.
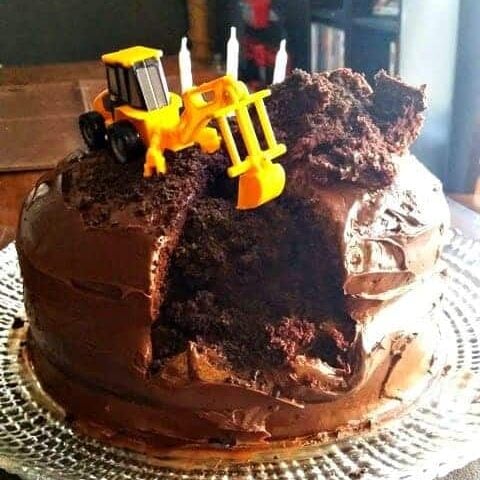
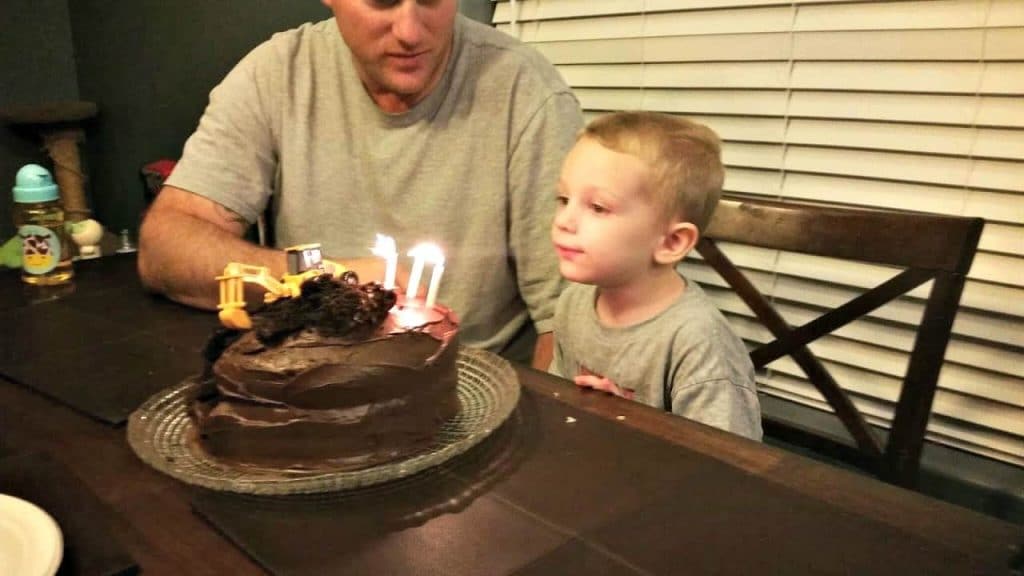
Here’s my (then) newly turned 3 year old son. Awwww.

About Kylee Ayotte
I am a born and raised New Zealander (a Kiwi), now living in Phoenix, Arizona. I’m happily married to the love of my life – a hot American boy I met while traveling the world. I’m a mama to 2 awesome little boys and love red things, rugby, cheesecake, and bacon. Mmmmm. Bacon. Meet Kylee


I just made this cake and it’s deliciously chocolate ly! But, I know I did everything right, and it could be due to the high elevation, but it was pouring over the side’s 😱!! I had to trim the edges of my pans and eat the escaped cake 😆 Then came the task of getting the cake out of the pans which I buttered and floured. 😂😂😂 It’s for my husband’s 71 bday and we’re eating it now matter what!! I’ll make it again, someday and hopefully it won’t happen again. 😉😄
Well done you non-cake baker you! Don't pull the "I can't bake" card again because you did awesome. Well done – epic result
Looks great! Happy Birthday Hayden!