How to Roast Garlic (plus how to store & use)
This post may contain affiliate links. See our affiliate policy here.
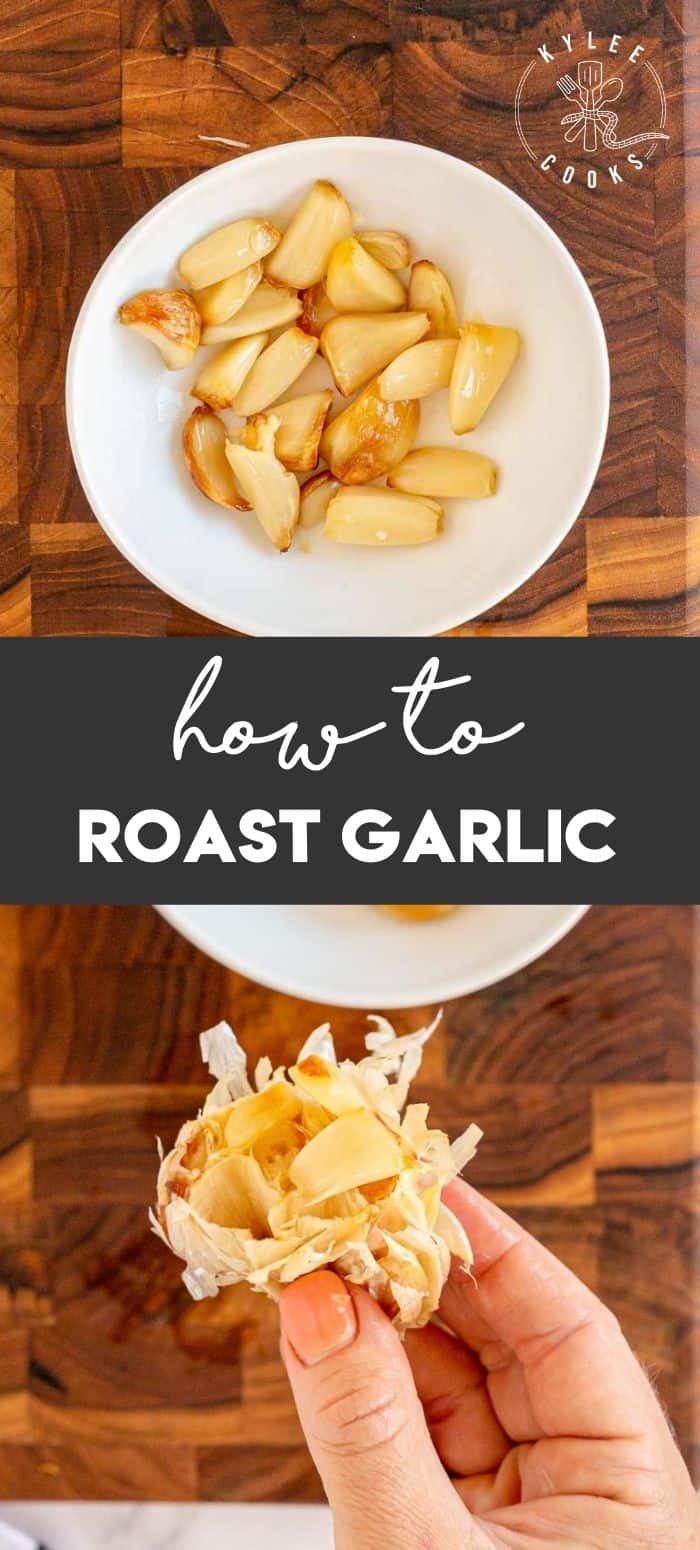
A super simple recipe with step by step instructions for how to Roast Garlic in the oven.
You’ll learn how to roast garlic, how to store and what to use it in below.
Step-by-step photos and instructions are below. Jump to the recipe card if you wish!
Buttery, sweet and absolutely delicious, Roasted Garlic is a very easy thing to do that will elevate anything you use it in!
Making oven roasted garlic is one of the best things I ever learned how to do. I love to use it in pretty much everything possible, from salad dressing, using in hummus, or mixing into sauces.
Just like Caramelized Onions, I like to roast garlic and keep it ready for when I need to make something incredible. Like this Roasted Garlic Hummus recipe, for starters!
FAQs
YES! Roasting garlic at high temps makes the garlic caramelize, which makes it sweet, nutty and rich. Much less sharp than raw garlic, you can eat it by itself!
“It depends”. You can roast the whole garlic head as is, and squeeze the roasted garlic out when it’s done. OR, you can roast individual cloves if you prefer, of course.
Roasting makes garlic sweeter, and also easier to digest for a lot of people. Which means you can eat way more.
Refrigerator:
Store individual cloves covered in olive oil the refrigerator for about 10 days.
You can also store a whole head or two in a ziplock bag in the refrigerator.
Freezer:
You can store roasted garlic for several months in the freezer. Just make sure it is sealed in a freezer safe container, to avoid freezer burn.
Why you’ll love this
- This is SO easy to do, and gives amazing results!
- You can make several garlic bulbs at once, or just do 1.
- This is perfect to make ahead and store for use later.
How to use Roasted Garlic Cloves
Roasted Garlic is SO amazing in Roasted Garlic Hummus, Mashed Potatoes, spread on a baguette topped with a soft cheese (like brie or camembert) and snarfed.
You can mash it into butter and use as a compound butter on a steak.
This makes INCREDIBLE homemade garlic bread. Mash garlic cloves with a little butter and spread on sliced French bread. Add a tiny bit of grated parmesan cheese and broil the top.
Try it in this No Knead Artisan Bread from House of Nash Eats!
Would you like to save this recipe?
Step-by-step photos and tips and tricks are below. Jump to the full recipe card instead
Key Recipe Ingredients
Note: This highlights some ingredients. Full list is in the recipe card.
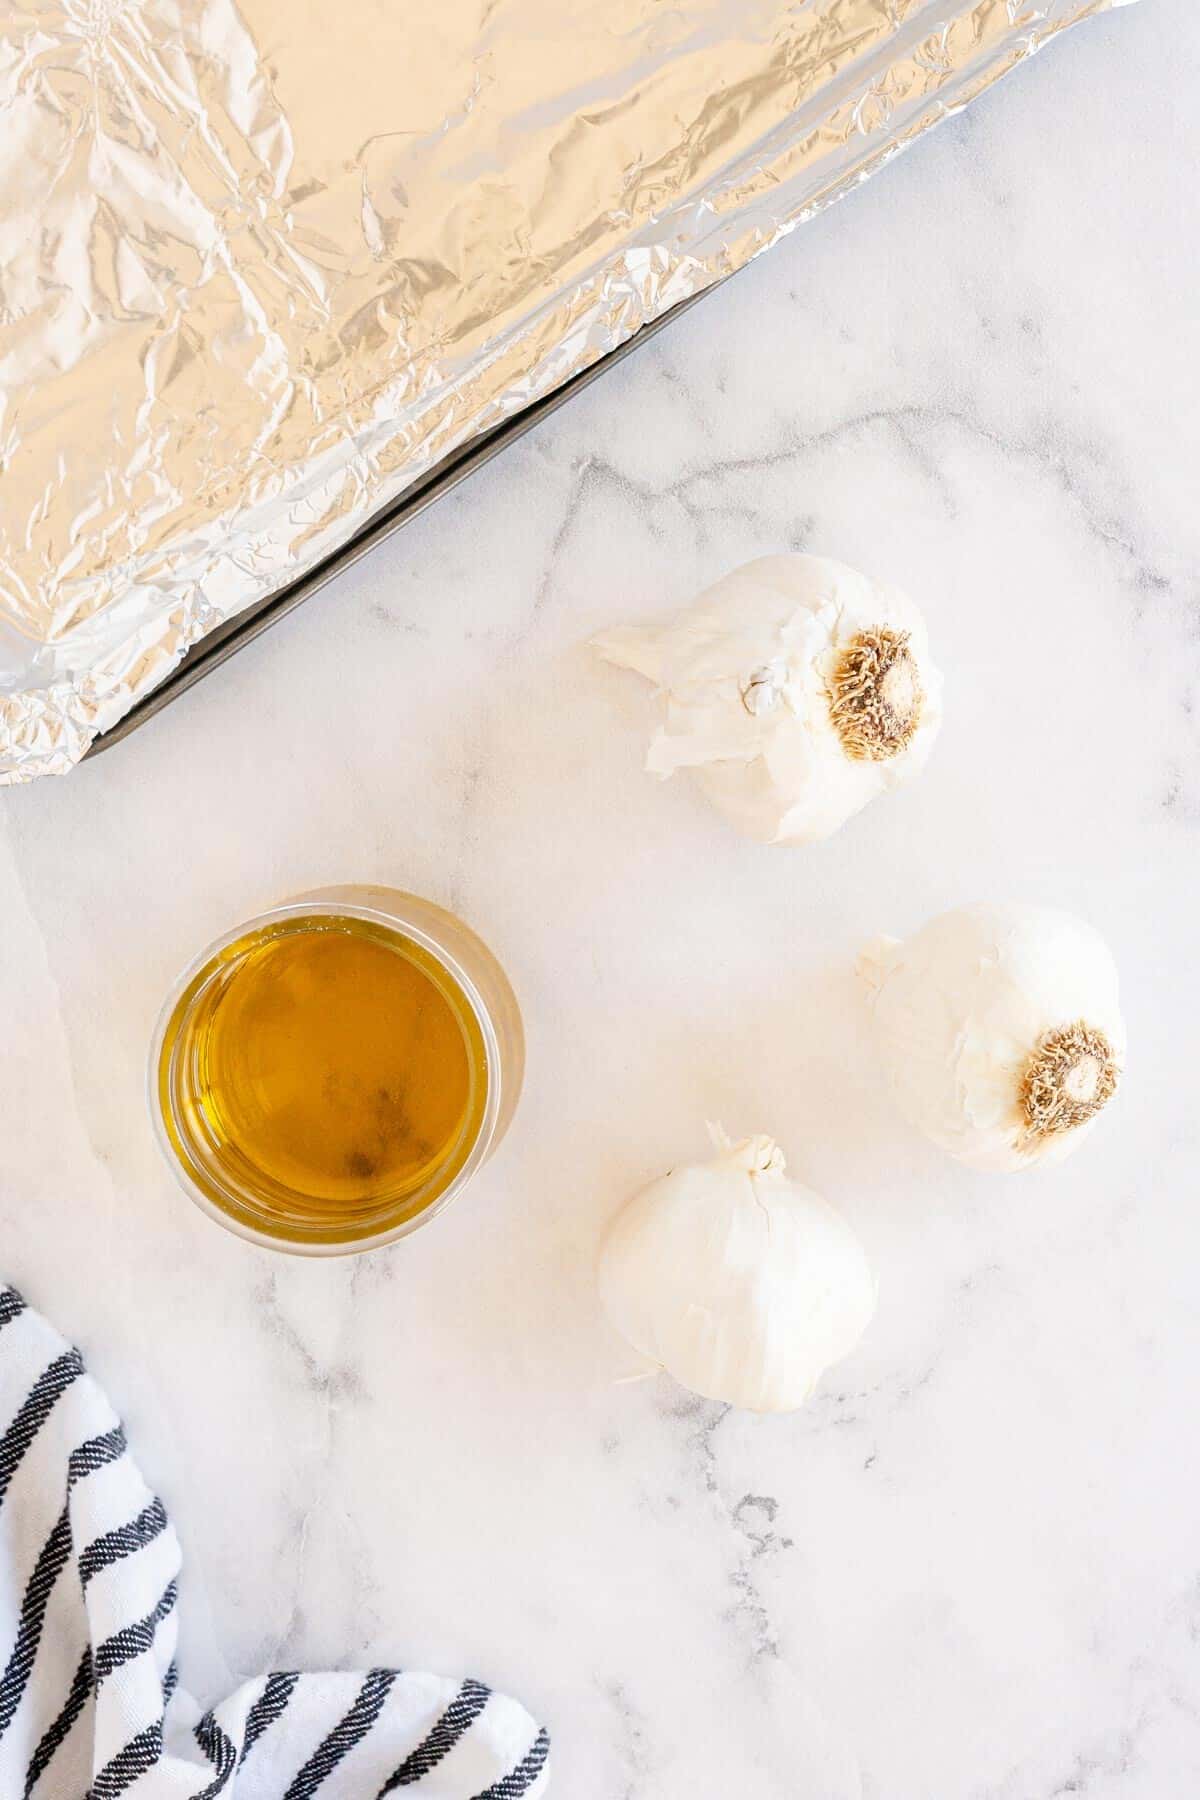
- Whole garlic heads
- Olive oil
How to make this recipe
This is a step-by-step photo guide. Full ingredients and instructions are in the printable recipe card below.
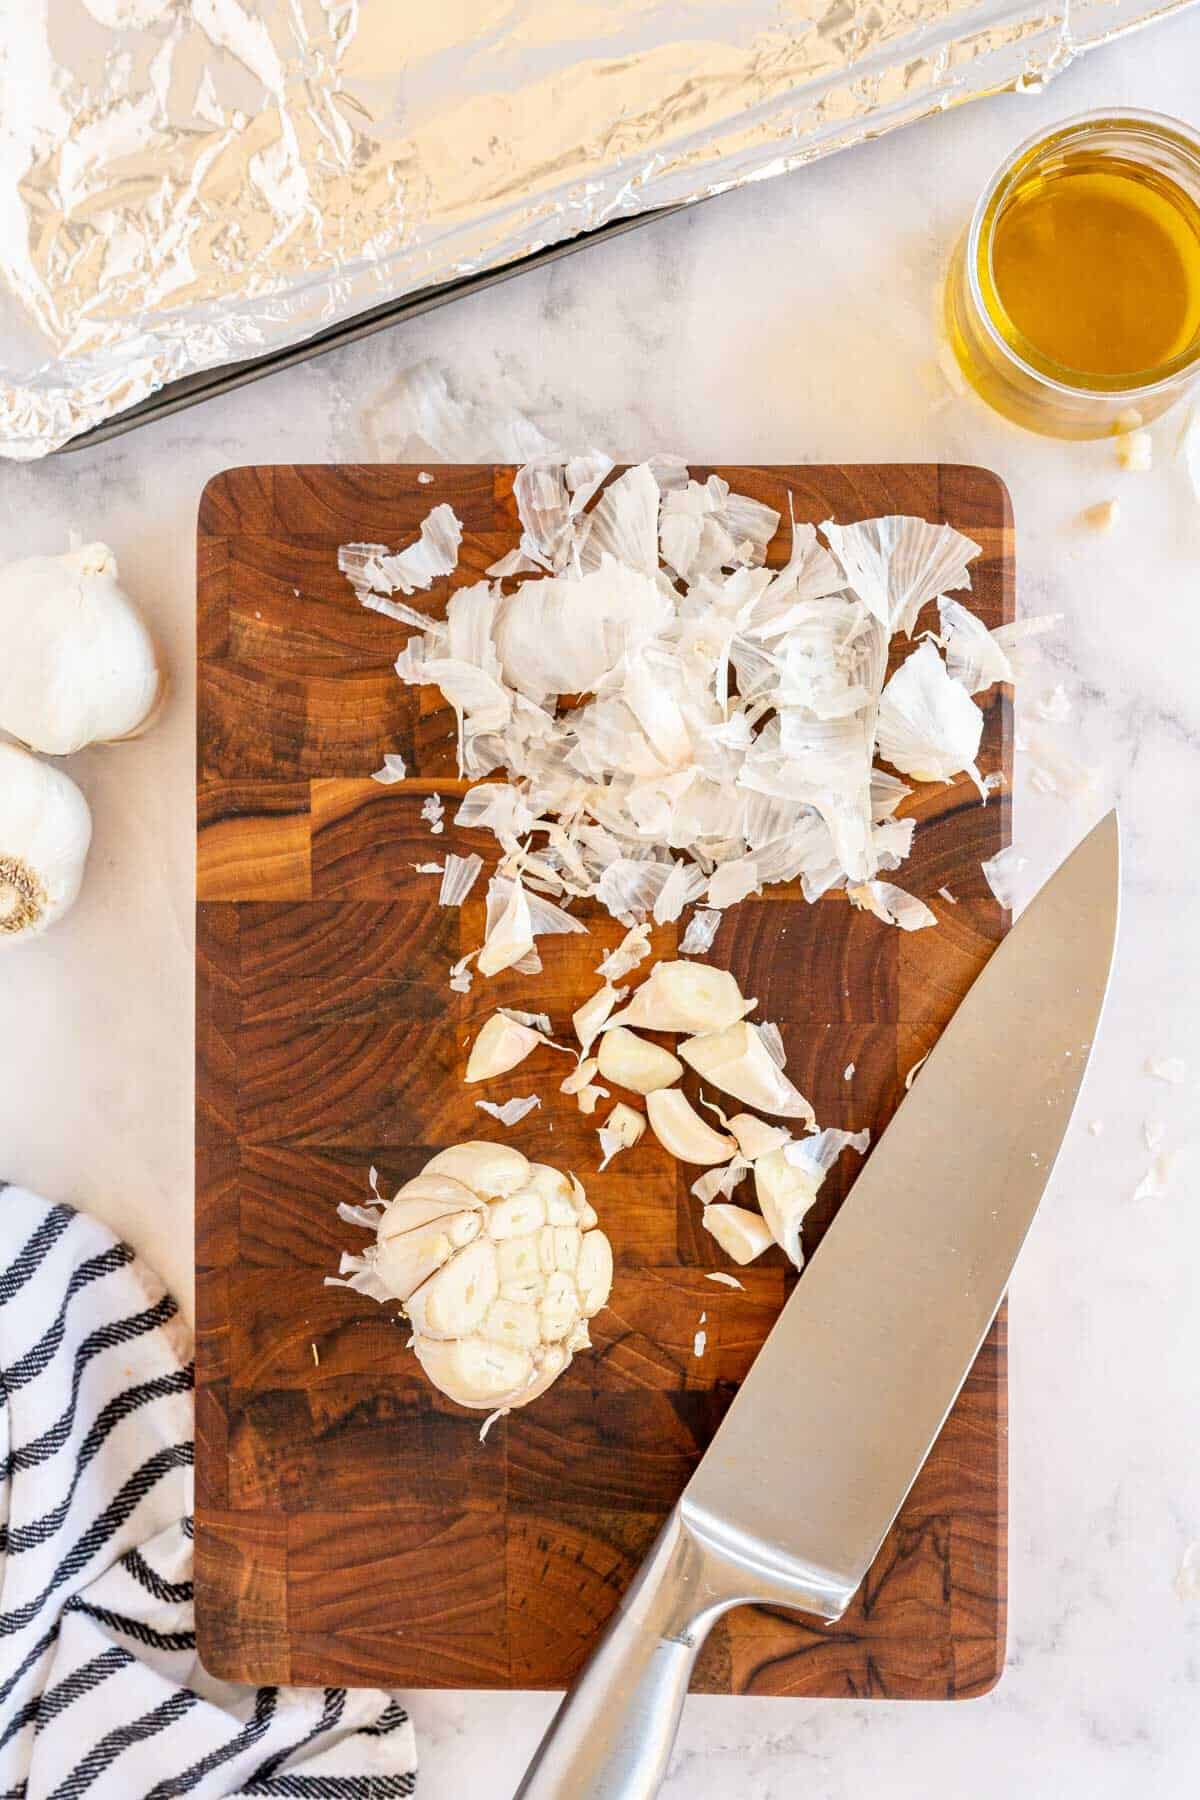
JumpGet prepped. Preheat your oven to 400°F. Peel and discard the papery outer layers of the garlic bulb, leaving the garlic head intact (still together). Using a sharp knife, cut 1/4 inch from the top of the head to expose the cloves a little.
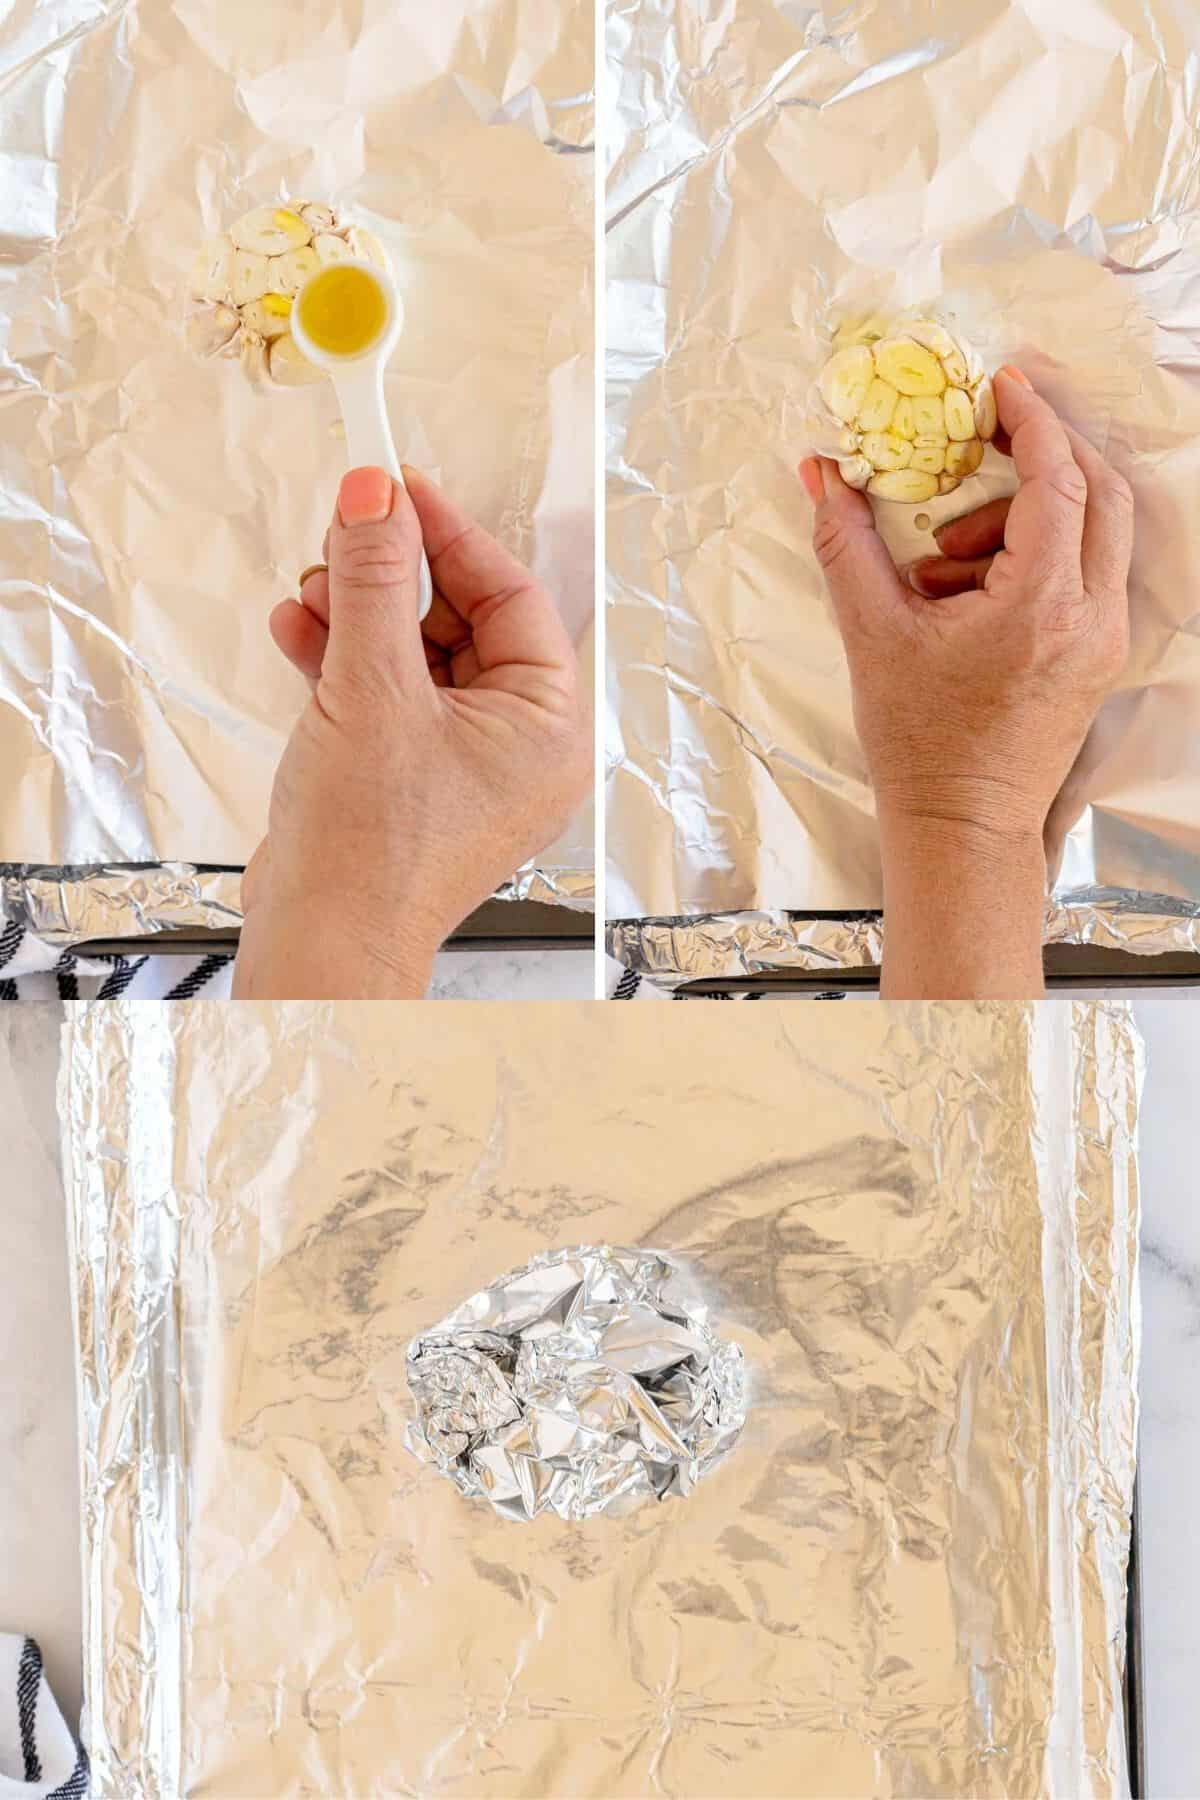
Wrap in foil. Put each garlic head in aluminum foil, cut sides up. Drizzle each with olive oil covering the exposed garlic cloves (use fingers or a brush), then wrap the garlic up in the foil to make a little parcel.
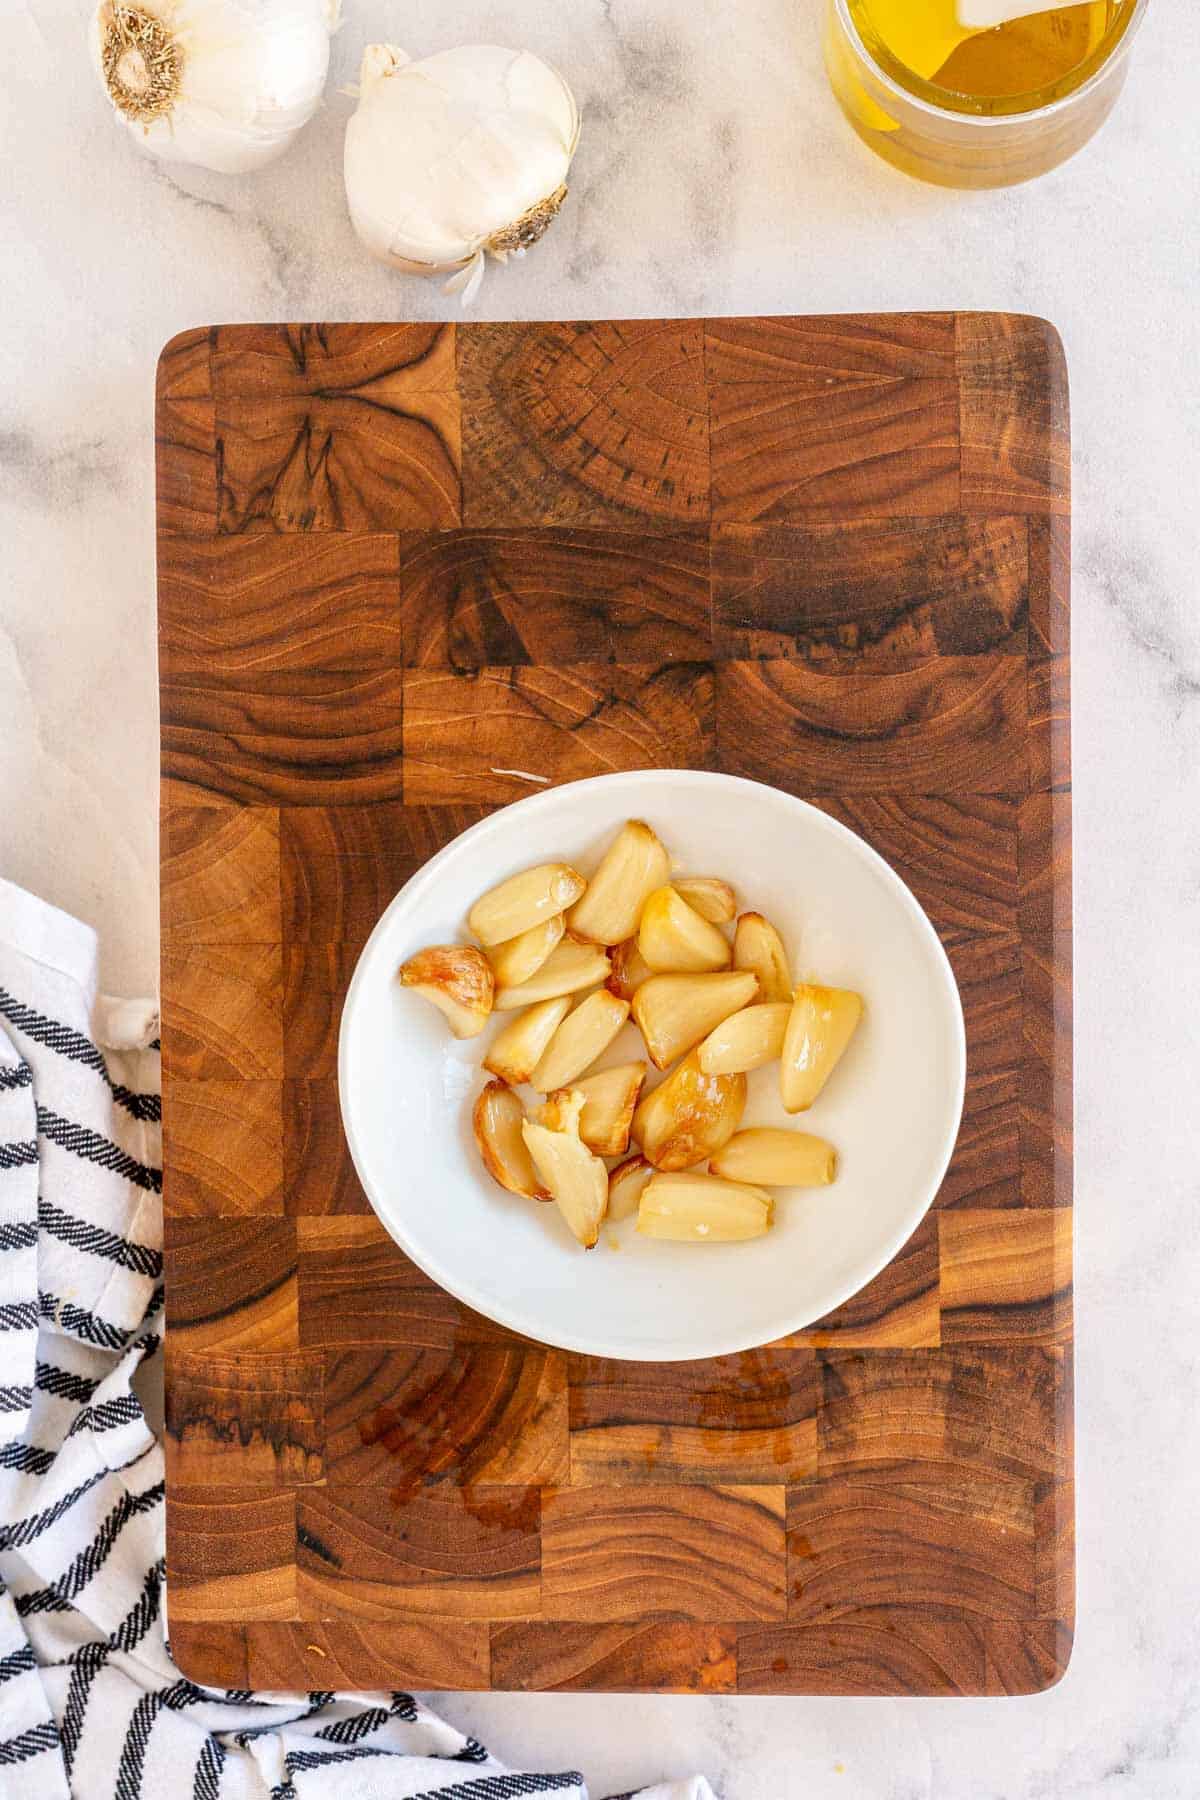
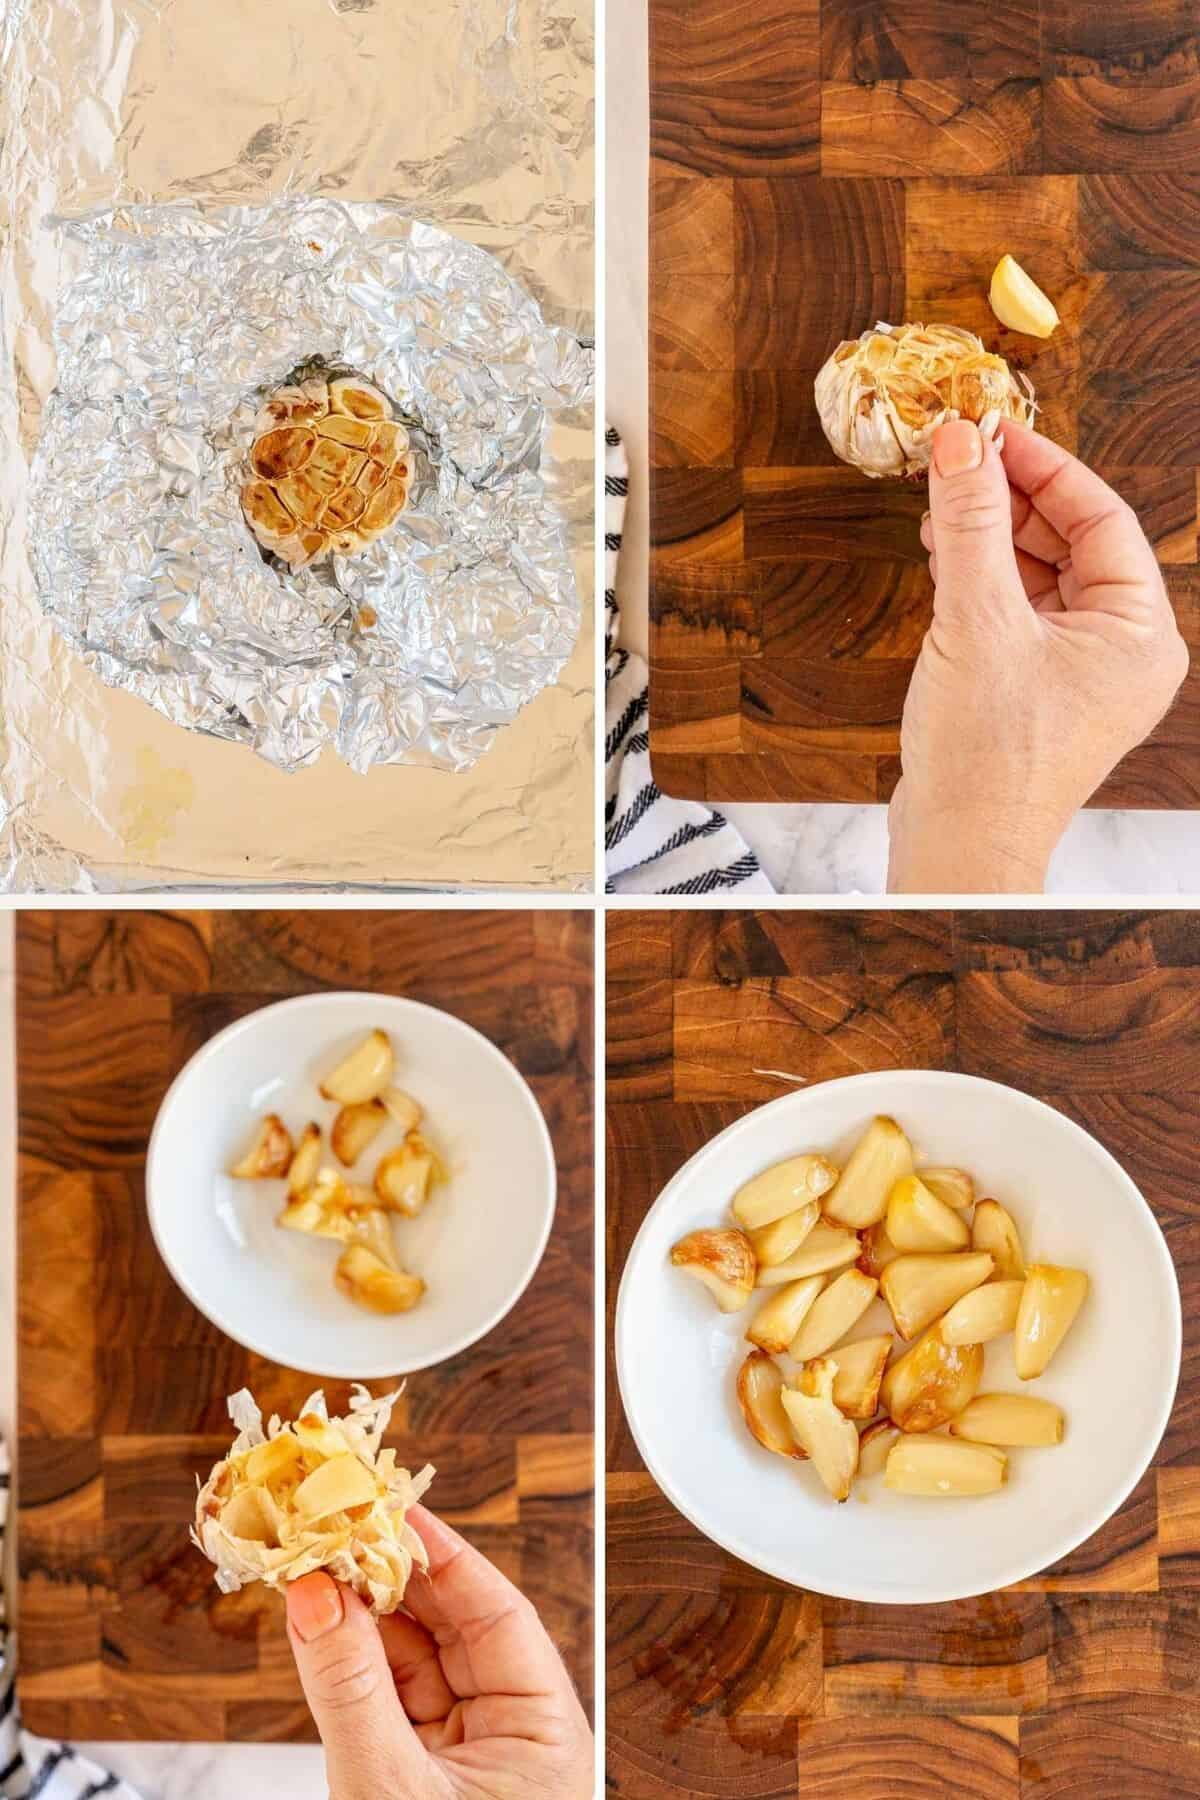
Bake. Bake on a baking sheet at 400°F, for 40-45 mins. Exact roasting time will depend on the size of your garlic, the variety, and its age. Cloves will be lightly golden browned, and feel soft. Allow to cool, then squeeze the roasted garlic out of the skins. Discard the skins. and remove roasted garlic cloves from their skins. Cover with a little olive oil and store until needed.
Kylee’s Notes
Storage:
Refrigerator:
Store individual cloves covered in olive oil the refrigerator for about 10 days.
You can also store a whole head or two in a ziplock bag in the refrigerator.
Freezer:
You can store roasted garlic for several months in the freezer. Just make sure it is sealed in a freezer safe container, to avoid freezer burn
Substitutions/Additions
If you have fresh thyme, add a few sprigs to each garlic parcel before roasting. Adding black pepper is also a great way to season this up.
More recipes to love
Do you love making your own kitchen basics? Try these!
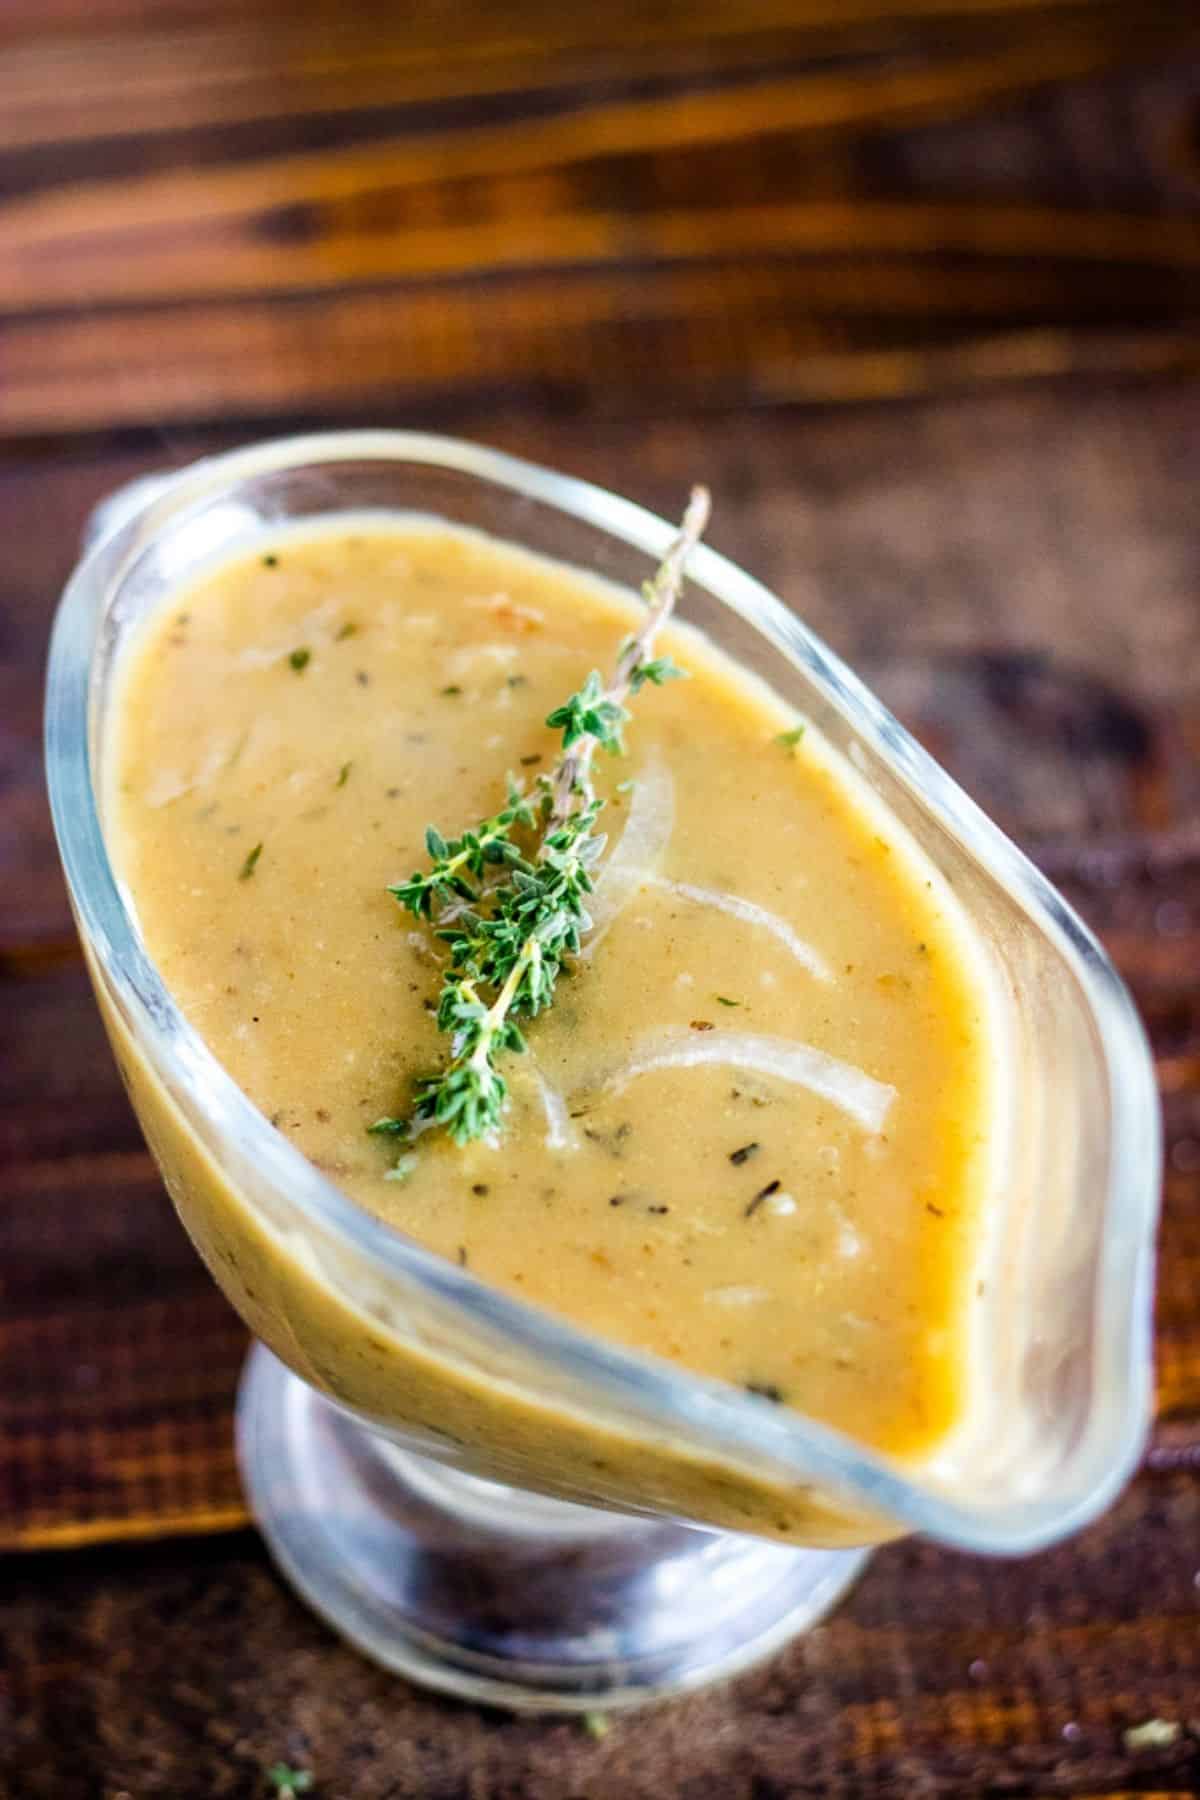
- How to make Gravy. Step by step instructions that will show you how to make gravy from scratch. Pan drippings not required!
- How to make Almond Butter. Skip the store-bought, get out your food processor, and watch the magic! Uses just one ingredient!
- Homemade Bisquick Mix. A super quick, easy and versatile recipe, this shortcut is similar to Bisquick and is perfect for using in recipes!
Get free recipes in your inbox!
Find me on Pinterest, Facebook & Instagram.
If you make this recipe, please comment and let me know how it turned out and leave a star rating! ⭐⭐⭐⭐⭐

How to Roast Garlic
Ingredients
- 3 whole heads of garlic
- 2 teaspoons olive oil
Instructions
- Preheat your oven to 400°F.
- Peel and discard the papery outer layers of the garlic bulb, leaving the garlic head intact (still together).
- Using a sharp knife, cut 1/4 inch from the top of 3 whole heads of garlic to expose the cloves a little.
- Put each garlic head in aluminum foil, cut sides up.
- Drizzle each with 2 teaspoons olive oil, covering the exposed garlic cloves (use fingers or a brush), then wrap up and around to make a little parcel.
- Bake at 400°F, for 40-45 mins. Exact roasting time will depend on the size of your garlic, the variety, and its age. Cloves will be lightly browned, and feel soft.
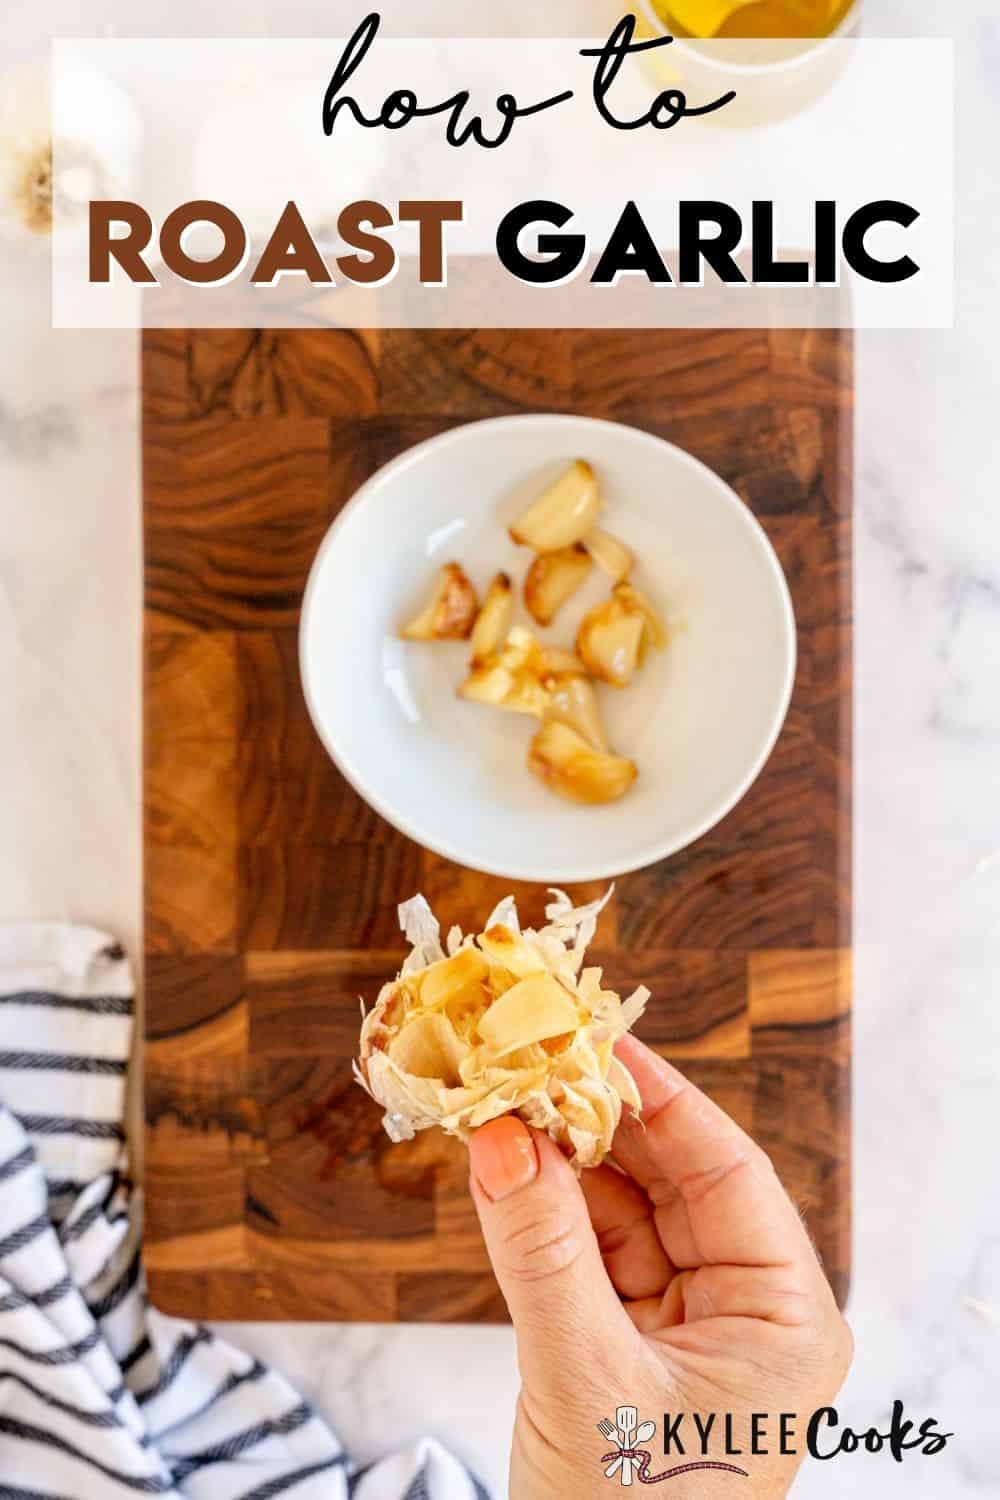
- Allow to cool, then squeeze the roasted garlic out of the skins. Discard the skins. and remove roasted garlic cloves from their skins.
- Cover with a little olive oil and store until needed.
Notes
How to store
Refrigerator:Store individual cloves covered in olive oil the refrigerator for about 10 days.
You can also store a whole head or two in a ziplock bag in the refrigerator.
Freezer:
You can store roasted garlic for several months in the freezer. Just make sure it is sealed in a freezer safe container, to avoid freezer burn.
Would you like to save this recipe?
Nutrition
Nutritional information is an estimate and provided to you as a courtesy. You should calculate the nutritional information with the actual ingredients used in your recipe using your preferred nutrition calculator.
Did you make this recipe?
Make sure to follow @kyleecooks on Instagram for more and tag me #kyleecooks so I can see!
About Kylee Ayotte
I am a born and raised New Zealander (a Kiwi), now living in Phoenix, Arizona. I’m happily married to the love of my life – a hot American boy I met while traveling the world. I’m a mama to 2 awesome little boys and love red things, rugby, cheesecake, and bacon. Mmmmm. Bacon. Meet Kylee


Just want to say how much I enjoy your site and the delicious, easy recipes.
Keep them coming.
Sue