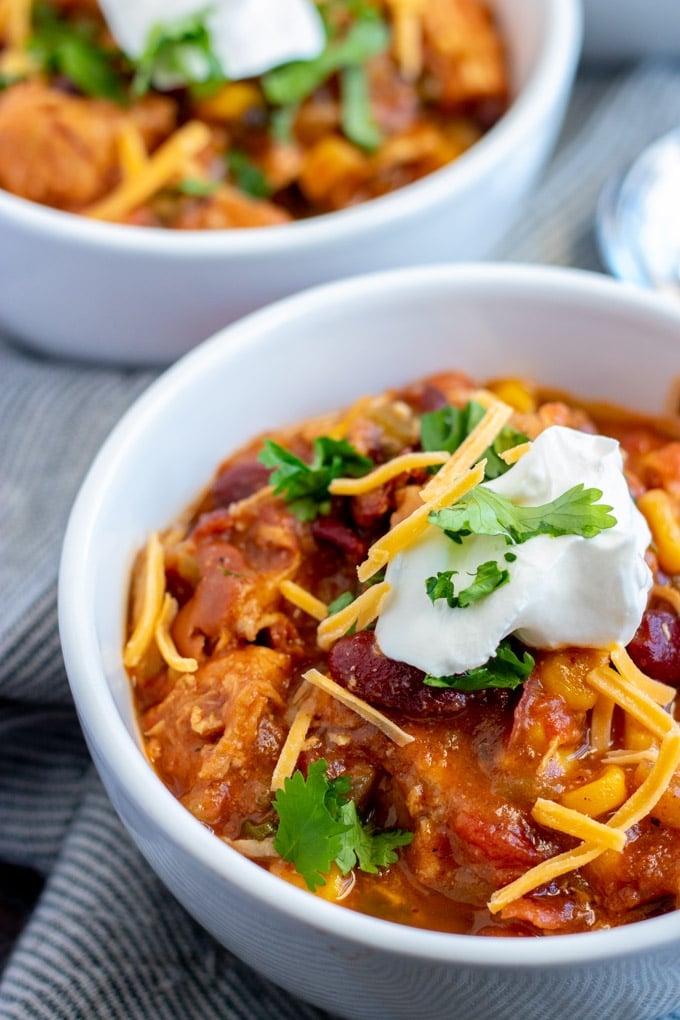
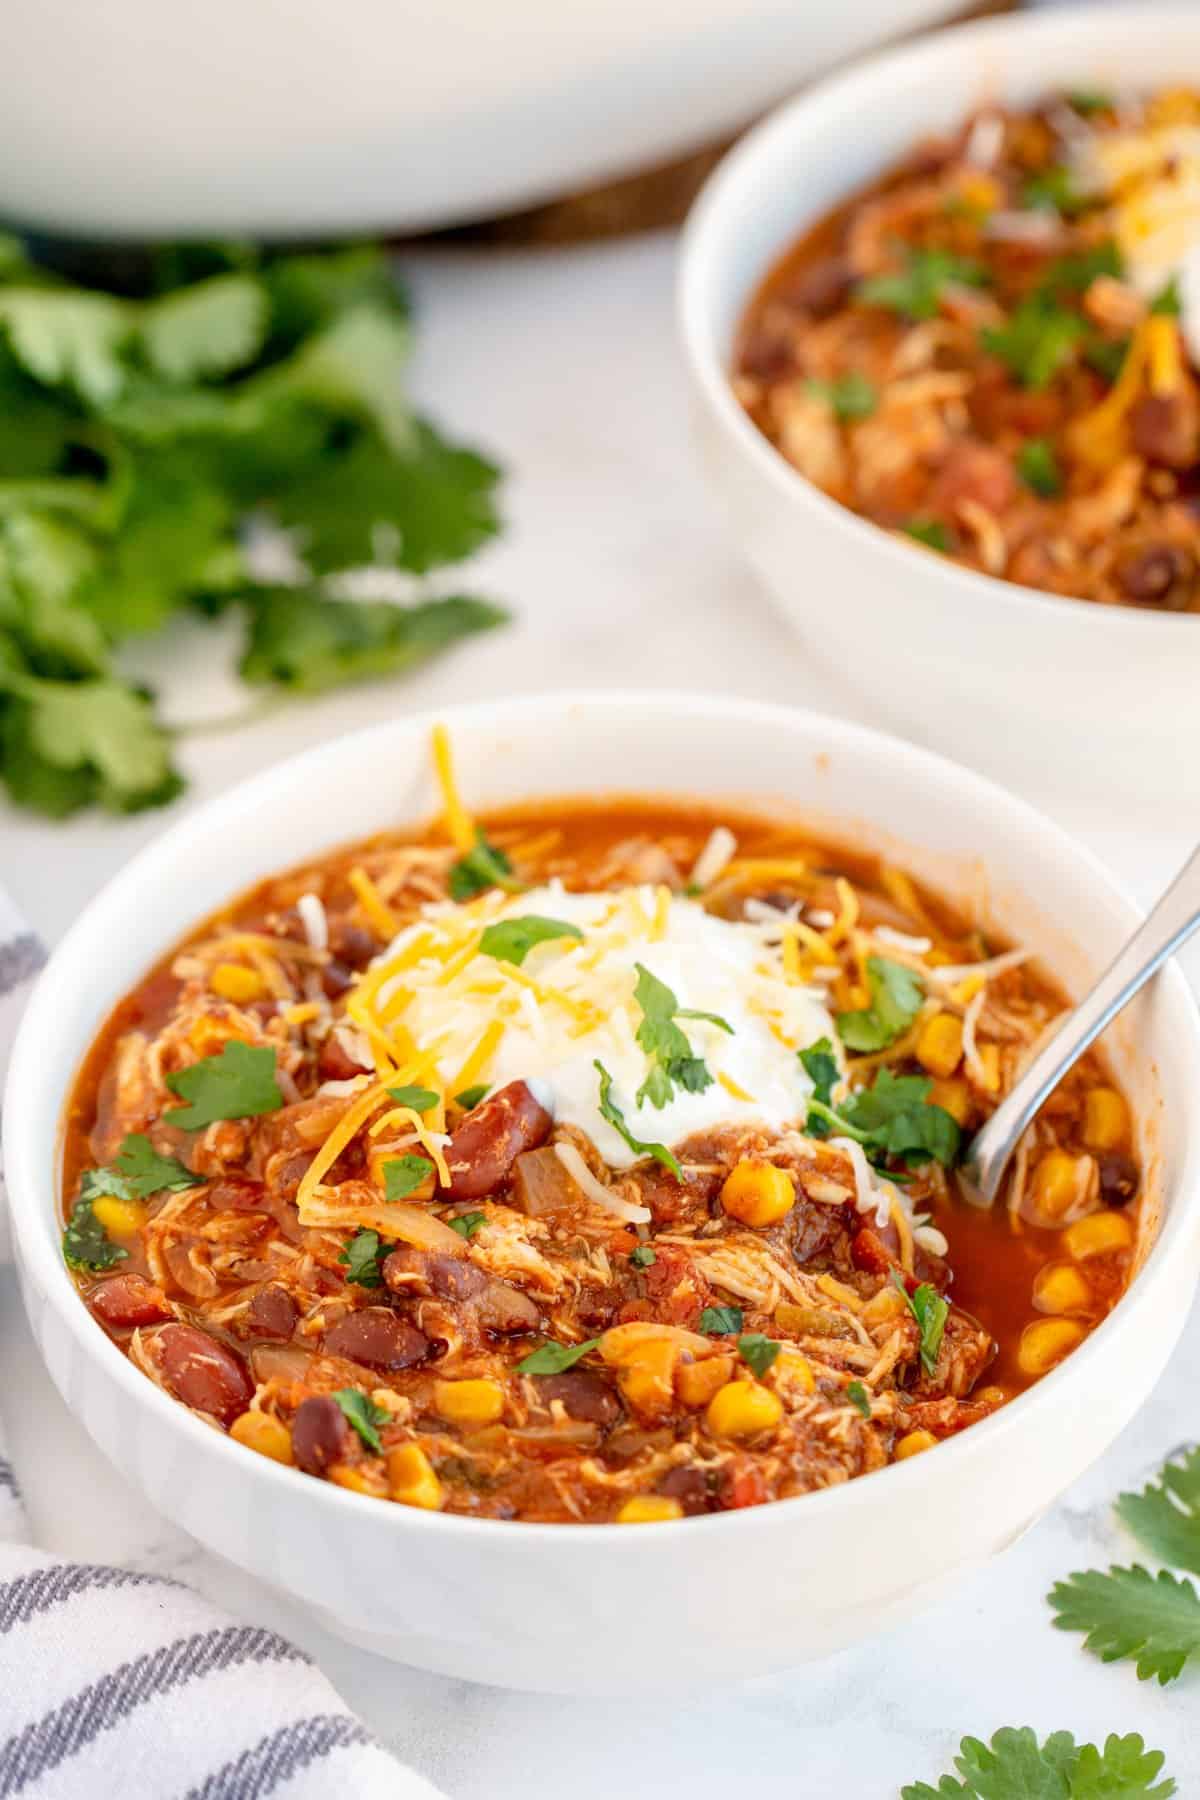
Instant Pot Chicken Chili
This post may contain affiliate links. See our affiliate policy here.
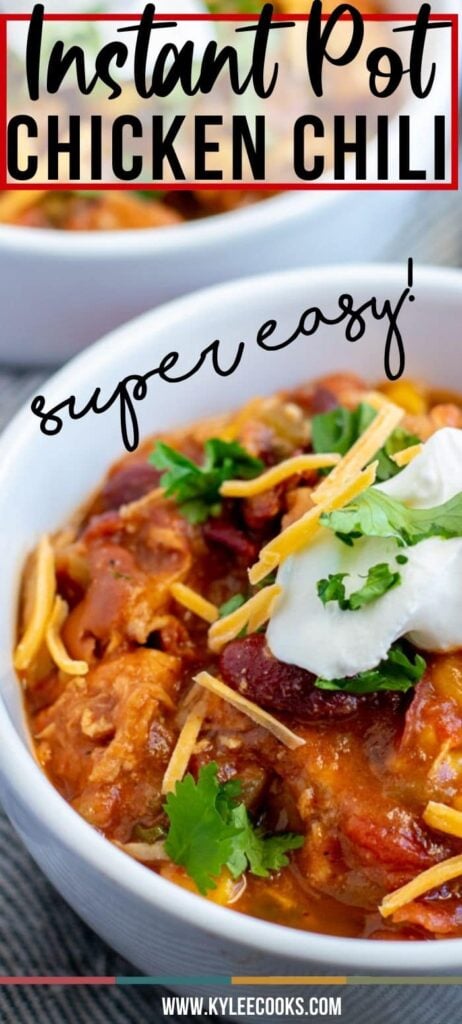
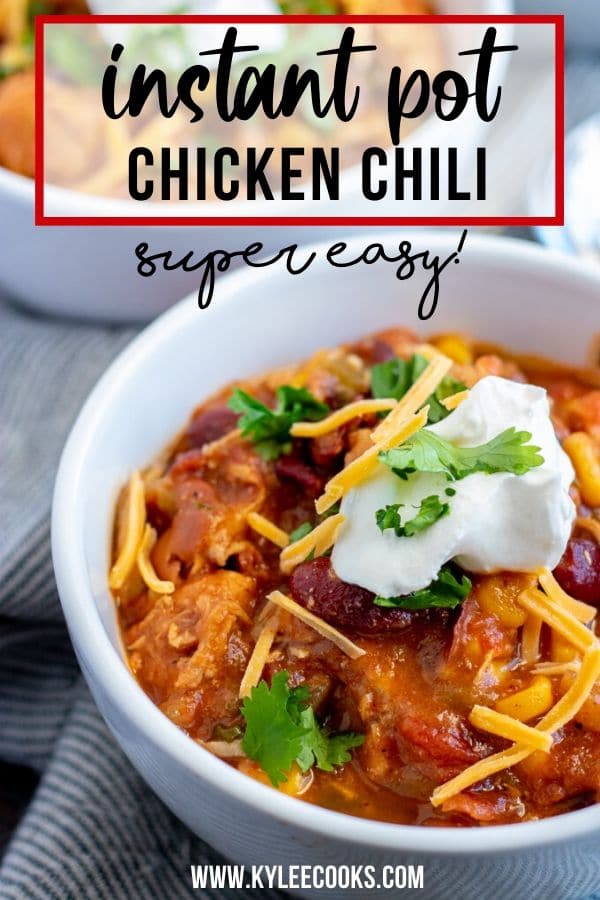
Make this AMAZING Chicken Chili right in your Instant Pot! GREAT for weeknights, easy to throw together and freezer-friendly!
The instant pot is my FAVORITE way to make weeknight meals. With just a little prep (mostly involving opening some cans), you can have dinner on the table in about 30 minutes.
With 15 minutes of cooking time (not including time to come to pressure) this is a great recipe for a last-minute dinner!
One of my faves is my Instant Pot Mac & Cheese, be sure to check that one out too!
Step-by-step photos and instructions are below. Jump to the recipe card if you wish!
This recipe first appeared Tornadough Alli where I am a contributor.
Why you’ll love this
- Easy. Dump everything in the Instant Pot and let it do the work. No babysitting required.
- Quick. Pressure cooking means you get big, cozy flavor in way less time than traditional chili.
- Simple ingredients. Nothing fancy here – just pantry staples you probably already have on hand.
- Adaptable. Swap the beans, adjust the spice, or use what you’ve got in the fridge. This one’s super flexible.
- Great for leftovers. Make a double batch and thank yourself later. It reheats really well and tastes even better the next day.
Pressure cooking cuts down on cooking times significantly. If you have time, try my Slow Cooker Chicken Chili instead.
Step-by-step photos and tips and tricks are below. Jump to the full recipe card instead
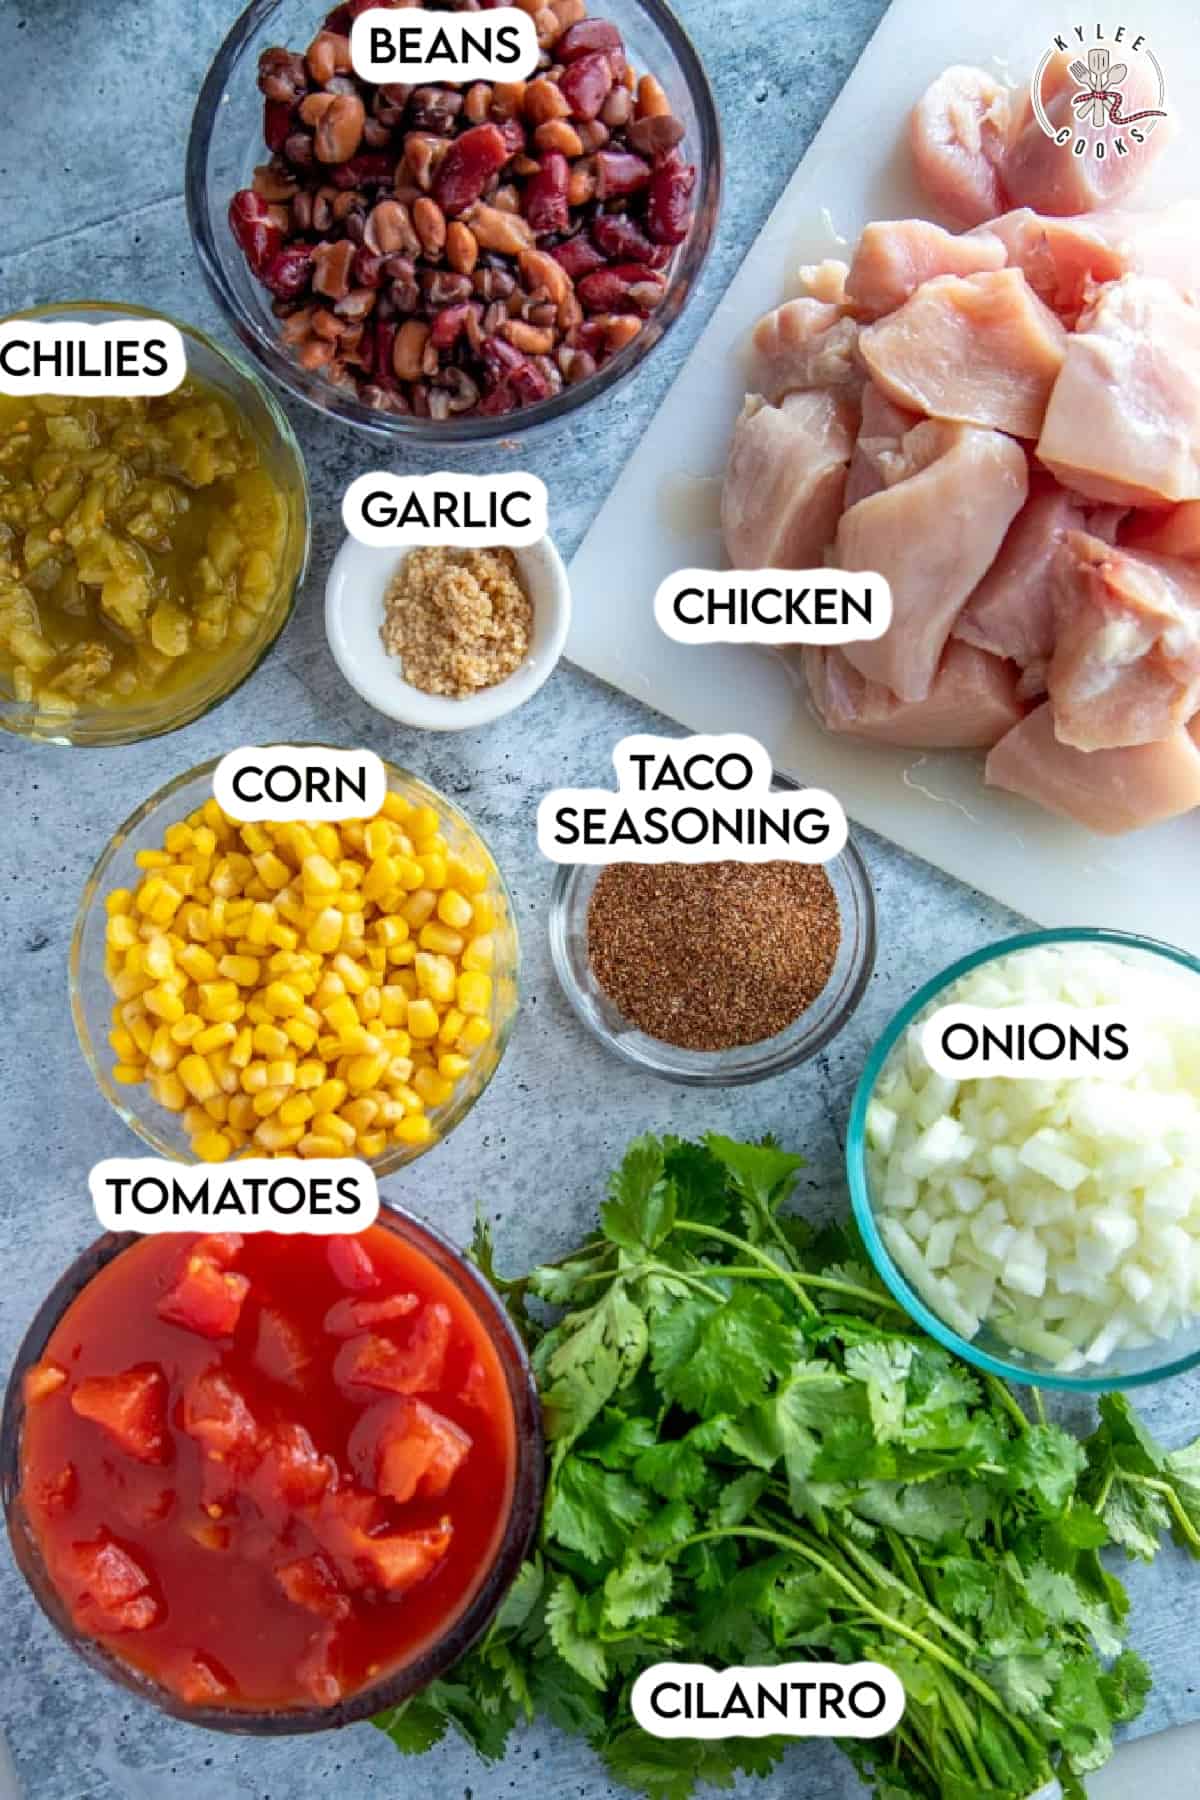
Key Recipe Ingredients
Note: This highlights some ingredients. Full list is in the recipe card.
Would you like to save this recipe?
- Chicken. Use boneless, skinless chicken breasts or thighs. Thighs stay a little juicier, but breasts work great and shred easily after cooking. You can even use frozen chicken in the Instant Pot if needed.
- Taco seasoning. This is where most of the flavor comes from, so use one you love. Store-bought is totally fine, or make your own if you want to control the salt and spice level.
- Corn. Adds a little sweetness and texture. Canned or frozen both work great here, so just use what you have on hand. No need to thaw if using frozen.
- Beans. I like a 3-bean blend for variety and texture, but any combination works. Black beans, kidney beans, or pinto beans are all great options. Rinse and drain canned beans to keep the flavor clean. Chicken chili commonly uses beans as a hearty base alongside the meat.
- Tomatoes. Fire-roasted tomatoes add extra depth and a slightly smoky flavor, but regular diced tomatoes work just fine. Don’t drain them – that liquid helps create the chili base.
- Green chilies. These add mild heat and flavor without making the chili too spicy. You can add more if you like a little kick, or stick with one can for a milder version. Many chicken chili recipes rely on green chilies for that signature flavor.
How to make this recipe
This is a step-by-step photo guide. Full ingredients and instructions are in the printable recipe card below.
Jump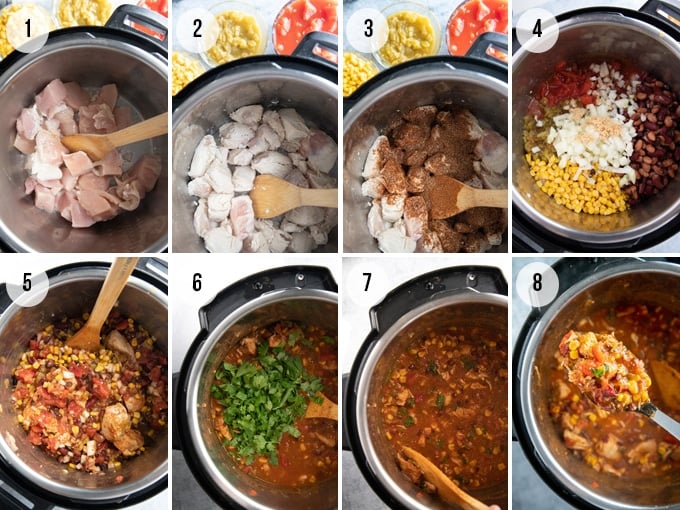
- Switch your pot on and select the saute setting, add the cooking oil and allow to heat. Add the chicken.
- Cook the chicken until it loses the pink look, but is not cooked all the way through.
- Sprinkle the taco seasoning over the chicken.
- Add the remaining ingredients (beans, tomatoes, chilis, onion, garlic) and mix until combined. Close the lid and seal. Choose the manual setting and cook for 15 minutes.
- When cooking is complete, allow the pot to do a Natural Pressure Release for 10 minutes, then do a Quick Release. The cooked chicken will be very soft. Use a couple of forks and shred, or just gently crush against the side of the pot. Test for seasoning, add a little salt and pepper if needed!
- Add in the fresh cilantro.
- Stir until well combined.
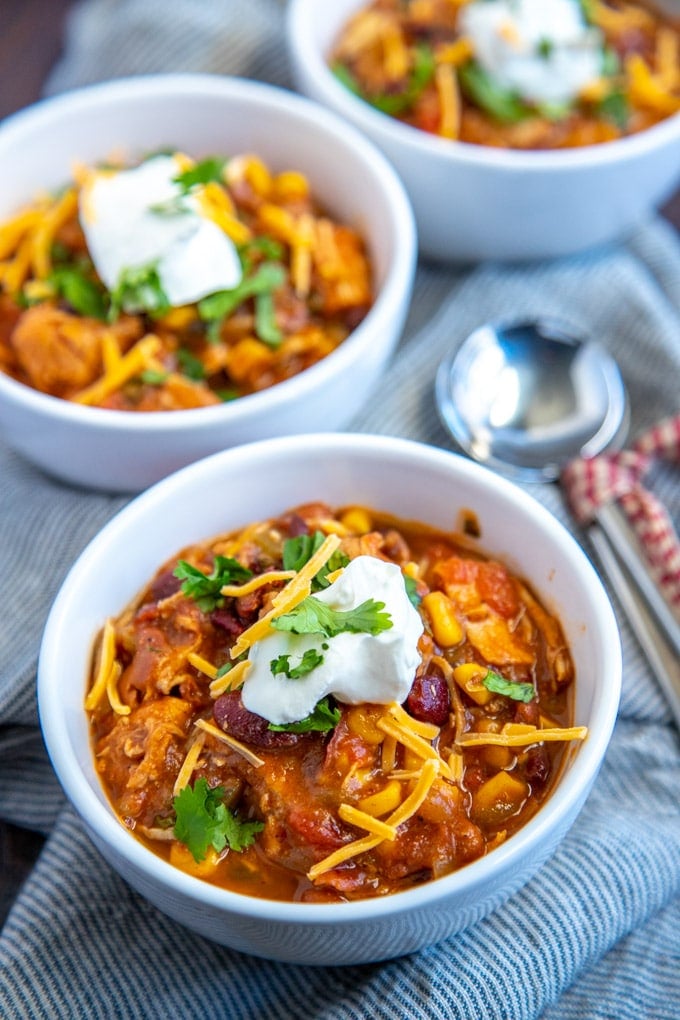
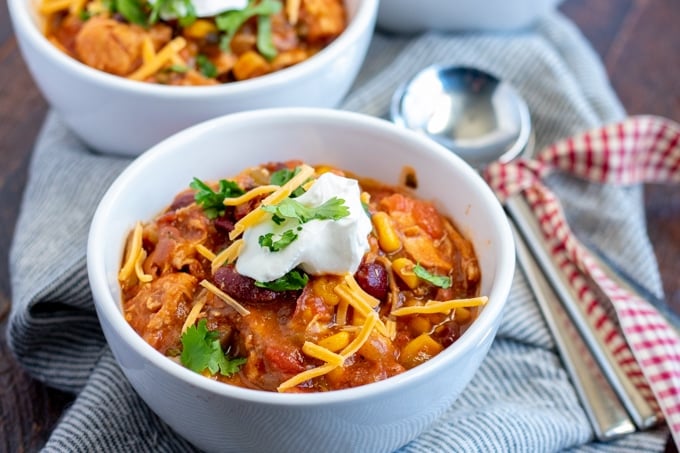
- To serve, add a little fresh cilantro, sour cream, and some cheese if desired. Crushed tortilla chips are also good!
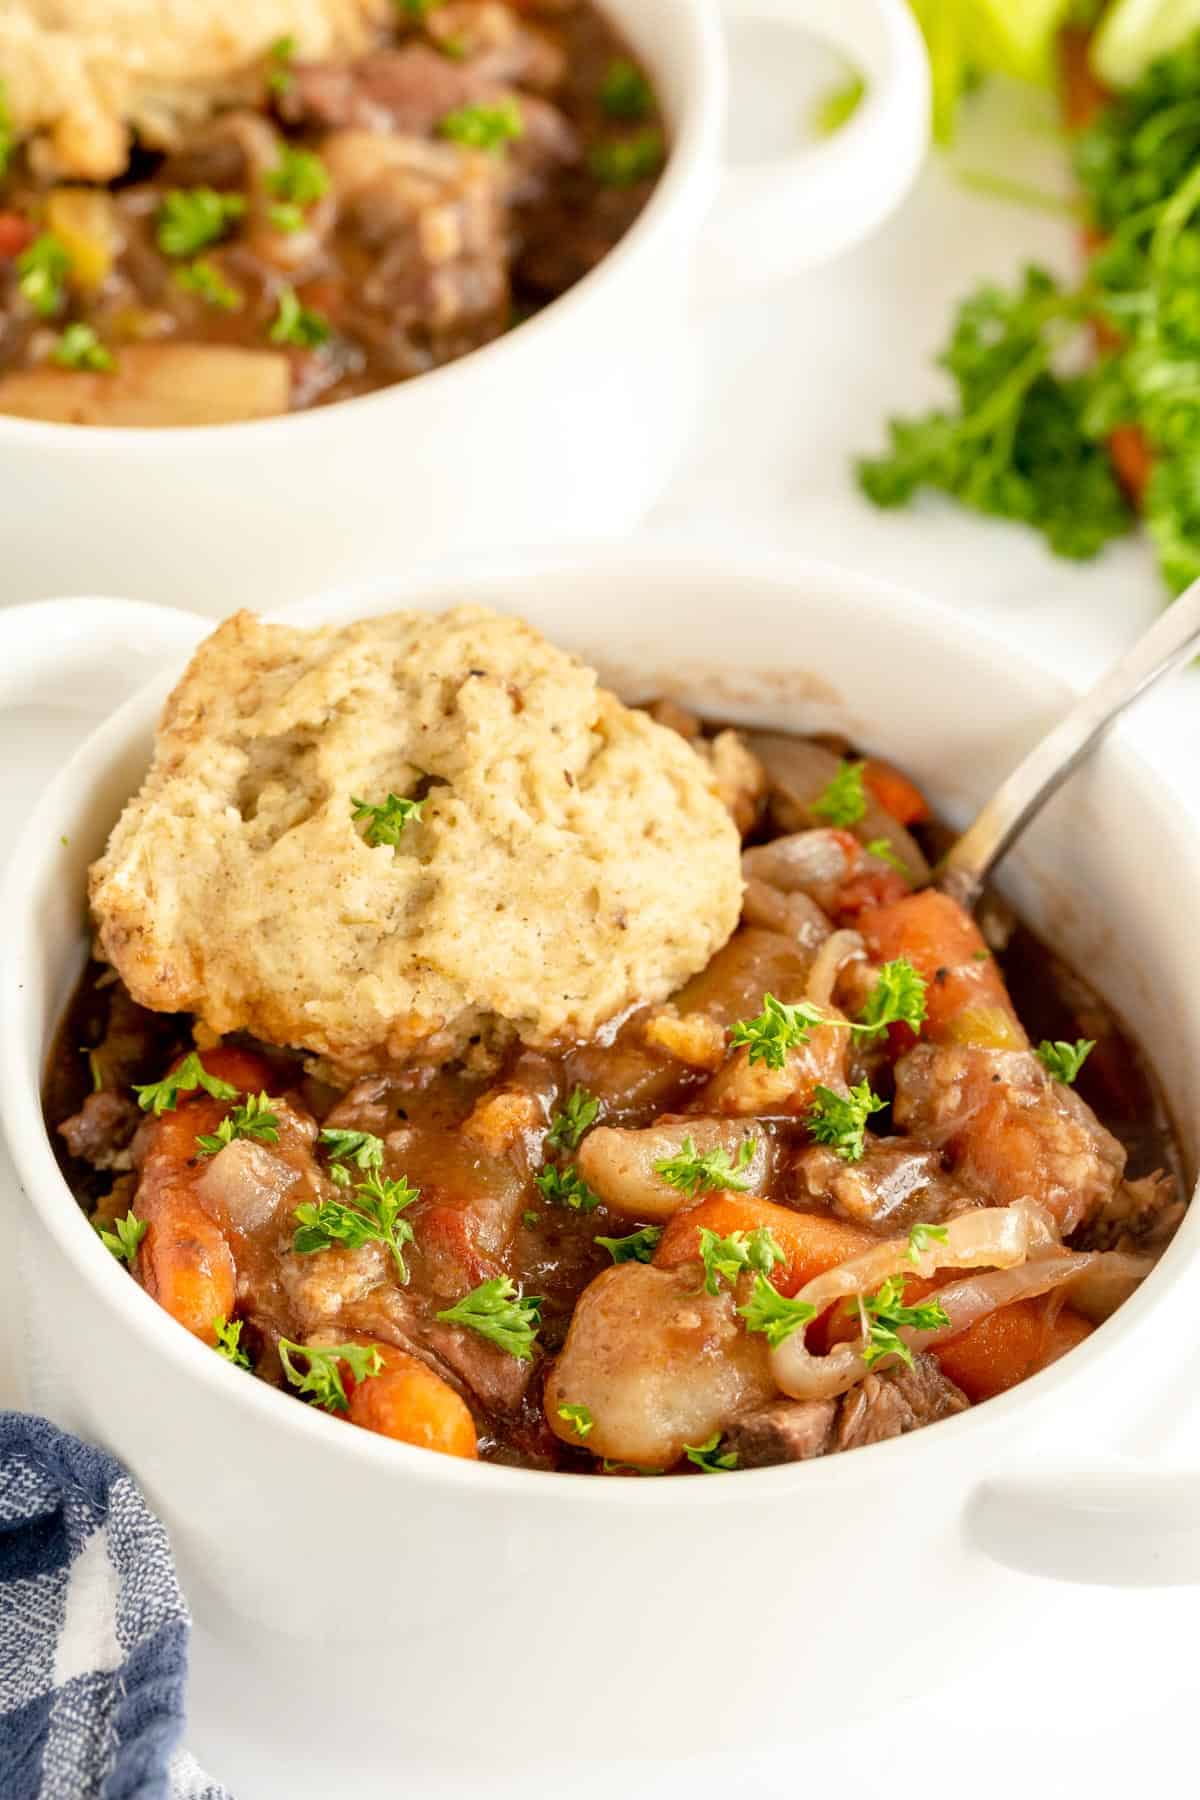
If you like this recipe, you’ll also enjoy this vegetarian chili as well as this Crockpot Chicken Stew.
Instant Pot Cooking Terms
What is Natural Pressure Release – aka NPR?
A natural pressure release happens when the cooking time is over and the valve is left closed. The pressure decreases without doing anything. Your Instant Pot will automatically switch to the Keep Warm setting.
As soon as it switches to Keep Warm the pressure will begin to drop and will release the pressure by itself. You’ll know it’s done when the pin drops!
What is Quick Release?
Quick Release: this means to let the Instant Pot release pressure naturally for a few minutes. After the time has elapsed, switch the valve to “venting” to quickly release any remaining pressure. The pressure will release to a point where the pin drops, and you can open the lid.
Kylee’s Notes
You can use frozen chicken breasts. Skip the browning step, and increase the cooking time to 20 minutes.
Once cooking is complete, remove the chicken and test it for doneness. It is safe when it registers 165 degrees F using a thermometer. Shred the chicken and add it back into the pot.
How to switch it up
You can skip the browning step of the chicken breasts. I think it adds a better flavor to the finished dish, but it is not 100% necessary.
Mix up the types of beans used. I use a premixed blend of kidney beans, black beans, and pinto beans. If you can’t find the 3 bean blend, use any 2 cans of: kidney beans, black beans, pinto beans, cannellini beans or garbanzo beans.
Add some bell peppers – I like using a mix of colors, but red and green are my favorites for this chili.
Want to dial up the heat? Add some crushed chili flakes, some chili powder or some cayenne pepper with the taco seasoning and garlic.
What to do with leftovers
Store in a covered container in the refrigerator for up to 4 days. Reheat to piping hot!
Frequently Asked Questions
Yes! You can actually make the full recipe and then store in the refrigerator for a few days before eating.
Yes! 2 ways:
1) freeze once cooked, OR
2) assemble the ingredients and store in a gallon-sized zipper bag, and freeze. Thaw, and cook as directed.
More recipes to love
- Instant Pot Pulled Pork – Sweet, spicy, juicy – this recipe uses an instant pot for maximum speed but tender, mouthwatering results.
- Instant Pot Ribs – sweet, spicy and fall apart tender – in a fraction of the usual time!
- Instant Pot Beef Stew – Red wine and rosemary feature in this inviting, tasty and tummy-warming Instant Pot Beef Stew Recipe- perfect for a cold day.
- Thai Butternut Squash Soup – A velvety smooth and dreamy soup with a kick of Thai heat, balanced by creamy coconut cream.
- Instant Pot Mac & Cheese (with bacon). Cooked in one pot and ready in about 30 minutes, this is the perfect meal any night of the week!
- ALL INSTANT POT RECIPES
Get free recipes in your inbox!
Find me on Pinterest, Facebook & Instagram.
If you make this recipe, please comment and let me know how it turned out and leave a star rating! ⭐⭐⭐⭐⭐

Instant Pot Chicken Chili
Equipment
Ingredients
- 1 tablespoon cooking oil
- 2 pound boneless skinless chicken breasts
- 3 tablespoons taco seasoning
- 15.25 ounces sweet corn canned
- 2 15 ounces cans tri bean blend canned see notes
- 2 14.5 ounces cans diced tomatoes canned
- 8 ounces green chilies diced, canned
- 1 medium onion diced
- 1 tablespoon garlic minced
- ½ cup cilantro chopped finely
OPTIONAL
- sour cream cheese, cilantro
Instructions
- Switch your pot on the sauté setting, add 1 tablespoon cooking oil and allow to heat.
- Chop 2 pound boneless skinless chicken breasts into large chunk, then add to the pot and cook until it loses the pink look, but is not fully cooked.
- Sprinkle 3 tablespoons taco seasoning over the chicken, then add 15.25 ounces sweet corn, 2 15 ounces cans tri bean blend, 2 14.5 ounces cans diced tomatoes, 8 ounces green chilies, 1 medium onion (diced), and 1 tablespoon garlic (minced) to the instant pot and mix well.
- Put the lid on the instant pot and seal. Choose the manual setting and cook at high pressure for 15 minutes.
- Once done, allow a natural release for 10 minutes, then do a quick release.
- Open the lid and stir. Use 2 forks to shred the chicken, or simply break up the chicken chunks on the side of the pot with a wooden spoon.
- Add ½ cup cilantro and stir until combined.
- Test for seasoning, and serve with sour cream, cheddar cheese and extra cilantro.
Notes
You can skip the browning step of the chicken breasts but I think it adds a better flavor to the finished dish.
Mix up the types of beans used. I use a 3 bean blend of kidney beans, black beans, and pinto beans – but if you don’t have those – just grab 2 cans of any of these varieties: kidney beans, black beans, pinto beans, cannellini beans, and even garbanzo beans. Whatever you have!
Add some bell peppers – I like using a mix of colors, but red and green are my favorites for this chili.
Want to dial up the heat? Add some crushed chili flakes, some chili powder or some cayenne pepper with the taco seasoning and garlic.
Would you like to save this recipe?
Nutrition
Nutritional information is an estimate and provided to you as a courtesy. You should calculate the nutritional information with the actual ingredients used in your recipe using your preferred nutrition calculator.
Did you make this recipe?
Make sure to follow @kyleecooks on Instagram for more and tag me #kyleecooks so I can see!
About Kylee Ayotte
I am a born and raised New Zealander (a Kiwi), now living in Phoenix, Arizona. I’m happily married to the love of my life – a hot American boy I met while traveling the world. I’m a mama to 2 awesome little boys and love red things, rugby, cheesecake, and bacon. Mmmmm. Bacon. Meet Kylee


I was looking for something easy-peasy and comforting for a cold, rainy spring day – and delish of course! This delivered on all points! I used packaged rotisserie chicken breast from Costco for the chicken so I didn’t even need to shred the chicken. Then some Faye yogurt instead of sour cream on top. It didn’t need cheese, IMO.
This is going in the rotation! Thanks!
I’m always up for a good chili recipe! This one looks so easy – perfect for those weekday meals!